Free Shipping on Domestic Orders $75+

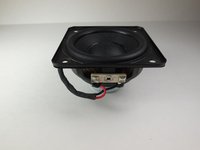
Sony CPF-IP001 Subwoofer Replacement

What you need

  1. Sony CPF-IP001 Subwoofer Replacement, Subwoofer Housing Disassembly: step 1, image 1 of 2 Sony CPF-IP001 Subwoofer Replacement, Subwoofer Housing Disassembly: step 1, image 2 of 2
    • Remove fourteen 8 mm Phillips #2 screws from the bottom of the subwoofer.

    • Once all of the screws are removed, the cover can be taken off using a metal spudger.

    Ask FixBot

    Add Comment

  2. Sony CPF-IP001 Subwoofer Replacement: step 2, image 1 of 2 Sony CPF-IP001 Subwoofer Replacement: step 2, image 2 of 2
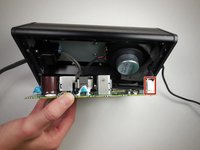
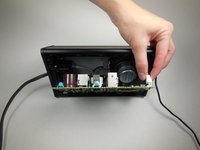
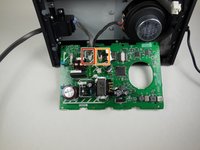
    • Remove eight 14 mm Phillips #2 screws holding the circuit board in place.

    • Using the plastic opening tool, carefully remove the circuit board.

    • There will be 3 wires connected to the opposite side of the circuit board. Be careful not to pull the board out of the device too far and damage these wires.

    Ask FixBot

    Add Comment

  3. Sony CPF-IP001 Subwoofer Replacement: step 3, image 1 of 2 Sony CPF-IP001 Subwoofer Replacement: step 3, image 2 of 2
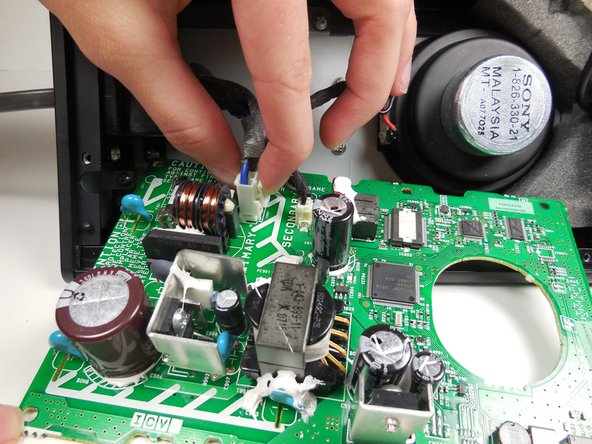
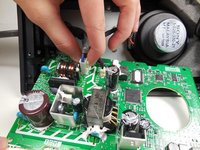
    • Remove the first of the three wires by squeezing the clip and pulling it out.

    • After disconnecting the first wire, the two attached wires can be more easily accessed.

    Ask FixBot

    Add Comment

  4. Sony CPF-IP001 Subwoofer Replacement: step 4, image 1 of 3 Sony CPF-IP001 Subwoofer Replacement: step 4, image 2 of 3 Sony CPF-IP001 Subwoofer Replacement: step 4, image 3 of 3
    Tool used on this step:
    Tweezers
    $4.99
    Buy
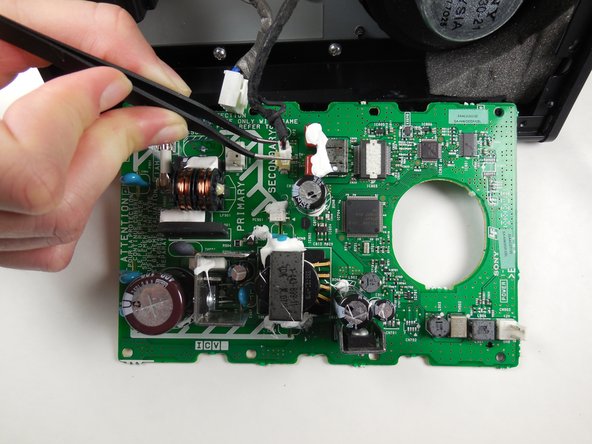
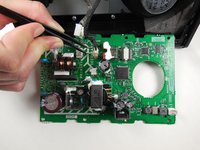
    • Remove the wire furthest to the left by squeezing the clip and pulling it out.

    • Detach the third wire by carefully using the tweezers.

    • The circuit board is now completely detached and can be set aside.

    Ask FixBot

    Add Comment

  5. Sony CPF-IP001 Subwoofer Replacement: step 5, image 1 of 2 Sony CPF-IP001 Subwoofer Replacement: step 5, image 2 of 2
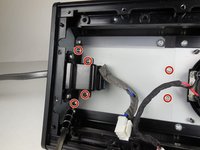
    • Remove six 8 mm Phillips #2 screws.

    • Slide the side panel with the power cord out from the housing.

    • The side panel with the power cord will come out as a whole unit with the subwoofer air tunnel.

    Ask FixBot

    Add Comment

  6. Sony CPF-IP001 Subwoofer Replacement, Subwoofer: step 6, image 1 of 1
    • Remove two 8 mm Phillips #2 screws holding the side panel in place.

    Ask FixBot

    Add Comment

  7. Sony CPF-IP001 Subwoofer Replacement: step 7, image 1 of 1
    • Remove eight 8 mm Phillips #2 screws holding the subwoofer tray to the housing.

    Ask FixBot

    Add Comment

  8. Sony CPF-IP001 Subwoofer Replacement: step 8, image 1 of 2 Sony CPF-IP001 Subwoofer Replacement: step 8, image 2 of 2
    • Using a metal spudger, slightly peel back the plastic the has been glued to the tray and the housing.

    • Slide the tray containing the subwoofer out of the housing.

    Ask FixBot

    Add Comment

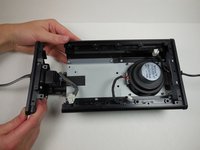
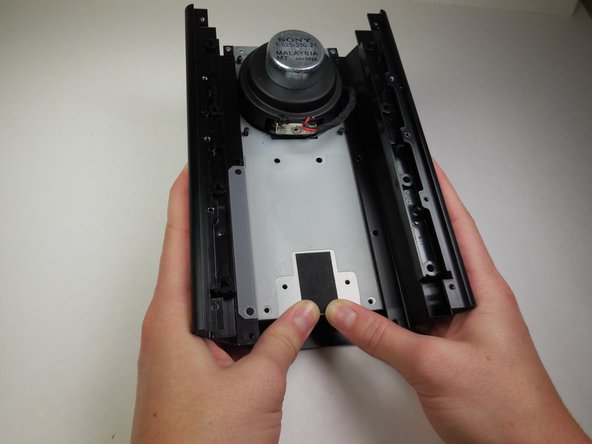
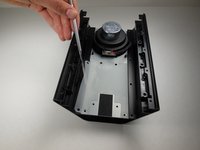
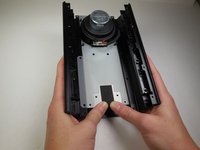
  9. Sony CPF-IP001 Subwoofer Replacement: step 9, image 1 of 2 Sony CPF-IP001 Subwoofer Replacement: step 9, image 2 of 2
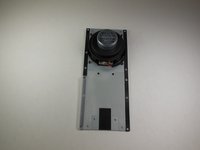
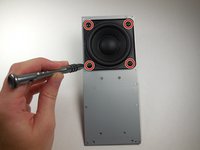
    • After removing the tray, flip it over and you will find four screws connecting the subwoofer.

    • Remove four 7.5 mm Phillips #2 screws.

    Ask FixBot

    Add Comment

  10. Sony CPF-IP001 Subwoofer Replacement: step 10, image 1 of 2 Sony CPF-IP001 Subwoofer Replacement: step 10, image 2 of 2
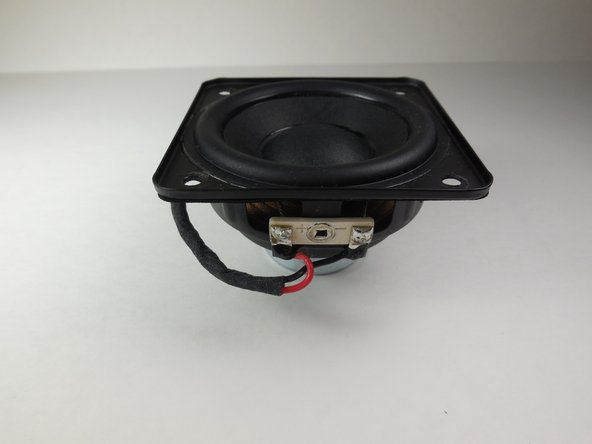
    • The subwoofer has now been removed from the device and can be replaced.

    Ask FixBot

    Add Comment

Conclusion

To reassemble your device, follow these instructions in reverse order.

Cancel: I did not complete this guide.

3 other people completed this guide.

Mike Bolton

Member since: 04/14/15

473 Reputation

4 Guides authored

Team

Cal Poly, Team 6-14, Maness Spring 2015 Member of Cal Poly, Team 6-14, Maness Spring 2015

CPSU-MANESS-S15S6G14

4 Members

8 Guides authored

0 Guide Comments

Add Comment

View Statistics:

Past 24 Hours: 0

Past 7 Days: 6

Past 30 Days: 48

All Time: 1,131