Introduction
This is a guide for replacing the drive belt in a SONY 5-disk CD player/changer. One symptom that the drive belt needs replacement is the display shows "ERROR" when the device is powered on. A related video for a similar device is https://www.youtube.com/watch?v=lNch3X-s...
-
-
Remove two screws on each side of the unit (use phillips screwdriver). Remove two screws at the top of the back of the unit. Remove four screws on the bottom that secure the front panel.
-
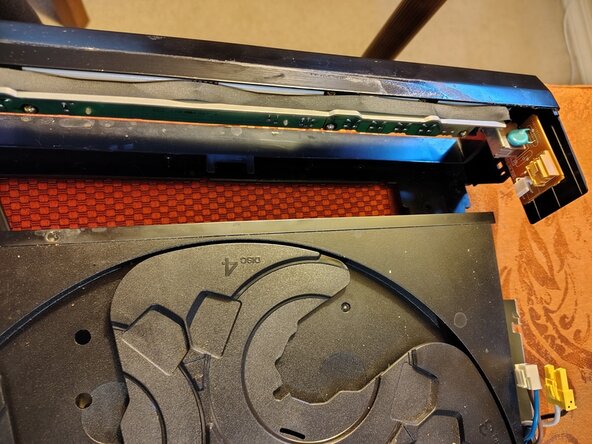
Now you should be able to remove the case by lifting straight up, revealing the interior of the unit.
-
Plug in the power cord, turn on the power, and press the tray open button. (It's necessary to have the tray open in order to remove the front panel.) Then turn the unit off and unplug the power cord.
 Ask FixBot
-
-
-
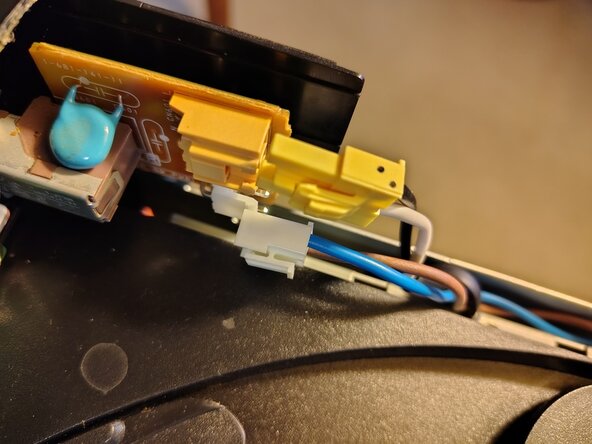
Disconnect the yellow and white power connectors at the left side of the unit.
-
Disconnect the ribbon cable at the right side by pulling straight up.
-
To remove the front panel, depress small catches on each side, then tug gently on the panel. It is necessary to pull the left side out first so that the right side can be shifted past the right edge of the tray. Once the right side is clear the entire front panel can be pulled away from the unit.
-
Tip: After removing the front panel be careful not to slide the tray back into the unit. If it is returned to its locked position it won't open unless the power is on.
-
-
-
-
Unscrew the single small screw in the center of the disc tray and lift off the tray.
-
-
-
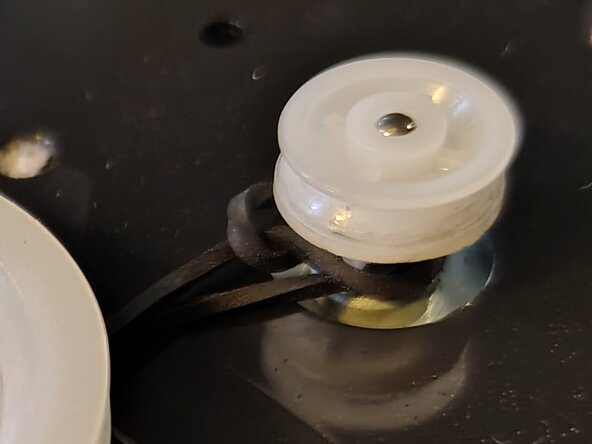
Notice the defective belt in the photo has become wrapped around the small pulley. Identify the defective belt in your unit and remove it. A replacement belt can be purchased online, for example, https://www.amazon.com/dp/B08KWCN41C
-
Observe the correct placement of the belt in the next photo.
-


To reassemble your device, follow these instructions in reverse order. Note that attaching the front plate requires the disc tray to be in its extended position so the front slot can be slipped around it.
Cancel: I did not complete this guide.
One other person completed this guide.