Introduction
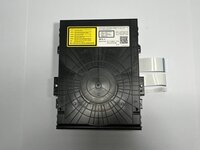
Follow this guide to replace a faulty optical disk drive in your Sony BDP-S360 Blu-Ray player.
The optical disk drive is a piece of hardware responsible for accepting, scanning, and playing CDs, DVDs, and Blu-ray discs. A faulty optical disk drive may produce irregular noise and/or prevent your video player from properly accepting, recognizing, and playing videos/audio.
Before attempting this guide, inspect the disc tray for any dust hampering the component's functionality. Avoid applying cleaning solutions or moisture onto the drive itself. Instead, use an anti-static brush or a can of compressed air to blow out particles. If issues persist, the optical disk drive should be replaced or removed for further inspection. An anti-static wrist strap is encouraged when managing delicate electrical components to reduce the likelihood of electrostatic discharge.
Before beginning, ensure the device is disconnected from a power outlet.
What you need
-
-
-
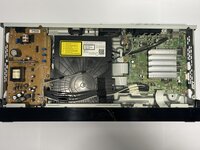
Place the device on a clean solid surface, avoiding wool or cloth surfaces to reduce the likelihood of generating static that may damage hardware.
 Ask FixBot
-
-
-
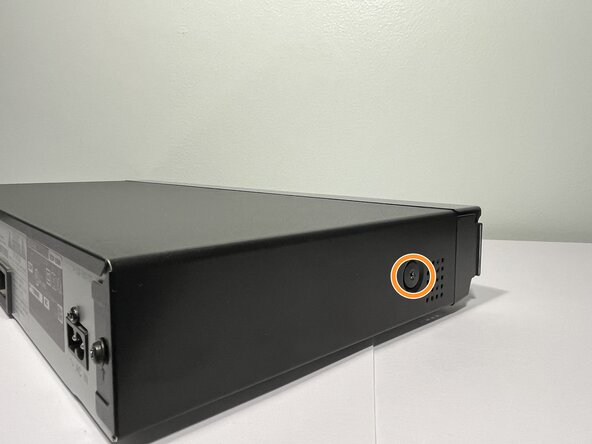
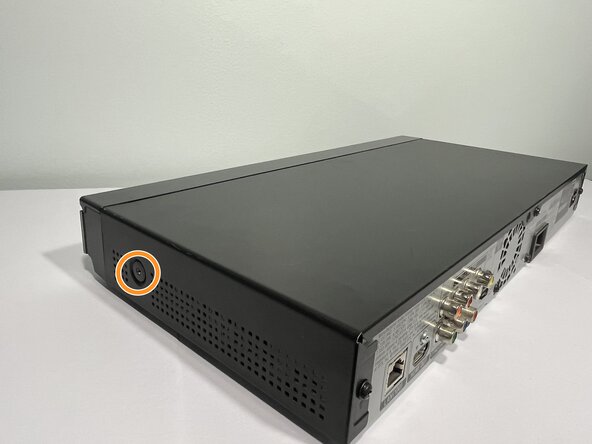
Use a Phillips #1 screwdriver to remove the screws from the back and sides of the device that hold the Blu-ray player’s outer casing in place.
-
Three 8.3 mm-long screws on the back of the device
-
Two 12 mm-long screws—one from each side of the device
-
-
-
-
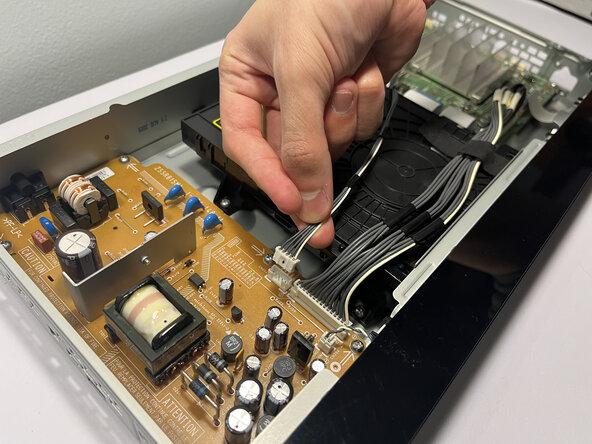
Use your fingers to squeeze the tab against the connector and pull straight up to disconnect the power cables from the board.
-
-
-
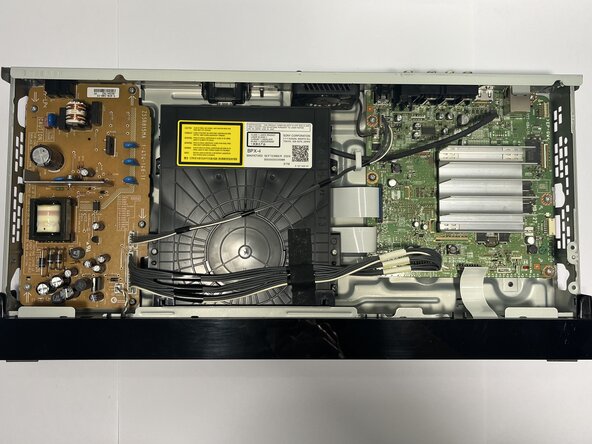
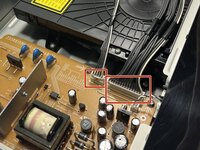
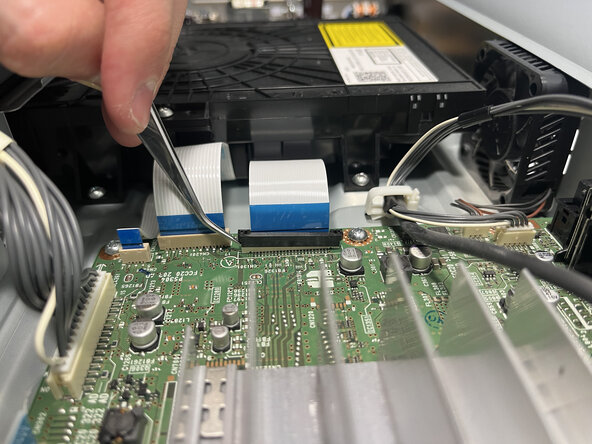
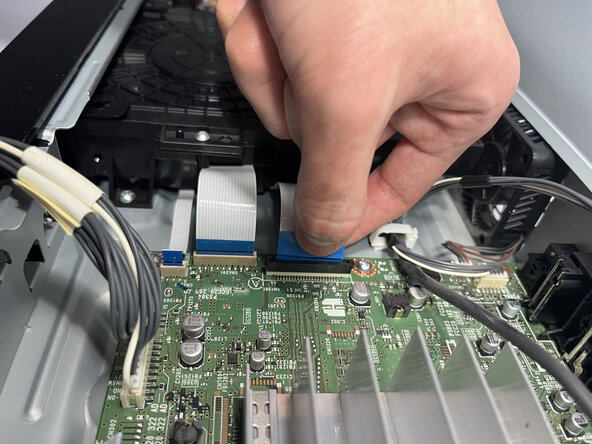
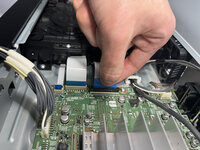
Use tweezers to pinch the blue tabs and gently pull out the two ribbon cables connected to the right of the optical disk drive.
-
Use a spudger or tweezers and gently push up on alternating sides of the black locking tab connector connected to the widest ribbon cable before attempting to pull out the cable.
-
-
-
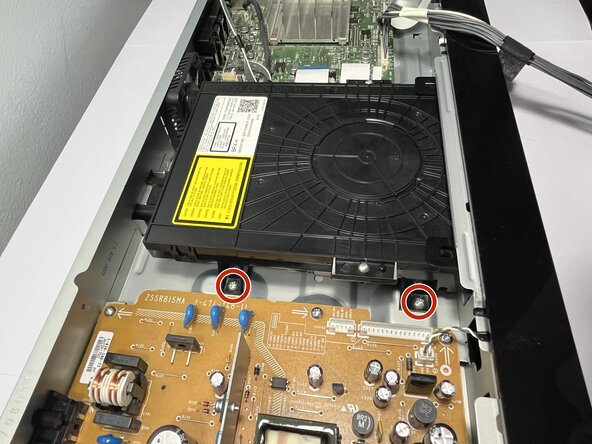
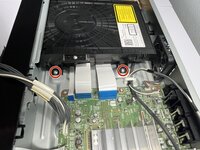
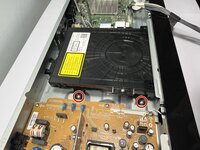
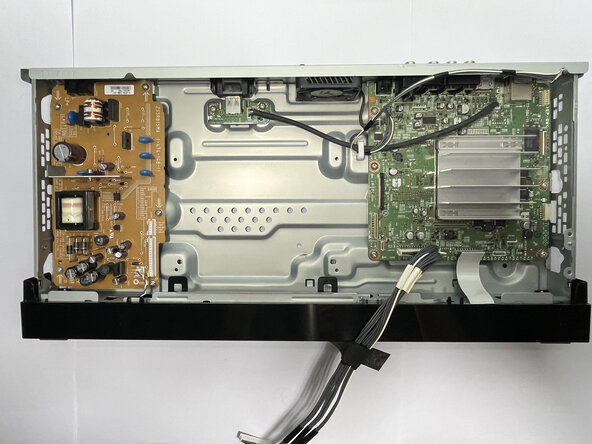
Use a Phillips #1 screwdriver to remove the four 7 mm screws near the corners of the component that secure the optical disc drive to the device frame.
-
-
-
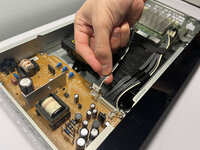
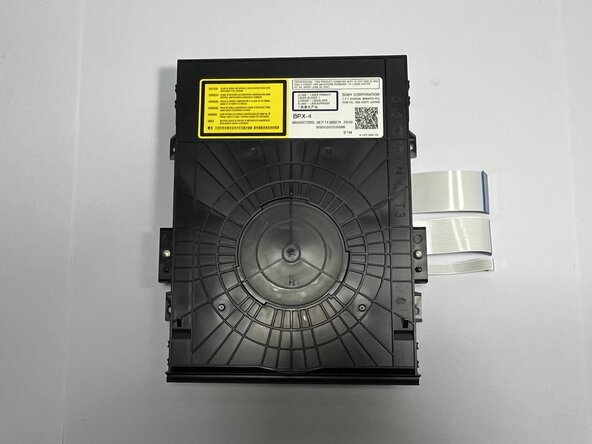
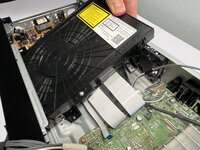
Lift the optical disc drive at a 30-degree angle, then pull it out of the housing to remove it.
-
-




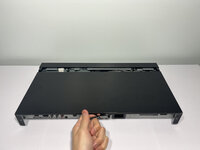




To reassemble your device, follow these instructions in reverse order. Take your e-waste to an R2 or e-Stewards certified recycler.

Team

York University, Team 4-10, Woodhouse Winter 2025 Member of York University, Team 4-10, Woodhouse Winter 2025
YORK-WOODHOUSE-W25S4G10
2 Members
12 Guides authored
