
Sony Alpha NEX-C3 LCD Screen Replacement

Jonathan Chen and 5 other contributors
Last updated on Mar 17, 2025
Views: 3.8K
View statistics:
- Past 24 Hours:
- 2
- Past 7 Days:
- 19
- Past 30 Days:
- 114
- All Time:
- 3,816
Comments: 2
2 guide comments.
Go to guide commentsCompleted: 1 2
1 person has marked this guide "completed." Will you be next?
2 people have marked this guide "completed." Including you — great job!
Favorites: 0 1
No one has favorited (and subscribed to) this guide. Will you be the first?
1 person has favorited (and subscribed to) this guide — and that's you!
Introduction
Go to step 1 ↓The LCD screen is a helpful display when taking photos. A cracked or damaged screen needs replacement.
What you need
Tools


-
-
-
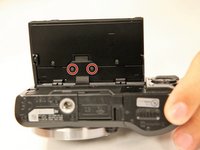
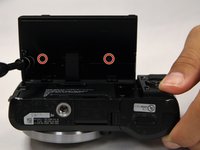
Use a Phillips head 000 screwdriver to remove the two 2.0mm screws on the bottom of the LCD screen.
-
-
-
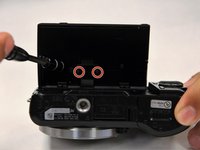
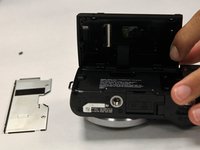
Use a Phillips head 000 screwdriver to remove the two 1.0mm screws on the smaller backplate of the LCD screen that covers the ribbon cable.
-
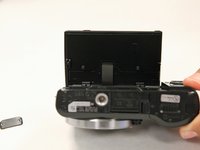
The smaller backplate should easily come off. Put it to the side.
-
-
-
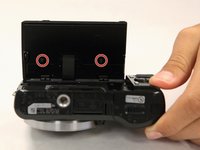
Use a Phillips head 000 screwdriver to remove the two 1.0mm screws on the bigger backplate of the LCD.
-
-
-
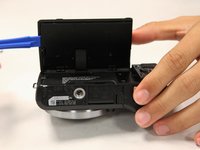
Using the plastic opening tool, remove the larger backplate from the LCD screen.
-
-
-
With your hands, gently remove the black plastic piece on the backside of the LCD screen.
-
-
-
Tool used on this step:Tweezers$4.99
-
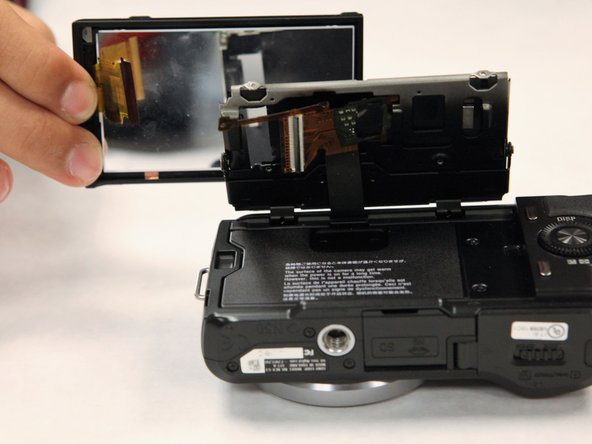
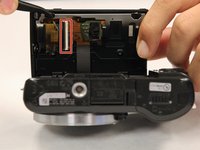
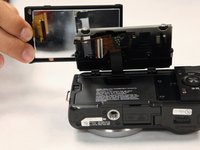
Using tweezers, gently open the connector. It pivots open. Pull up and away on the ribbon cable connected to the motherboard, after which, the LCD screen should come off.
-
-
-
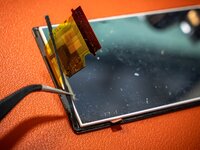
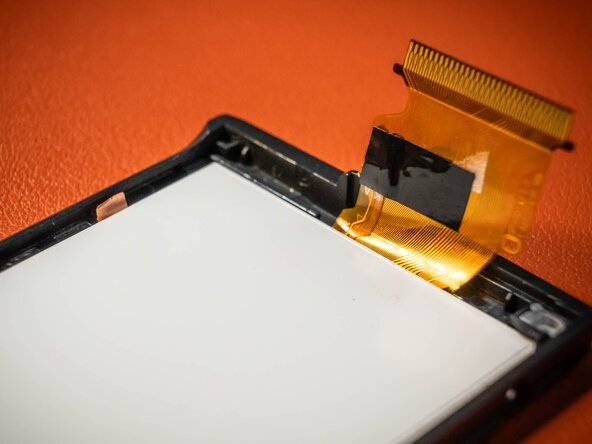
The screen is attached to a frame, via a thin strip of adhesive. Press gently on a corner of the backside of the screen, to detach it from the frame.
-
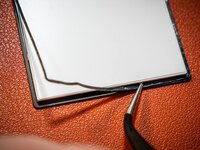
If your replacement screen did not come with it's own adhesive, carefully peel the original adhesive strip from the original screen, and apply it to the new screen.
-
-
-
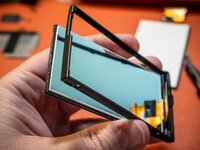
Insert the new screen in to the frame, ensuring the ribbon cable and copper tab are gently folded inwards within the frame, so they are not damaged.
-
Now you may re-assemble, working backwards from step 8.
-
Enjoy your new screen!
-

 Ask FixBot








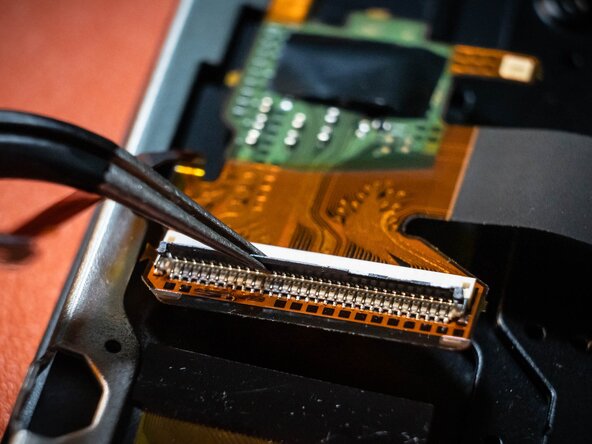
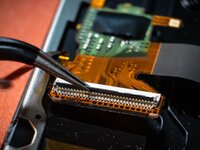



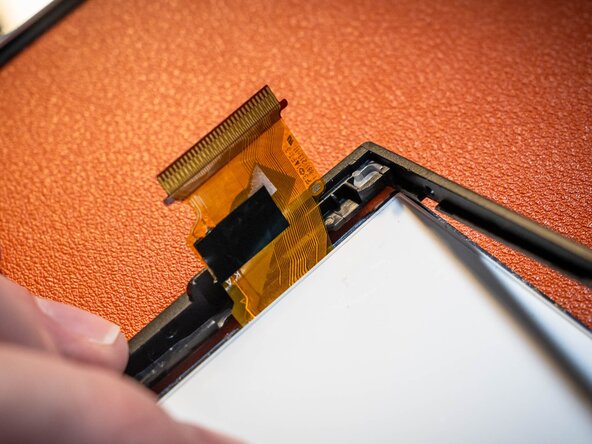
To reassemble your device, follow these instructions in reverse order. However, when installing the ribbon cable, the connector has a specific step. The connector has a tiny flap that clamps down onto the ribbon cable in order to make it secure.
Cancel: I did not complete this guide.
One other person completed this guide.

Team

UC Santa Barbara, Team S1-G1, Weedon Fall 2017 Member of UC Santa Barbara, Team S1-G1, Weedon Fall 2017
UCSB-WEEDON-F17S1G1
3 Members
72 Guides authored
2 Guide Comments
Sir, my unit has many lines that appear on the screen. However, the lcd glass is pristine & has no cracks. Which part is defective? Is the lcd mother board the culprit? Thank you.
Sorry this is probably a little late, but this may mean the ribbon cable for the lcd is damaged, or not properly connected! Follow the screen replacement guide until you have access to the ribbon cable. See if it's damaged or not inserted completely!
