Introduction
This guide will begin by taking off back cover of screen assembly. The guide will then explain how to uncover and disconnect the LCD Ribbon cable. The screen will then be removed from the screen mount assembly.
What you need
-
-
-
Turn the camera off by switching the power knob "OFF" text to the white selector dot.
 Ask FixBot
-
-
-
Flip the camera upside-down and carefully place it on a flat surface.
-
With the lens facing outward, locate the battery compartment - indicated by a grooved latch.
-
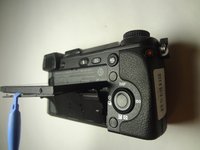
Push the latch to the right to unlock the battery compartment. The door should flip upward.
-
-
-
With the compartment open, locate a blue tab shown with spudger
-
Press the tab to the side (to the left, or toward the camera wall). This will eject the camera battery.
-
-
-
-
-
Remove the two 1.0 mm Phillips #00 screws from back of the LCD screen.
-
-
-
-
Remove the two 1.5 mm Phillips #00 screws from the bottom of the screen mount assembly.
-
-
Tool used on this step:Tweezers$4.99
-
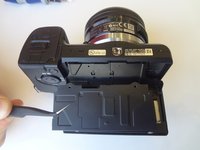
Using a plastic opening tool pry off the back cover from the screen assembly.
-
Remove back cover by lifting it away from the screen using tweezers.
-
-
-
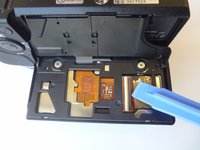
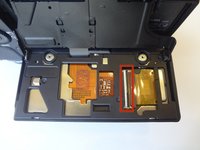
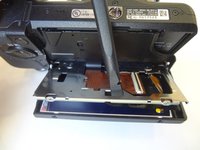
Release the ribbon cable by lifting the black locking latch with the plastic opening tool.
-
Pry out the ribbon cable by carefully sliding it out of the connection slot using a spudger.
-
-
-
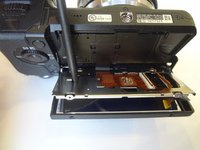
Lift and slide out the upper black plastic separator using tweezers.
-
-
-
Lift and remove the lower black plastic separator using tweezers.
-
Using the pointy side of a spudger push in the screen lock button release it.
-
The screen lock button can now be removed.
-
-
-
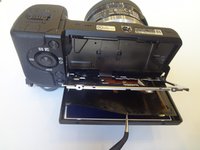
Using the flat end of the spudger, push on the black nylon sheet glued to the metallic frame to peel it of.
-
Remove the black nylon sheet using tweezers.
-
-




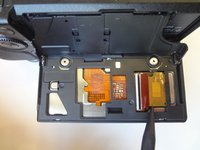


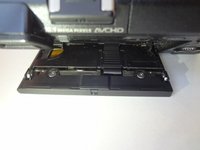
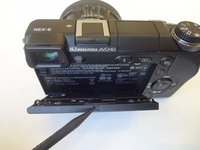
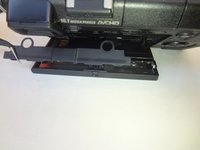



To reassemble your device, follow these instructions in reverse order.
Cancel: I did not complete this guide.
6 other people completed this guide.

Team

USF Tampa, Team 11-2, Blackwell Winter 2015 Member of USF Tampa, Team 11-2, Blackwell Winter 2015
USFT-BLACKWELL-W15S11G2
4 Members
84 Guides authored
2 Guide Comments
Hi - I am trying to fix one of these -- and the guy I bought it from pulled off and lost the black locking latch from the ribbon cable rather than just lifting it -- I can get the LCD screen to light but can't keep it on very long -- I bought another one of these internal cables with the black locking latch. Do you think I can pop that one off and move it to this one? Or do you have any source of instructions how to replace that cable?
Cheers and thanks for this!
PS -- If anyone is just trying to get rid of the dreaded bubbles in the screen saver that plagues these NEX cameras -- it does just peal off -- see youtubes,,,
