Free Shipping on Domestic Orders $75+

Sony α6500 Top Assembly Replacement

What you need

  1. Sony α6500 Top Assembly Replacement, Battery: step 1, image 1 of 1
    • Verify the camera is powered off by setting the switch to OFF.

    Ask FixBot
    Add Comment

  2. Sony α6500 Top Assembly Replacement: step 2, image 1 of 2 Sony α6500 Top Assembly Replacement: step 2, image 2 of 2
    • Flip the camera upside down.

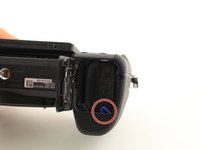
    • Slide the battery compartment lock to OPEN to unlock it.

    Ask FixBot

    Add Comment

  3. Sony α6500 Top Assembly Replacement: step 3, image 1 of 2 Sony α6500 Top Assembly Replacement: step 3, image 2 of 2
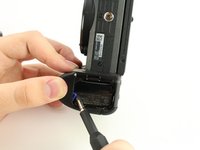
    • Push the blue lever aside to release the battery.

    Ask FixBot

    Add Comment

  4. Sony α6500 Top Assembly Replacement: step 4, image 1 of 1
    • Remove the released battery from the compartment.

    Ask FixBot
    Add Comment

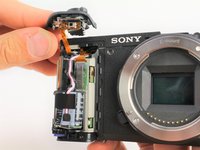
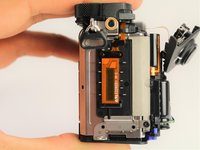
  5. Sony α6500 Top Assembly Replacement, Top Assembly: step 5, image 1 of 2 Sony α6500 Top Assembly Replacement, Top Assembly: step 5, image 2 of 2
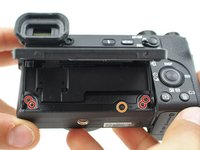
    • To access the back of the camera remove the screws attaching the LCD screen hinge to the camera body.

    • Remove four 3 mm JIS 000 screws.

    • Remove one 3 mm JIS 00 screw.

    • After dismounting the screen hinge be careful to avoid tearing the black wire ribbon connecting the screen to the camera body.

    Ask FixBot
    Add Comment

  6. Sony α6500 Top Assembly Replacement: step 6, image 1 of 2 Sony α6500 Top Assembly Replacement: step 6, image 2 of 2
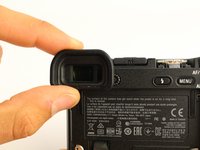
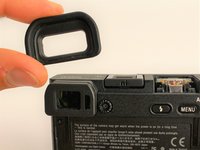
    • Grasp the viewfinder eyecup; slide it up and off the viewfinder.

    Ask FixBot

    Add Comment

  7. Sony α6500 Top Assembly Replacement: step 7, image 1 of 3 Sony α6500 Top Assembly Replacement: step 7, image 2 of 3 Sony α6500 Top Assembly Replacement: step 7, image 3 of 3
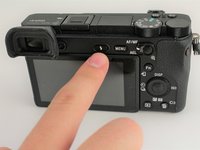
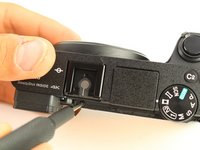
    • Press the flash popup button on the back of the camera.

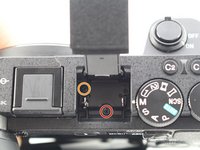
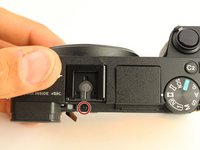
    • Remove one 5 mm JIS 00 screw from inside the flash compartment.

    • Remove one 4 mm JIS 00 screw.

    Ask FixBot

    Add Comment

  8. Sony α6500 Top Assembly Replacement: step 8, image 1 of 3 Sony α6500 Top Assembly Replacement: step 8, image 2 of 3 Sony α6500 Top Assembly Replacement: step 8, image 3 of 3
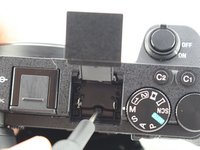
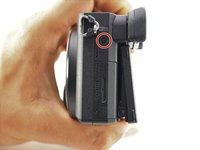
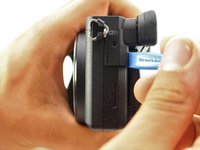
    • To remove the top of the camera you must remove the back first.

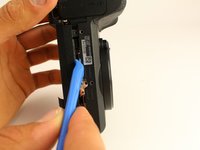
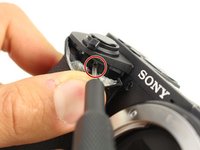
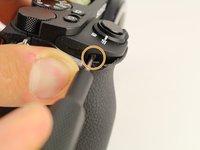
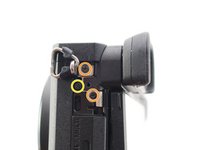
    • Remove the 2.5 mm JIS 00 screw from the side of the camera near the viewfinder.

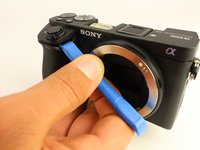
    • Use the opening tool to pry off the small cover.

    • Remove two 2.5 mm JIS 00 screws from underneath the cover.

    • Remove a 5 mm JIS 00 screw from underneath the cover.

    Ask FixBot

    Add Comment

  9. Sony α6500 Top Assembly Replacement: step 9, image 1 of 2 Sony α6500 Top Assembly Replacement: step 9, image 2 of 2
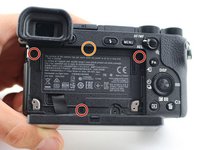
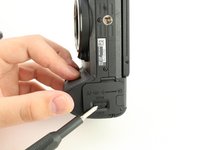
    • Remove three 2.5 mm JIS 0 screws from the back face of the camera.

    • Remove one 4 mm JIS 00 screw from the underside of the lip that overhangs the back of the camera.

    Ask FixBot
    Add Comment

  10. Sony α6500 Top Assembly Replacement: step 10, image 1 of 1
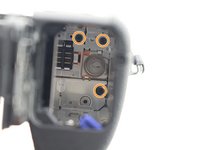
    • Remove four 4 mm JIS 0 screws from the bottom of the camera.

    Ask FixBot
    Add Comment

  11. Sony α6500 Top Assembly Replacement: step 11, image 1 of 2 Sony α6500 Top Assembly Replacement: step 11, image 2 of 2
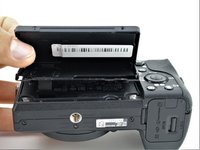
    • Flip the battery lock switch to open and open the battery compartment.

    • Remove three 2.5 mm JIS 00 screws from the top of the battery compartment.

    • You may need a longer or thinner screwdriver to reach the screws in the battery compartment.

    Ask FixBot

    Add Comment

  12. Sony α6500 Top Assembly Replacement: step 12, image 1 of 2 Sony α6500 Top Assembly Replacement: step 12, image 2 of 2
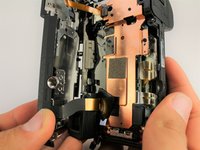
    • Use the plastic opening tool to begin prying off the back of the camera from the side.

    • Continue to loosen the back until you can open it from the bottom.

    Ask FixBot

    Add Comment

  13. Sony α6500 Top Assembly Replacement: step 13, image 1 of 3 Sony α6500 Top Assembly Replacement: step 13, image 2 of 3 Sony α6500 Top Assembly Replacement: step 13, image 3 of 3
    Tool used on this step:
    Tweezers
    $4.99
    Buy
    • Open the back of the camera.

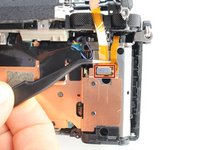
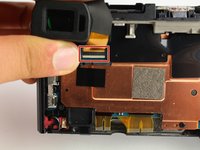
    • Use tweezers to remove two ribbon connectors from underneath the back. One connects to the LCD display and the other connects to the right side behind the battery compartment.

    • Ribbon connectors can tear easily. Grasp the plastic ends (not the ribbon) when removing.

    Ask FixBot

    Add Comment

  14. Sony α6500 Top Assembly Replacement: step 14, image 1 of 3 Sony α6500 Top Assembly Replacement: step 14, image 2 of 3 Sony α6500 Top Assembly Replacement: step 14, image 3 of 3
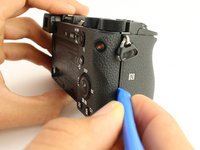
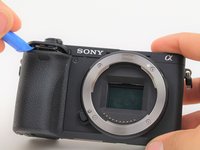
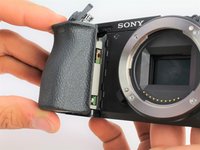
    • Use the plastic opening tool to peel down the rubber grip around the handle at least 1 cm.

    • The adhesive holding the rubber grip down should be strong enough to reattach when you are done. If not, you may need an adhesive to reglue it.

    • Remove one 3 mm JIS 000 screw from underneath the rubber grip on the right side.

    • Remove one 4 mm JIS 000 screw from the left side.

    Ask FixBot

    Add Comment

  15. Sony α6500 Top Assembly Replacement: step 15, image 1 of 2 Sony α6500 Top Assembly Replacement: step 15, image 2 of 2
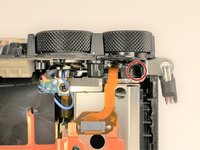
    • The last screws holding the top on can be accessed once the back of the camera is removed.

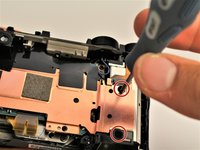
    • Remove one 2.5 mm JIS 00 screw from the top next to the flash mount.

    Ask FixBot

    Add Comment

  16. Sony α6500 Top Assembly Replacement: step 16, image 1 of 3 Sony α6500 Top Assembly Replacement: step 16, image 2 of 3 Sony α6500 Top Assembly Replacement: step 16, image 3 of 3
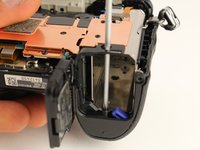
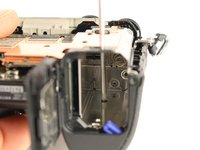
    • Insert a long, thin JIS 00 screwdriver through the two holes and into the battery compartment; remove the two 5mm JIS 00 screws inside it.

    Ask FixBot

    Add Comment

  17. Sony α6500 Top Assembly Replacement: step 17, image 1 of 2 Sony α6500 Top Assembly Replacement: step 17, image 2 of 2
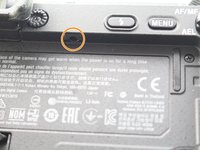
    • Use the long, thin, screwdriver to remove one 5 mm JIS 00 screw inside the camera accessible below the dials from the back.

    Ask FixBot

    Add Comment

  18. Sony α6500 Top Assembly Replacement: step 18, image 1 of 3 Sony α6500 Top Assembly Replacement: step 18, image 2 of 3 Sony α6500 Top Assembly Replacement: step 18, image 3 of 3
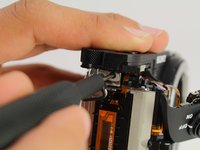
    • Use the plastic opening tool to gently lift up the shutter button assembly.

    • Grasp the front grip from the top and bottom and pull it off. It should come off easily with the shutter button out of the way.

    • The shutter button will still be attached by one ribbon cable once the front grip is removed.

    Ask FixBot

    Add Comment

  19. Sony α6500 Top Assembly Replacement: step 19, image 1 of 3 Sony α6500 Top Assembly Replacement: step 19, image 2 of 3 Sony α6500 Top Assembly Replacement: step 19, image 3 of 3
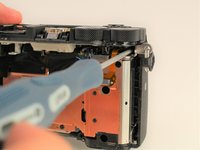
    • Remove one 2.5 mm JIS 00 screw from where the shutter button assembly used to be.

    • Remove one 3 mm JIS 00 screw from the side of the camera.

    Ask FixBot

    Add Comment

  20. Sony α6500 Top Assembly Replacement: step 20, image 1 of 2 Sony α6500 Top Assembly Replacement: step 20, image 2 of 2
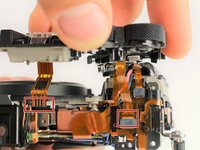
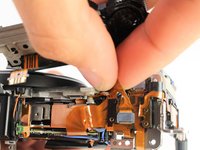
    • Carefully unplug the two ribbon connectors attaching the top assembly to the rest of the camera.

    Ask FixBot

    Add Comment

Conclusion

To reassemble your device, follow these instructions in reverse order.

Cancel: I did not complete this guide.

5 other people completed this guide.

Micah Fitzgerald

Member since: 10/03/19

674 Reputation

2 Guides authored

Team

Cal Poly, Team S11-G5, Regan Fall 2019 Member of Cal Poly, Team S11-G5, Regan Fall 2019

CPSU-REGAN-F19S11G5

5 Members

14 Guides authored

1 Guide Comment

Do you know where i should buy this? Especially in Indonesia.

Dimasngehe - Reply Share

Add Comment

View Statistics:

Past 24 Hours: 1

Past 7 Days: 10

Past 30 Days: 58

All Time: 2,003