
Sony α6000 Flash Assembly Replacement

William Lee and 4 other contributors
Last updated on Jun 24, 2025
Views: 7.3K
View statistics:
- Past 24 Hours:
- 5
- Past 7 Days:
- 49
- Past 30 Days:
- 206
- All Time:
- 7,274
Comments: 13
7 comments on steps, 6 guide comments.
Go to guide commentsCompleted: 5 6
5 people have marked this guide "completed." Will you be next?
6 people have marked this guide "completed." Including you — great job!
Favorites: 0 1
No one has favorited (and subscribed to) this guide. Will you be the first?
1 person has favorited (and subscribed to) this guide — and that's you!
Introduction
Go to step 1 ↓If your Sony a6000 camera's flash so happens to not be working properly first check and make sure there are no issues with the battery that is in the camera. Also try checking if the flash is on and not on auto or off. If you have checked all these possible issues and your flash is still faulty then this helpful step-by-step guide on how to successfully repair or replace the flash on the Sony a6000 camera will restore your camera's flash to where you can take all the pictures you want with a like new operating flash.
What you need
Tools


-
-
-
-
Position the camera with the flash assembly facing upwards.
-
Locate the flash assembly.
-
-
-
Open the flash assembly.
-
Using the Phillips #00 screwdriver, remove the single screw beneath the flash assembly.
-
-
-
Position the camera with the LCD screen facing upwards.
-
Pull back the LCD Screen.
-
Using the Phillips #00 screwdriver, remove the three screws beneath the viewfinder.
-
-
-
-
Position the camera with the HDMI port facing upwards.
-
Using the Phillips #00 screwdriver, unscrew the single screw on the left side of the camera body.
-
-
-
Position the camera with the top panel facing upwards.
-
Carefully separate the top of the camera from the body using plastic opening tool.
-
-
-
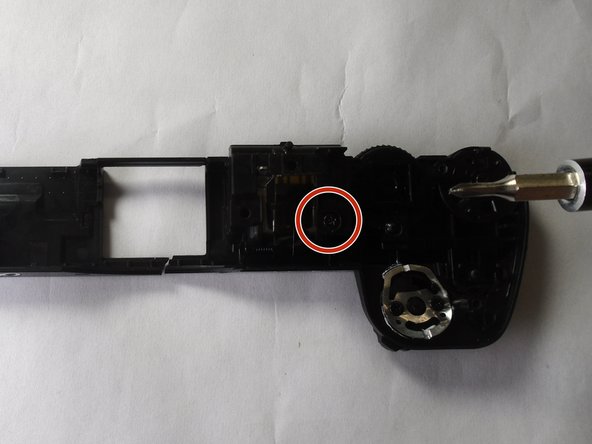
Position the camera so the top panel's underside is facing you
-
Using the Phillips #00 screwdriver, unscrew the screw underneath the flash assembly.
-
-


 Ask FixBot


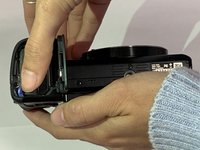
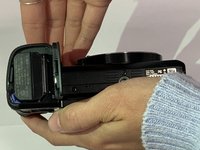


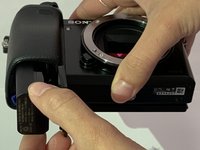
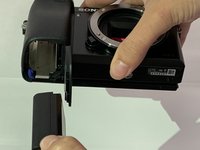



To reassemble your device, follow these instructions in reverse order.
Cancel: I did not complete this guide.
5 other people completed this guide.

Team

The Citadel Military College of South Carolina, Team S2-G3, Eggleston Fall 2019 Member of The Citadel Military College of South Carolina, Team S2-G3, Eggleston Fall 2019
CMCSC-EGGLESTON-F19S2G3
3 Members
36 Guides authored
6 Guide Comments
Anyone know where to get the flash? My daughter’s has the “won’t stay closed” problem so common to the a-series and I need to replace it.
Thanks, good guide but please update it according to Jürgens comments or there is a big risk people will break their top panel.
David: I got the flash unit from AliExpress, but you can find it on Ebay as well.
Thanks for the guide! I had to open additional 2 more screws inside the battery compartment. and only had to remove 2 bottom screws on Step 8 (instead of 3). Replaced the flash unit without any issue. Thank you!
Thank you for the Description, for me I had 2 screws below the view finder, and also 2 in the battery compartment that needed to come loose.
I did not have any screws behind the button to adjust for your eye sight.
I did have some issues to get the cable back in properly, and had to tape my metal tweezer not to get zapped over and over again.
What worked best for me was a flat tweezer and gently push it in.
When Placing back the top panel i had some issues with the alignment with the on off button as initially i couldn't turn the camera on/off any more. After trying some positions with the on off button it worked.
