Introduction
This guide will provide you with a detailed process on how to replace the back case of a Sony a6000 camera. Prior to replacing the case, make sure to remove the battery. Steps 1-4 will guide you on how to take out the battery and steps 5-12 guide you on how to replace the back case. The recommended tools for this procedure are a screwdriver, opening tools, a magnetic project mat, and gloves.
What you need
-
-
-
-
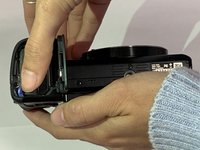
Position the camera with the bottom facing upwards and the lens facing away from you.
-
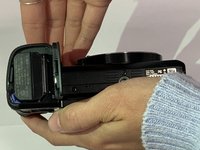
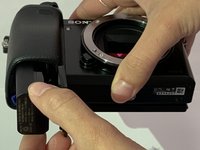
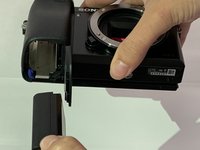
Slide the notched locking bar on the battery compartment from LOCK to OPEN.
-
-
-
Once the battery is removed, use a Phillips #00 screwdriver to remove the three screws at the bottom of the battery compartment.
-
-
-
Use the Phillips #00 screwdriver to remove the screws located next to the camera strap.
-
-
-
Position the camera with the battery housing facing upwards.
-
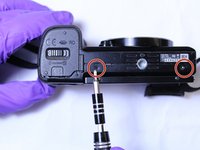
Remove the two screws on the bottom of the camera using the Phillips #00 screwdriver.
-
-
-
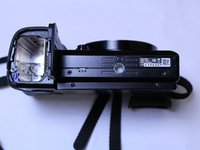
Position the camera with the flash assembly facing upwards.
-
Remove the screw located underneath with a Phillips #00 screwdriver.
-
-
-
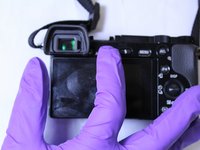
Pull back the LCD screen.
-
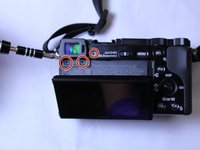
Remove the three screws directly underneath using the Phillips #00 screwdriver.
-
-
-
Gently pop off the top case of the camera using your fingers or a plastic opening tool.
-
-
-
Position the camera with the LCD screen facing upwards.
-
Pull back the LCD screen.
-
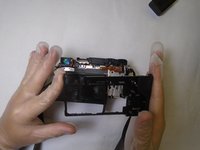
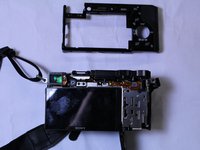
Gently remove the back case guiding it around the LCD screen.
-
-


 Ask FixBot










To reassemble your device, follow these instructions in reverse order.
Cancel: I did not complete this guide.
3 other people completed this guide.

Team

The Citadel Military College of South Carolina, Team S2-G3, Eggleston Fall 2019 Member of The Citadel Military College of South Carolina, Team S2-G3, Eggleston Fall 2019
CMCSC-EGGLESTON-F19S2G3
3 Members
36 Guides authored
