
Sonos Roam Speaker Module Replacement

Lauren Young and 4 other contributors
Last updated on May 7, 2024
Views: 2K
View statistics:
- Past 24 Hours:
- 2
- Past 7 Days:
- 10
- Past 30 Days:
- 71
- All Time:
- 2,011
Comments: 5
5 comments on steps.
Completed: 0 1
No one has marked this guide "completed." Will you be the first?
1 person has marked this guide "completed." It's you — great job!
Favorites: 0 1
No one has favorited (and subscribed to) this guide. Will you be the first?
1 person has favorited (and subscribed to) this guide — and that's you!
Featured Student Guide
This guide has been the hard work of our awesome students and is found to be exceptionally cool by the iFixit staff.
Introduction
Go to step 1 ↓If your Sonos Roam is having audio issues such as distorted sound, cutting out, or no sound playing, then use this guide to replace the speaker module.
The speaker module is the large, internal component that produces the sound. A broken speaker module will result in various audio issues.
Before using this guide, make sure the Bluetooth is stable. Also try rebooting the device before performing any replacement.
There are steps that recommend (not require) the use of the iOpener. This will help with carefully removing the adhesive used to keep this device together. Refer to this link on how to properly use the iOpener.
What you need
Tools


-
-
-
Use the metal spudger to pry the end cap with the buttons.
-
Pry from all sides to loosen the adhesive.
 Ask FixBot
-
-
-
Flip the device to the other end cap.
-
Use the metal spudger to loosen the adhesive.
-
-
-
-
-
Flip the device so that the Sonos logo is on the top.
-
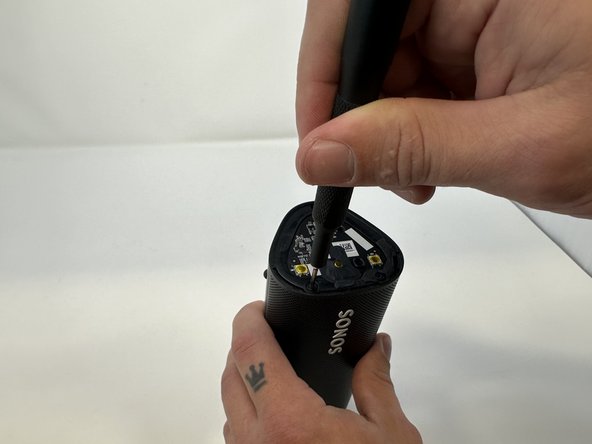
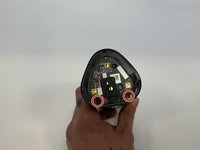
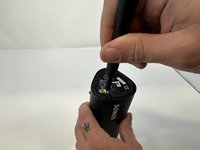
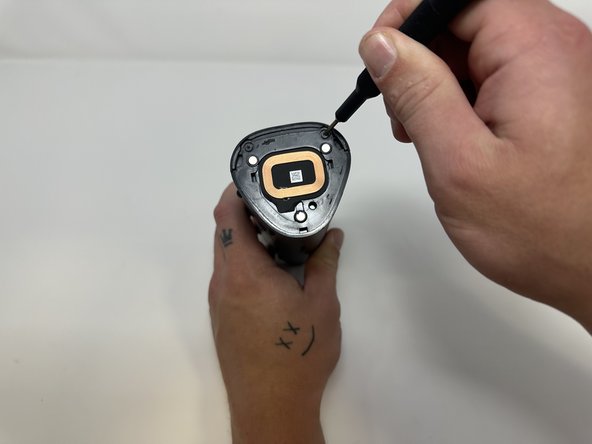
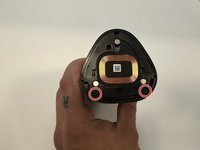
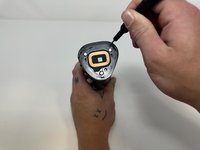
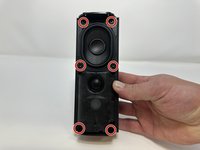
Use the Torx T6 screwdriver to remove the two 6 mm screws.
-
-
-
Flip the device so the Sonos logo is on the top.
-
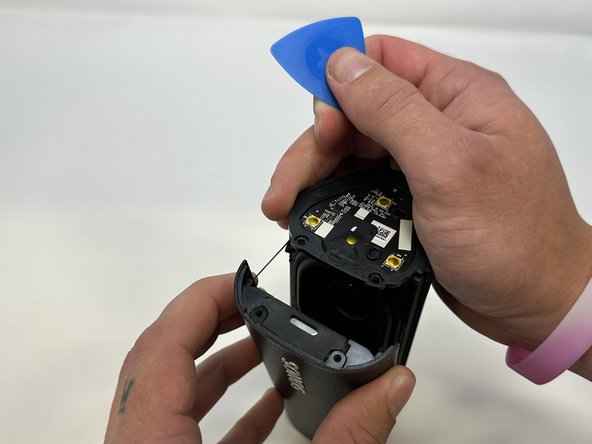
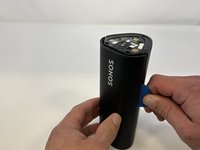
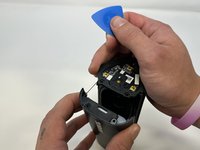
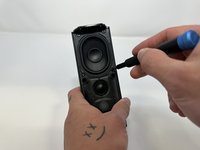
Use the iFixit opening picks to wedge between the split of the grille and the back of the speaker to pry the grille apart.
-
-
-
-
-
Tool used on this step:Tweezers$4.99
-
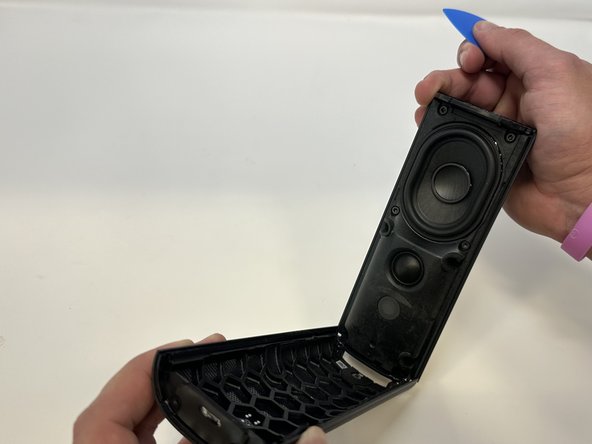
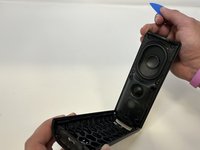
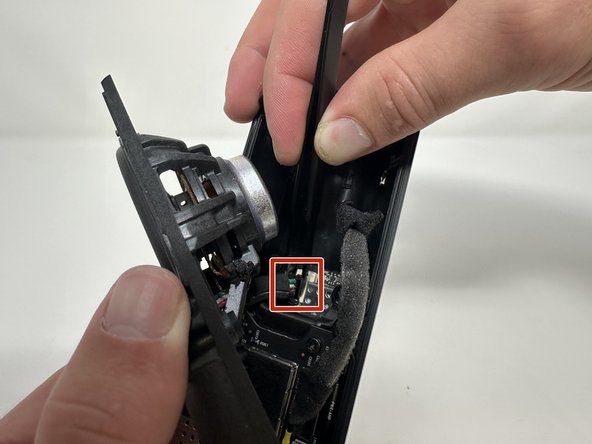
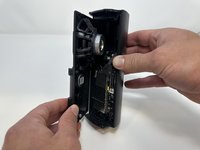
Begin to carefully separate the speaker module from the device.
-
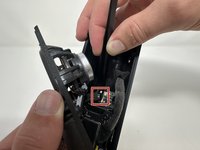
Firmly squeeze the middle of the plug using the tweezers to pull it out of the socket.
-
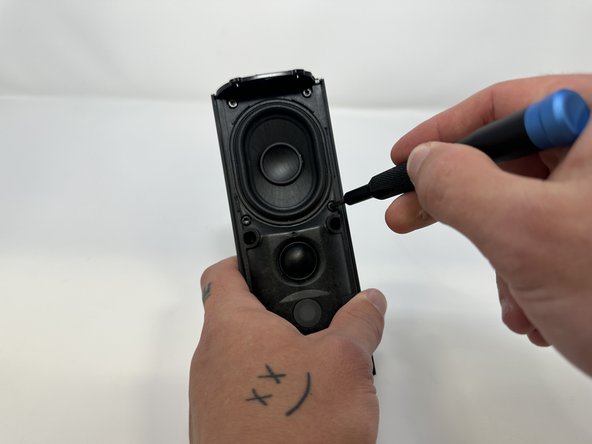
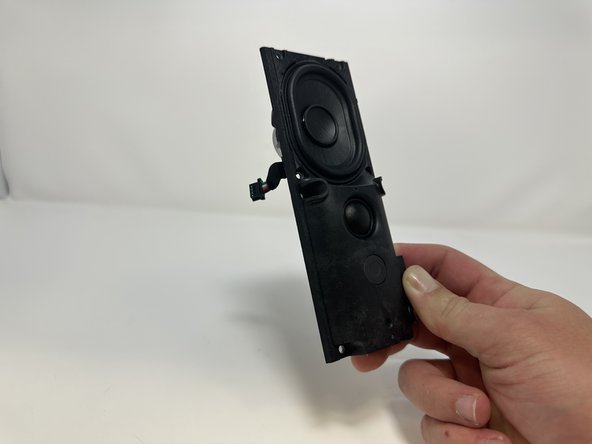
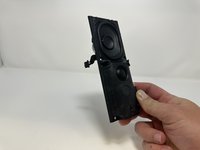
Separate the speaker module from the device.
-






To reassemble your device, follow these instructions in reverse order.

Team

Utah Tech University, Team 1-2, McMurrin Fall 2023 Member of Utah Tech University, Team 1-2, McMurrin Fall 2023
UTAHTECH-MCMURRIN-F23S1G2
3 Members
60 Guides authored
