Introduction
If your Sonos Roam 2 speaker is experiencing persistent issues such as power failure, connectivity problems, or complete unresponsiveness, the motherboard (printed circuit board) may be the culprit. This guide will walk you through the process of replacing the motherboard to restore full functionality.
Before you begin, ensure that the issue isn't caused by a faulty battery or charging port, as those components are easier to replace and may resolve the problem.
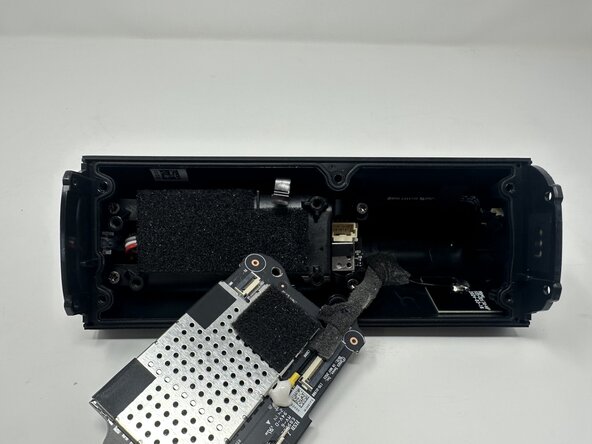
During disassembly, take care when handling internal components. Several connectors and wires are attached to the PCB, and they must be disconnected gently to avoid damage.
What you need
-
-
Stand the speaker on either end so that it's vertical.
-
Wedge your opening pick between the speaker and the rubber triangle on the end of the speaker.
-
Wiggle the pick back and forth and drag the pick around the edges to break through this adhesive.
-
Completely remove the rubber triangle.
-
-
-
-
Remove the six 7.5 mm screws securing the speaker driver using a T10 Torx screwdriver.
-


To reassemble your device, follow these instructions in reverse order.
Cancel: I did not complete this guide.
2 other people completed this guide.

Team

Utah Tech University, Team 1-6, McMurrin Fall 2025 Member of Utah Tech University, Team 1-6, McMurrin Fall 2025
UTAHTECH-MCMURRIN-F25S1G6
2 Members
4 Guides authored