Free Shipping on Domestic Orders $75+

Sonos Playbase IR Reciver Replacement

What you need

    1. Sonos Playbase IR Reciver Replacement, Bottom Panel: step 1, image 1 of 3 Sonos Playbase IR Reciver Replacement, Bottom Panel: step 1, image 2 of 3 Sonos Playbase IR Reciver Replacement, Bottom Panel: step 1, image 3 of 3
      Tool used on this step:
      Pro Tech Toolkit
      $79.95
      Buy
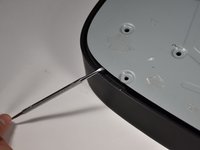
      • Turn the Playbase upside down so that the "Sonos Playbase" imprint is face up.

      • Remove the bottom panel with an Opening Tool by inserting underneath and prying upwards.

      • Melt the adhesive with an iOpener for ease of opening

      • Use a Metal Spudger if the plastic spudgers do not work.

      • Take care to avoid damaging the plastic or the device if using a metal spudger.

      Ask FixBot

      Add Comment

    2. Sonos Playbase IR Reciver Replacement: step 2, image 1 of 2 Sonos Playbase IR Reciver Replacement: step 2, image 2 of 2
      Tool used on this step:
      Pro Tech Toolkit
      $79.95
      Buy
      • Remove the fourteen 11mm T-10 screws by turning counter-clockwise.

      • Remove the seven 44mm T-20 screws by turning counter-clockwise.

      • Remove the twenty-two 34mm T-20 screws by turning counter-clockwise.

      • Record where each screw belongs for easier reassembly.

      Ask FixBot

      Add Comment

    3. Sonos Playbase IR Reciver Replacement: step 3, image 1 of 2 Sonos Playbase IR Reciver Replacement: step 3, image 2 of 2
      Tool used on this step:
      Pro Tech Toolkit
      $79.95
      Buy
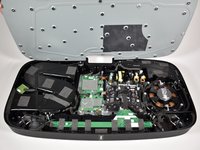
      • Remove the metal plate with a Opening Tool by inserting underneath and prying upwards.

      • Use a metal spudger if plastic openers do not work.

      • Take care to avoid damaging the plastic or the device if using a metal spudger.

      Ask FixBot

      Add Comment

    1. Sonos Playbase IR Reciver Replacement, Main Speaker Array: step 4, image 1 of 2 Sonos Playbase IR Reciver Replacement, Main Speaker Array: step 4, image 2 of 2
      Ask FixBot

      Add Comment

    2. Sonos Playbase IR Reciver Replacement: step 5, image 1 of 2 Sonos Playbase IR Reciver Replacement: step 5, image 2 of 2
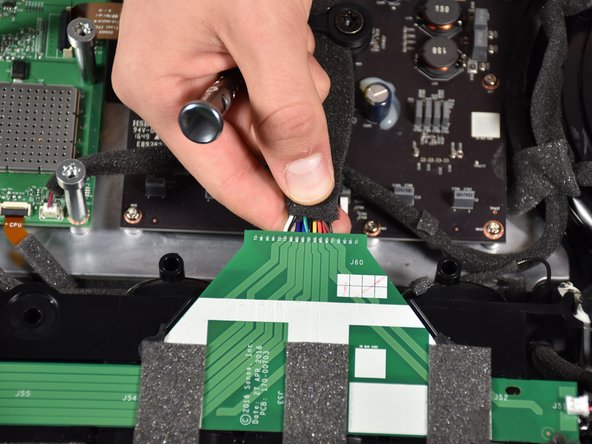
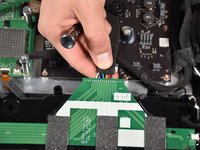
      • Remove the side speakers from the green printed circuit board (PCB) running along the top of the main speaker array by pinching and pulling out the connector.

      • See Recognizing & Disconnecting Cable Connectors for more information.

      Ask FixBot

      Add Comment

    3. Sonos Playbase IR Reciver Replacement: step 6, image 1 of 3 Sonos Playbase IR Reciver Replacement: step 6, image 2 of 3 Sonos Playbase IR Reciver Replacement: step 6, image 3 of 3
      Tool used on this step:
      Pro Tech Toolkit
      $79.95
      Buy
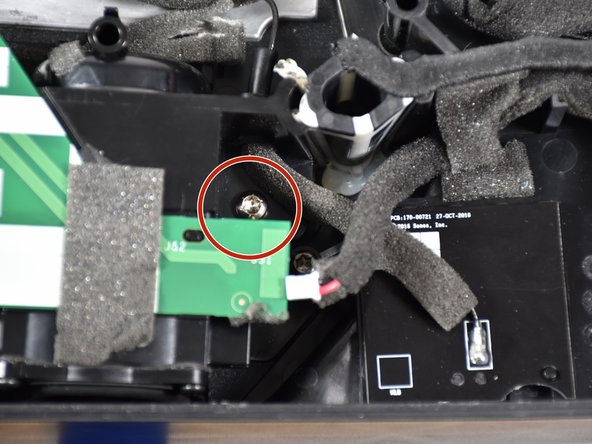
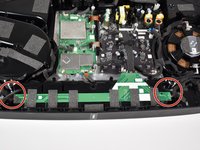
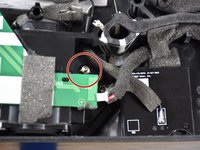
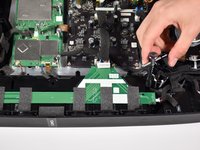
      • Remove the two 16mm T-20 screws located on both sides of the main speaker array by turning counter-clockwise.

      Ask FixBot

      Add Comment

    4. Sonos Playbase IR Reciver Replacement: step 7, image 1 of 1
      • Remove the main speaker array by gripping it on both sides and pulling it out.

      • The array may require a significant amount of force to remove.

      • Use prying tools as necessary to remove the main speaker array if you are unsuccessful using your hands.

      • Do not to yank the array out too suddenly or too far as this may damage the device.

      Ask FixBot

      Add Comment

    5. Sonos Playbase IR Reciver Replacement: step 8, image 1 of 1
      • Prop the removed main speaker array up on top of the main circuit board.

      Ask FixBot

      Add Comment

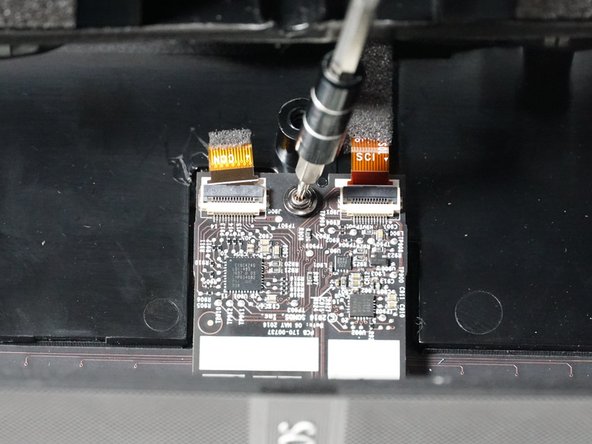
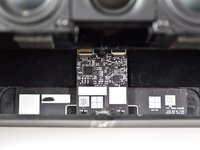
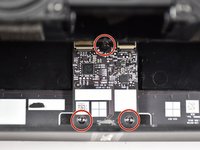
    1. Sonos Playbase IR Reciver Replacement, IR Receiver: step 9, image 1 of 3 Sonos Playbase IR Reciver Replacement, IR Receiver: step 9, image 2 of 3 Sonos Playbase IR Reciver Replacement, IR Receiver: step 9, image 3 of 3
      Tool used on this step:
      Pro Tech Toolkit
      $79.95
      Buy
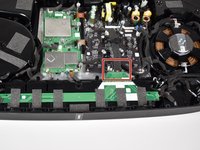
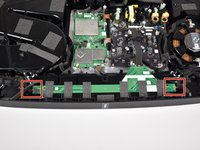
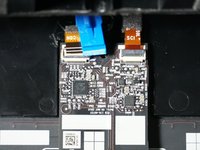
      • Lift the main speaker array to reveal the IR receiver underneath.

      • Remove the three 11 mm T-5 screws by turning counter-clockwise.

      Ask FixBot

      Add Comment

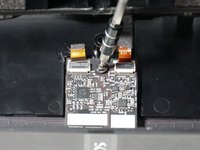
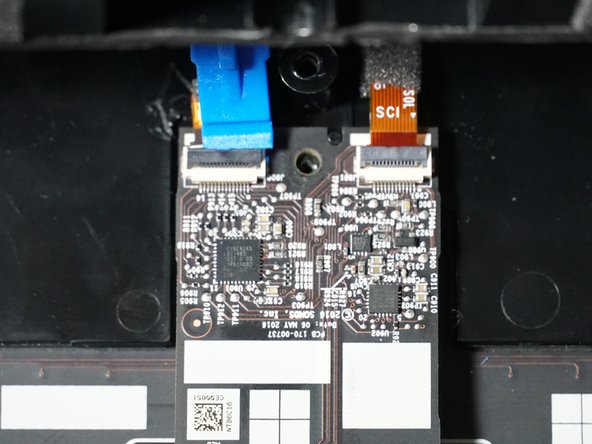
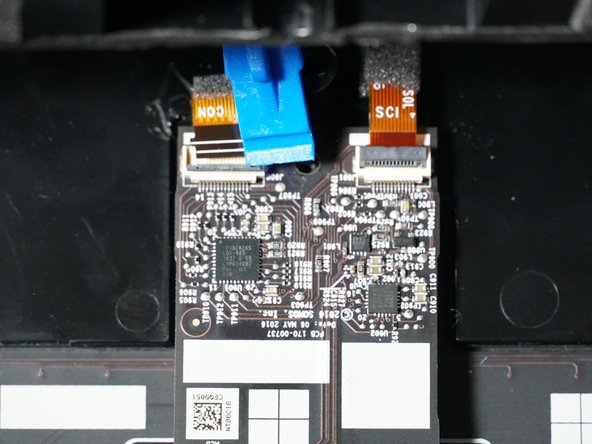
    2. Sonos Playbase IR Reciver Replacement: step 10, image 1 of 3 Sonos Playbase IR Reciver Replacement: step 10, image 2 of 3 Sonos Playbase IR Reciver Replacement: step 10, image 3 of 3
      Ask FixBot

      Add Comment

    3. Sonos Playbase IR Reciver Replacement: step 11, image 1 of 2 Sonos Playbase IR Reciver Replacement: step 11, image 2 of 2
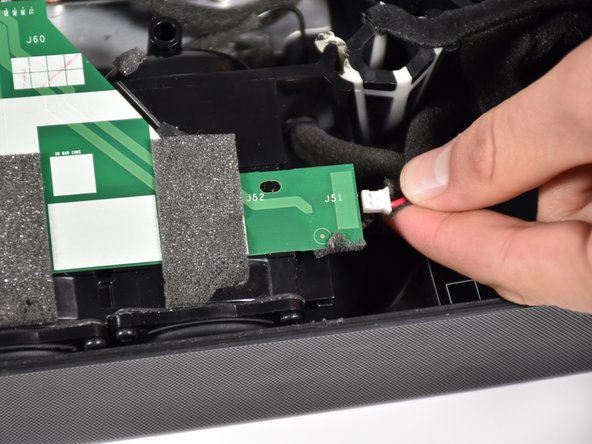
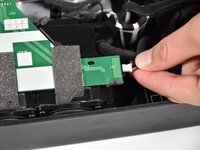
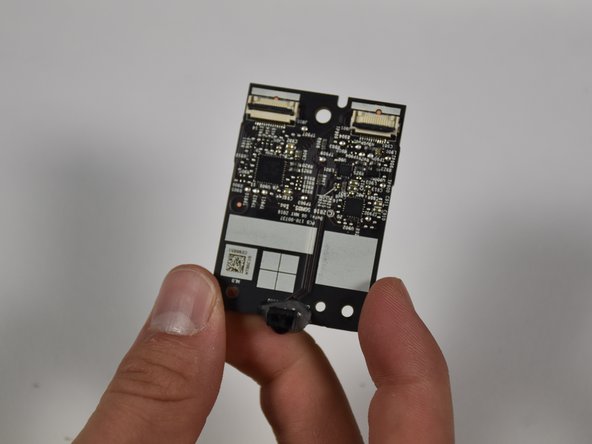
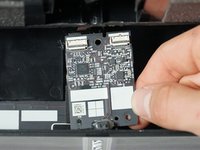
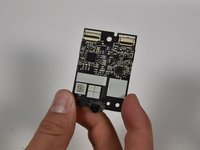
      • Remove the IR receiver by grasping it with two fingers and pulling up.

      Ask FixBot

      Add Comment

Conclusion

To reassemble your device, follow these instructions in reverse order.

Cancel: I did not complete this guide.

George Slivka

Member since: 10/08/18

341 Reputation

3 Guides authored

Team

Cal Poly, Team S17-G2, White Fall 2018 Member of Cal Poly, Team S17-G2, White Fall 2018

CPSU-WHITE-F18S17G2

4 Members

95 Guides authored

0 Guide Comments

Add Comment

View Statistics:

Past 24 Hours: 1

Past 7 Days: 9

Past 30 Days: 26

All Time: 1,769