Free Shipping on Domestic Orders $75+

Sonos One Power Adapter Replacement

Views: 11K

View statistics:

Past 24 Hours:
4
Past 7 Days:
48
Past 30 Days:
169
All Time:
10,672
Comments: 4

4 comments on steps.

Completed: 9

9 people have marked this guide "completed." Will you be next?

Favorites: 0

No one has favorited (and subscribed to) this guide. Will you be the first?

Time Required: 5 minutes
Difficulty: Easy
Sonos One Power Adapter Replacement

Introduction

Go to step 1 ↓

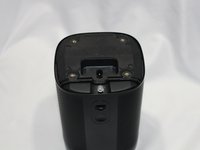
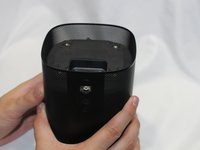
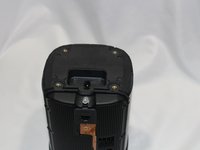
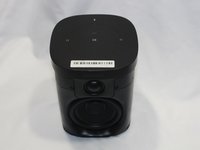
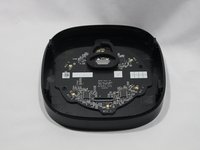
This guide is for the replacement of the power receptacle for the Sonos One.

Important: Accessing the internals of the Sonos One will void the factory warranty and make the unit rejected for factory repair, even if warranty is expired.

What you need

Tools

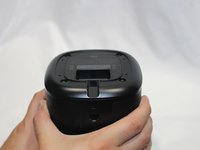
    1. Sonos One Power Adapter Replacement, Protective Cover: step 1, image 1 of 3 Sonos One Power Adapter Replacement, Protective Cover: step 1, image 2 of 3 Sonos One Power Adapter Replacement, Protective Cover: step 1, image 3 of 3
      • Disconnect all power cords.

      • Remove the rubber foot and plastic screw guard on the bottom of the device using a plastic opening tool.

      • Note: the rubber foot and plastic screw guard can be removed as one piece to make reassembly easier

      Ask FixBot

      Add Comment

    2. Sonos One Power Adapter Replacement: step 2, image 1 of 3 Sonos One Power Adapter Replacement: step 2, image 2 of 3 Sonos One Power Adapter Replacement: step 2, image 3 of 3
      • Remove the four 10mm Torx T10 screws from the bottom of the speaker.

      Ask FixBot

      Add Comment

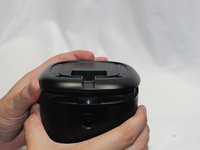
    3. Sonos One Power Adapter Replacement: step 3, image 1 of 2 Sonos One Power Adapter Replacement: step 3, image 2 of 2
      • Remove the bottom cover by squeezing the protective cover slightly while pushing up with your fingers.

      Ask FixBot

      Add Comment

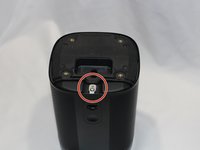
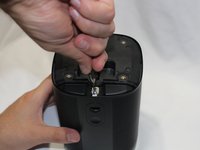
    4. Sonos One Power Adapter Replacement: step 4, image 1 of 3 Sonos One Power Adapter Replacement: step 4, image 2 of 3 Sonos One Power Adapter Replacement: step 4, image 3 of 3
      • The protective cover clip is very thin and deforms easily.

      • Remove the single 8mm Torx T10 screw and protective cover clip.

      Ask FixBot

      Add Comment

    5. Sonos One Power Adapter Replacement: step 5, image 1 of 2 Sonos One Power Adapter Replacement: step 5, image 2 of 2
      • Slide the protective cover upwards to remove.

      Ask FixBot

      Add Comment

    1. Sonos One Power Adapter Replacement, Control Panel & Microphone: step 6, image 1 of 3 Sonos One Power Adapter Replacement, Control Panel & Microphone: step 6, image 2 of 3 Sonos One Power Adapter Replacement, Control Panel & Microphone: step 6, image 3 of 3
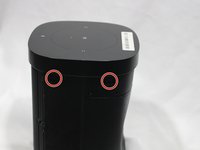
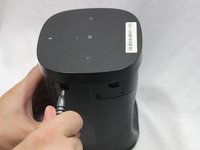
      • Use the pointed end of a spudger to remove the covers that hide the screws.

      • Remove the four 9mm Torx T8 screws from around the perimeter of the control panel.

      Ask FixBot

      Add Comment

    2. Sonos One Power Adapter Replacement: step 7, image 1 of 2 Sonos One Power Adapter Replacement: step 7, image 2 of 2
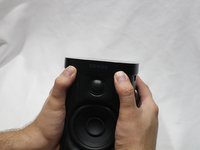
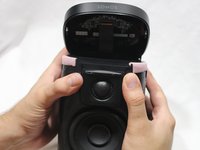
      • With the front of the unit facing you, lift the control panel up using your thumbs.

      • There's a ribbon cable attaching the control panel to the speaker so work slowly.

      Ask FixBot

      Add Comment

    3. Sonos One Power Adapter Replacement: step 8, image 1 of 3 Sonos One Power Adapter Replacement: step 8, image 2 of 3 Sonos One Power Adapter Replacement: step 8, image 3 of 3
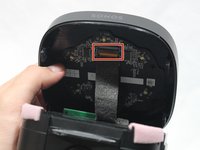
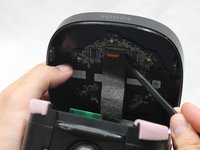
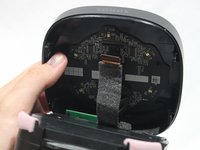
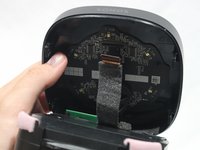
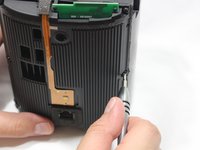
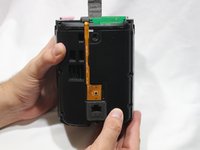
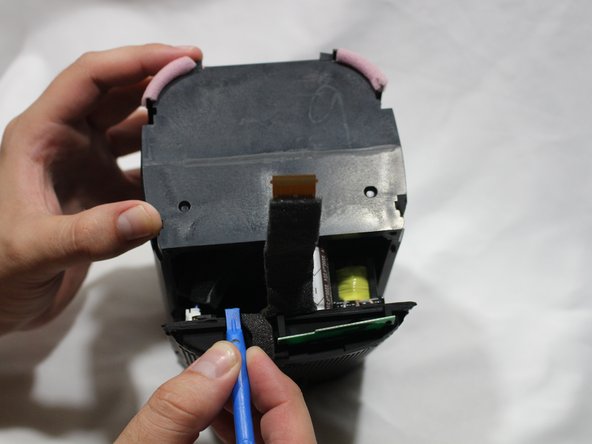
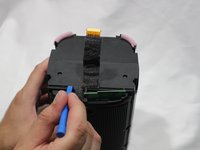
      • Use a spudger to flip up the retaining flap on the control panel ribbon cable ZIF socket.

      • Pull the control panel ribbon cable out of its socket.

      Ask FixBot

      Add Comment

    4. Sonos One Power Adapter Replacement: step 9, image 1 of 2 Sonos One Power Adapter Replacement: step 9, image 2 of 2
      • Pull the control panel away from the speaker to separate.

      Ask FixBot

      Add Comment

    1. Sonos One Power Adapter Replacement, Power Adapter Receptacle: step 10, image 1 of 3 Sonos One Power Adapter Replacement, Power Adapter Receptacle: step 10, image 2 of 3 Sonos One Power Adapter Replacement, Power Adapter Receptacle: step 10, image 3 of 3
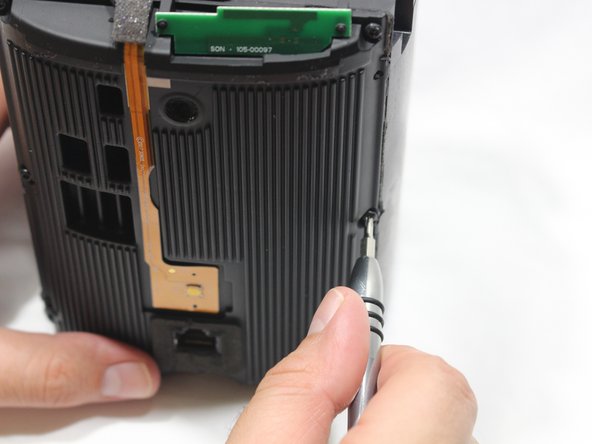
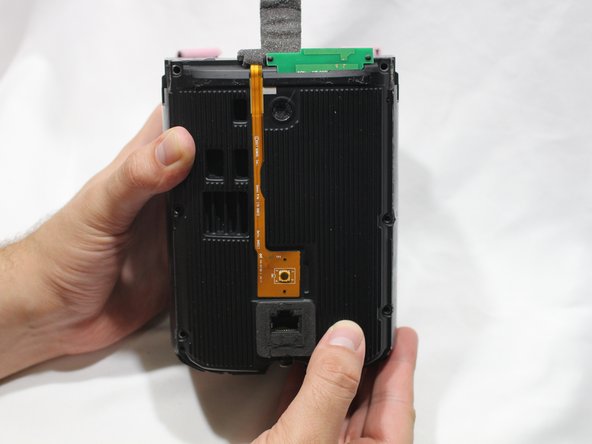
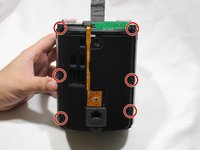
      • Remove the six 9mm Torx T8 screws from the motherboard panel.

      Ask FixBot

      Add Comment

    2. Sonos One Power Adapter Replacement: step 11, image 1 of 2 Sonos One Power Adapter Replacement: step 11, image 2 of 2
      • Using a plastic opening tool, separate the motherboard from the speaker.

      Ask FixBot

      Add Comment

    3. Sonos One Power Adapter Replacement: step 12, image 1 of 3 Sonos One Power Adapter Replacement: step 12, image 2 of 3 Sonos One Power Adapter Replacement: step 12, image 3 of 3
      • Using your thumb, disconnect the speaker cable from the motherboard.

      Ask FixBot

      Add Comment

    4. Sonos One Power Adapter Replacement: step 13, image 1 of 3 Sonos One Power Adapter Replacement: step 13, image 2 of 3 Sonos One Power Adapter Replacement: step 13, image 3 of 3
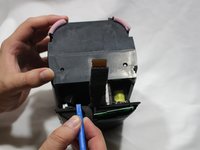
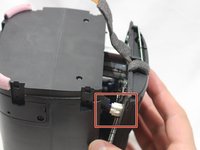
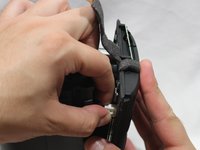
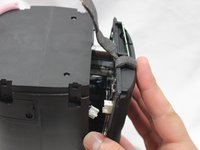
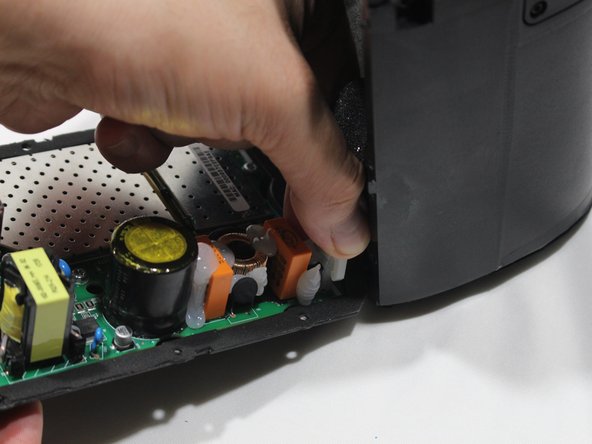
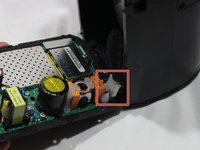
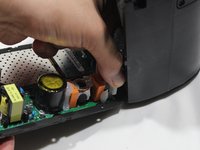
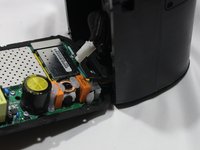
      • Disconnect the power adapter plug from the motherboard using your thumb.

      Ask FixBot

      Add Comment

    5. Sonos One Power Adapter Replacement: step 14, image 1 of 3 Sonos One Power Adapter Replacement: step 14, image 2 of 3 Sonos One Power Adapter Replacement: step 14, image 3 of 3
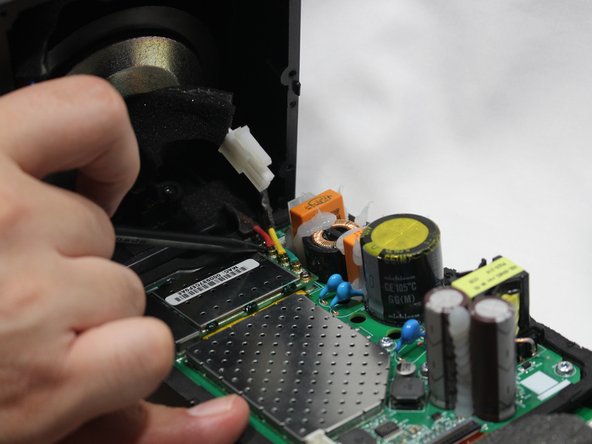
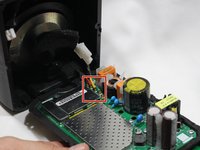
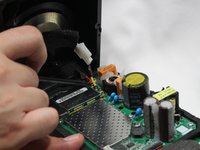
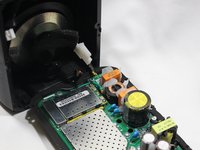
      • Using the pointed end of the spudger, disconnect the red, green, and yellow cables connecting the WiFi transmitter/receiver.

      Ask FixBot

      Add Comment

    6. Sonos One Power Adapter Replacement: step 15, image 1 of 2 Sonos One Power Adapter Replacement: step 15, image 2 of 2
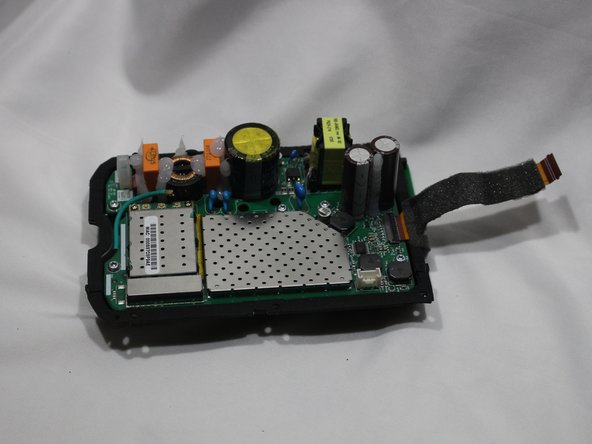
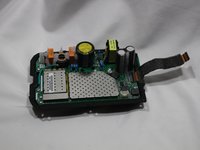
      • Remove the motherboard panel from the speaker housing.

      Ask FixBot

      Add Comment

    7. Sonos One Power Adapter Replacement: step 16, image 1 of 3 Sonos One Power Adapter Replacement: step 16, image 2 of 3 Sonos One Power Adapter Replacement: step 16, image 3 of 3
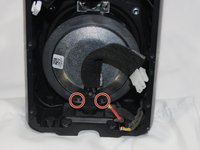
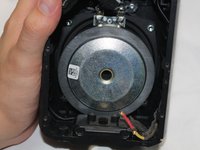
      • The woofer is highly magnetic, making removal of the metal screws sometimes difficult.

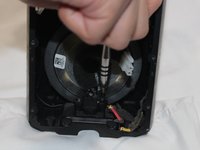
      • Remove the two 9mm Torx T8 screws from the power adapter plug.

      • Remove the power adapter receptacle from its housing slot.

      Ask FixBot

      Add Comment

Conclusion

To reassemble your device, follow these instructions in reverse order.

Cancel: I did not complete this guide.

9 other people completed this guide.

Marcus Glowa

Member since: 02/14/18

1,134 Reputation

5 Guides authored

Team

USF Tampa, Team S2-G1, Nance Spring 2018 Member of USF Tampa, Team S2-G1, Nance Spring 2018

USFT-NANCE-S18S2G1

3 Members

60 Guides authored

0 Guide Comments

Add Comment

View Statistics:

Past 24 Hours: 4

Past 7 Days: 48

Past 30 Days: 169

All Time: 10,672