
Free Shipping on Domestic Orders $75+

Sonos Era 100 Touch Control Board Replacement

What you need

  1. Sonos Era 100 Touch Control Board Replacement, Outer Casing: step 1, image 1 of 3 Sonos Era 100 Touch Control Board Replacement, Outer Casing: step 1, image 2 of 3 Sonos Era 100 Touch Control Board Replacement, Outer Casing: step 1, image 3 of 3
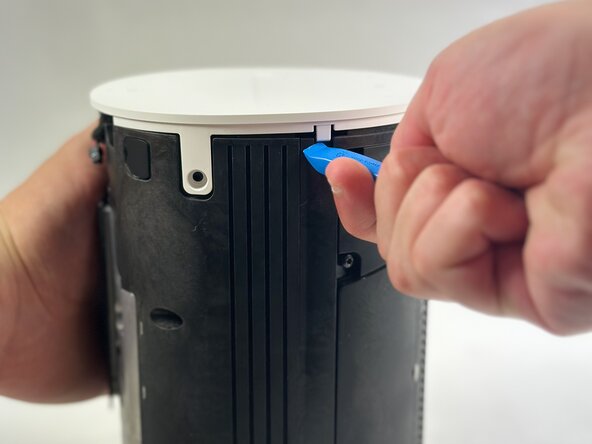
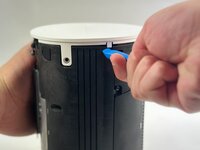
    • Gently pull off the rubber foot on the the bottom of the speaker.

    • Take care not to stretch or damage the rubber foot if you intend to reuse it. Use a hairdryer or iOpener to lightly heat the foot adhesive to aid in removal.

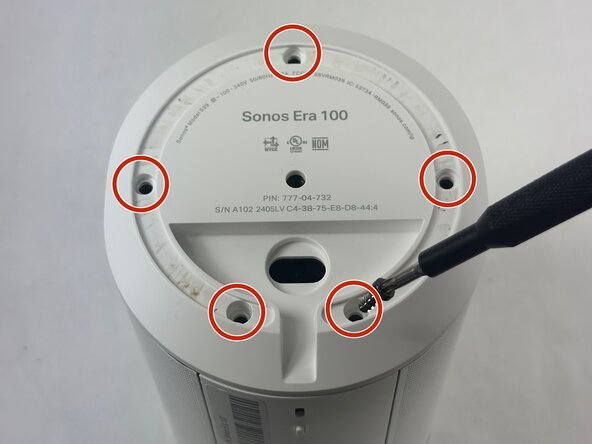
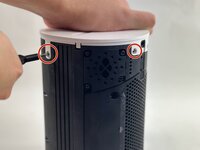
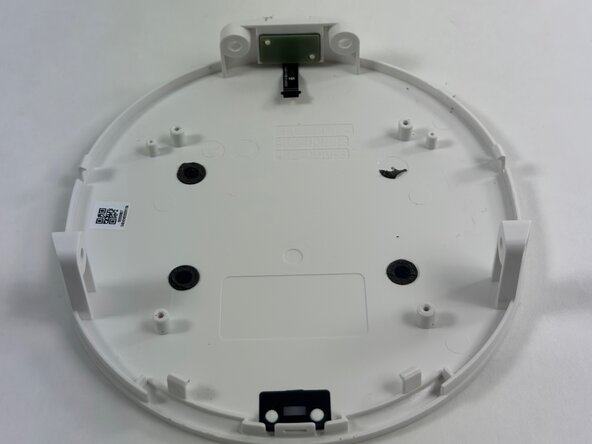
    • Remove the five 11 mm Torx T20 screws that secure the bottom plate.

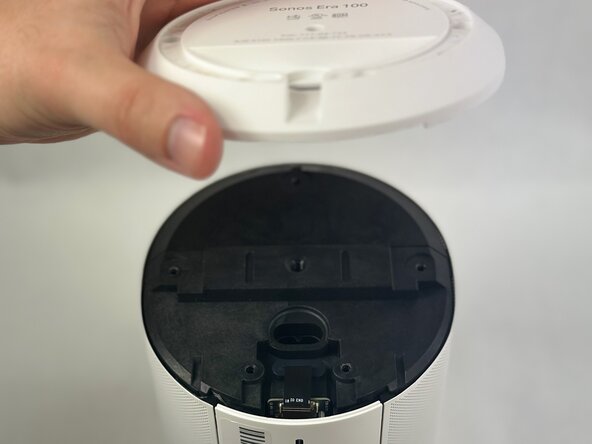
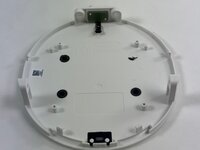
    • Carefully lift off the bottom plate.

  2. Sonos Era 100 Touch Control Board Replacement: step 2, image 1 of 3 Sonos Era 100 Touch Control Board Replacement: step 2, image 2 of 3 Sonos Era 100 Touch Control Board Replacement: step 2, image 3 of 3
    • Carefully disconnect the ribbon cable connected underneath the bottom panel.

    • To detach the back panel, gently push it in a downward motion.

    • Be especially mindful of the delicate ribbon cable attached to the top edge.

    • Use tweezers to disconnect the USB-C PCB from the back panel.

  3. Sonos Era 100 Touch Control Board Replacement: step 3, image 1 of 3 Sonos Era 100 Touch Control Board Replacement: step 3, image 2 of 3 Sonos Era 100 Touch Control Board Replacement: step 3, image 3 of 3
    • Remove the 8 mm and 11 mm T10 Torx screws securing the speaker grille.

    • Once removed, the speaker grill should fall to both sides of the speaker.

  4. Sonos Era 100 Touch Control Board Replacement: step 4, image 1 of 2 Sonos Era 100 Touch Control Board Replacement: step 4, image 2 of 2
    • Using a halberd spudger, carefully remove the foam tape. Do this by keeping tension on the foam shown in the images and slicing underneath the tape.

    • Pull the speaker grille off.

  5. Sonos Era 100 Touch Control Board Replacement: step 5, image 1 of 3 Sonos Era 100 Touch Control Board Replacement: step 5, image 2 of 3 Sonos Era 100 Touch Control Board Replacement: step 5, image 3 of 3
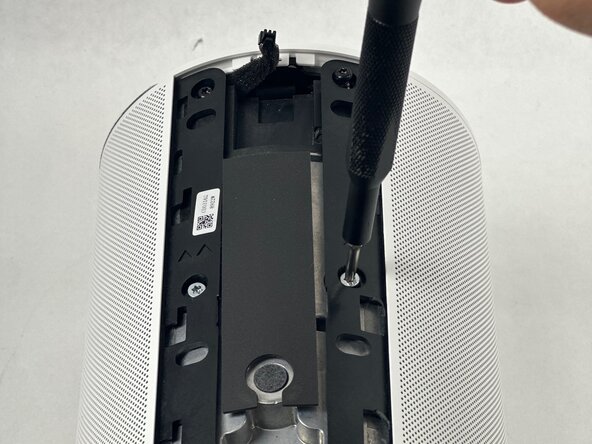
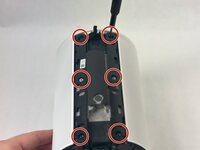
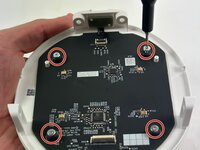
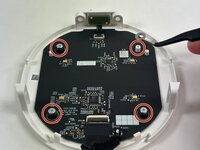
    • Remove all four T10 Torx screws securing the touch bar assembly.

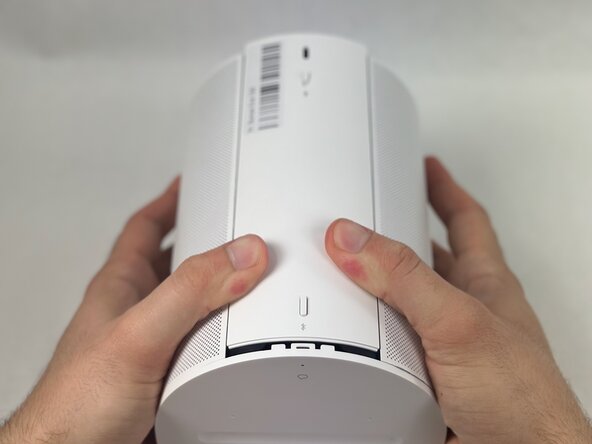
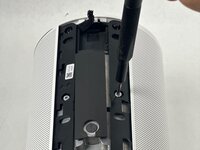
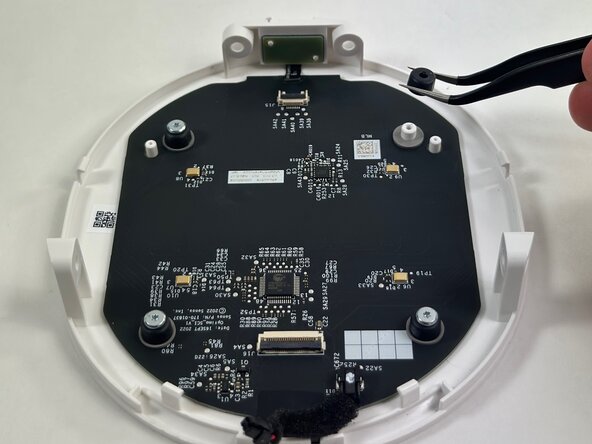
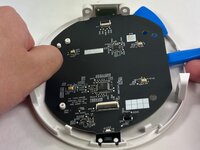
    • Use an opening tool to release all four white retaining clips.

    • Lift the touch bar assembly perpendicular to the unit, with care not to strain the connected ribbon cable.

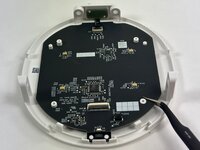
    • Lift the black ZIF locking flap that secures the touch bar assembly ribbon cable.

    • Disconnect the ribbon cable.

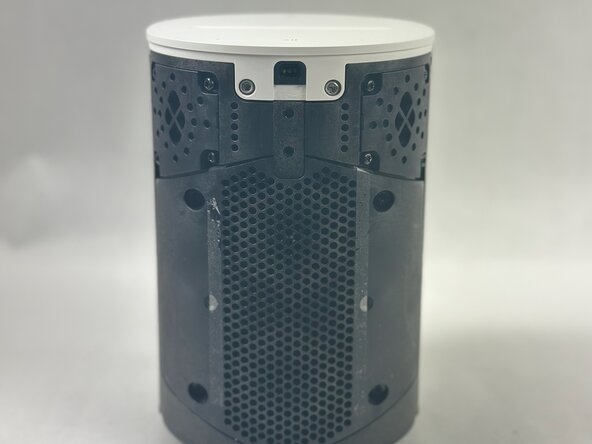
    • Remove the touch bar assembly.

  6. Sonos Era 100 Touch Control Board Replacement, Touch Control Board: step 6, image 1 of 2 Sonos Era 100 Touch Control Board Replacement, Touch Control Board: step 6, image 2 of 2
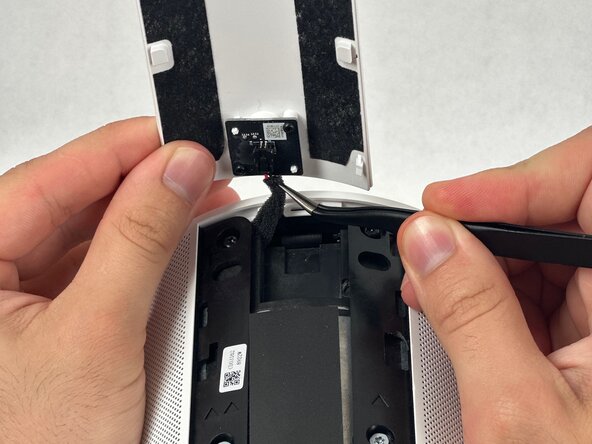
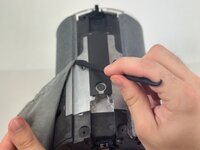
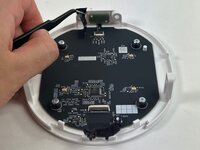
    • Use tweezers to gently remove the tape securing the small ribbon cable.

    • Flip up the black ZIF locking flap that secures the small ribbon cable.

    • Use tweezers to disconnect the small ribbon cable.

  7. Sonos Era 100 Touch Control Board Replacement: step 7, image 1 of 3 Sonos Era 100 Touch Control Board Replacement: step 7, image 2 of 3 Sonos Era 100 Touch Control Board Replacement: step 7, image 3 of 3
    • Use a T6 Torx screwdriver to remove all four 8 mm screws securing the touch control board to the housing.

    • Use tweezers to remove all four rubber stoppers/washers from the screw posts.

  8. Sonos Era 100 Touch Control Board Replacement: step 8, image 1 of 3 Sonos Era 100 Touch Control Board Replacement: step 8, image 2 of 3 Sonos Era 100 Touch Control Board Replacement: step 8, image 3 of 3
    • Insert an opening pick under the PCB to prop it up.

    • Insert an opening tool under the board and gently pry it out.

    • Remove the touch control board.

Conclusion

To reassemble your device, follow the above steps in reverse order.
Take your e-waste to an R2 or e-Stewards certified recycler.
Repair didn’t go as planned? Try some basic troubleshooting or ask our Answers community for help.

Nick F.

Member since: 03/21/25

587 Reputation

5 Guides authored

Team

0 Guide Comments

Add Comment

View Statistics:

Past 24 Hours: 0

Past 7 Days: 6

Past 30 Days: 29

All Time: 292