This translation was generated by a machine and has not been reviewed by a person yet. Speak this language? Review it.

Sonos Connect:Amp Fuse Replacement

YvesG and one other contributor
Last updated on Sep 2, 2026
Views: 4.3K
View statistics:
- Past 24 Hours:
- 0
- Past 7 Days:
- 23
- Past 30 Days:
- 132
- All Time:
- 4,280
Comments: 4
3 comments on steps, 1 guide comment.
Go to guide commentsCompleted: 1 2
1 person has marked this guide "completed." Will you be next?
2 people have marked this guide "completed." Including you — great job!
Favorites: 1 2
1 person has favorited (and subscribed to) this guide. Will you be next?
2 people have favorited (and subscribed to) this guide — including you!
Community-Contributed Guide
An awesome member of our community made this guide. It was not created by iFixit staff.
Introduction
Go to step 1 ↓This guide shows how to access the soldered fuse in a Sonos Connect:Amp and replace it with a 250 V, 5 A slow-blow fuse. Disconnect the device from the power outlet before opening it.
What you need

-
-
-
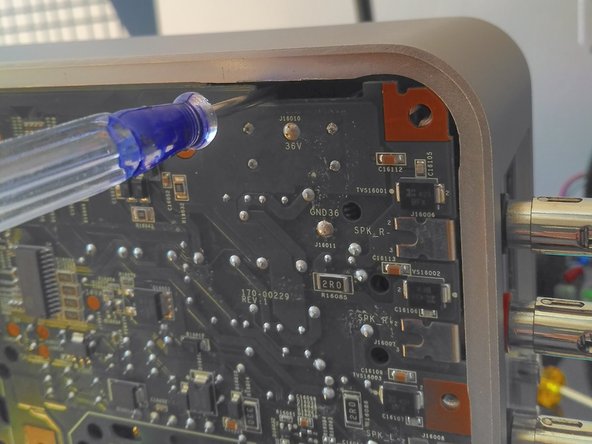
By using a screwdriver inserted through each of the 8 peripheral slots, you can access the snap fits of the top cover.
-
-
-
Continue unscrewing (there is a screw under the seal).
-
-
-
-
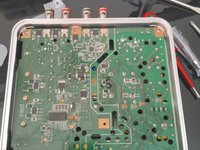
It's a soldered fuse. You will need to desolder it from the back in order to replace it.
-

 Ask FixBot




To reassemble your device, follow these instructions in reverse order.
Cancel: I did not complete this guide.
One other person completed this guide.
Special thanks to these translators:
100%


These translators are helping us fix the world! Want to contribute?
Start translating ›

1 Guide Comment
Bravo
Ce tuto peux rendre service a des consommateurs abusés par la sociète Sonos .
Merci
