Free Shipping on Domestic Orders $75+

Sonos Connect Bottom Motherboard Replacement

Views: 7.3K

View statistics:

Past 24 Hours:
2
Past 7 Days:
27
Past 30 Days:
96
All Time:
7,348
Comments: 7

6 comments on steps, 1 guide comment.

Go to guide comments
Completed: 8

8 people have marked this guide "completed." Will you be next?

Favorites: 0

No one has favorited (and subscribed to) this guide. Will you be the first?

Time Required: 2 hours
Difficulty: Difficult
Incorrect Tools

Help make this guide better by using the correct tools in images and/or text.

Sonos Connect Bottom Motherboard Replacement

Introduction

Go to step 1 ↓

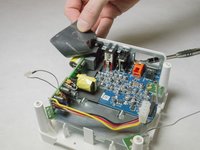
There are two boards for the device, a green top level and a blue lower level. This guide will show the steps to replace the bottom motherboard.

Metal spudgers and similar pry tools can puncture an unprotected battery, potentially causing a fire. When working with electronics, it's important to choose a tool that's ESD-safe to avoid accidental damage to the device. The metal spudger is great when you need serious prying power, but the regular black nylon spudger or a plastic opening tool should be used whenever possible.

What you need

Tools

    1. Sonos Connect Bottom Motherboard Replacement, WIFI Card: step 1, image 1 of 3 Sonos Connect Bottom Motherboard Replacement, WIFI Card: step 1, image 2 of 3 Sonos Connect Bottom Motherboard Replacement, WIFI Card: step 1, image 3 of 3
      • Start by using a spudger or plastic opening tool to remove the bottom cover.

      • When working with electronics, it's important to choose a tool that's ESD-safe to avoid accidental damage to the device. The regular black nylon spudger or a plastic opening tool should be used whenever possible.

      • Once enough of the glue is removed, peel the cover off by hand,

      Ask FixBot

      Add Comment

    2. Sonos Connect Bottom Motherboard Replacement: step 2, image 1 of 3 Sonos Connect Bottom Motherboard Replacement: step 2, image 2 of 3 Sonos Connect Bottom Motherboard Replacement: step 2, image 3 of 3
      • Remove the four 7.5mm length Philips head screws under the rubber cover.

      Ask FixBot

      Add Comment

    3. Sonos Connect Bottom Motherboard Replacement: step 3, image 1 of 3 Sonos Connect Bottom Motherboard Replacement: step 3, image 2 of 3 Sonos Connect Bottom Motherboard Replacement: step 3, image 3 of 3
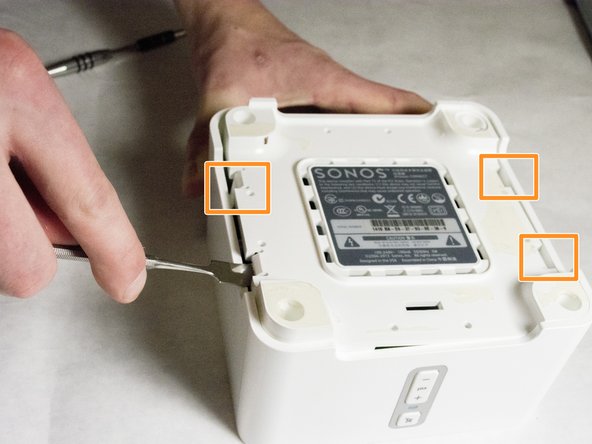
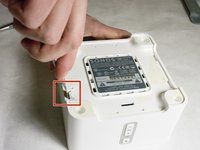
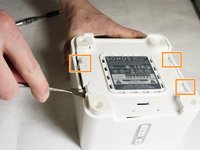
      • Use a nylon spudger to unsnap the bottom from the sides.

      • Pry until the remaining three points are unsnapped.

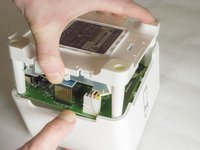
      • Once unsnapped, lift the cover.

      Ask FixBot

      Add Comment

    4. Sonos Connect Bottom Motherboard Replacement: step 4, image 1 of 2 Sonos Connect Bottom Motherboard Replacement: step 4, image 2 of 2
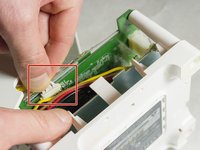
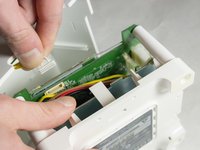
      • Remove the connection for the front buttons to fully remove the cover.

      Ask FixBot

      Add Comment

    5. Sonos Connect Bottom Motherboard Replacement: step 5, image 1 of 2 Sonos Connect Bottom Motherboard Replacement: step 5, image 2 of 2
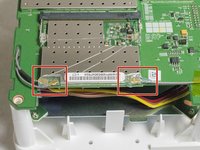
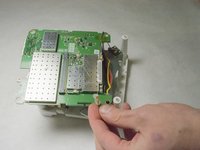
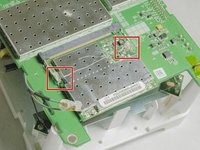
      • Use a plastic opening tool or spudger to remove the adhesive covering the the WIFI connectors.

      • Gently pull the wires at the connection point to disconnect them from the motherboard.

      Ask FixBot

      Add Comment

    6. Sonos Connect Bottom Motherboard Replacement: step 6, image 1 of 2 Sonos Connect Bottom Motherboard Replacement: step 6, image 2 of 2
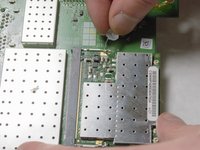
      • Remove the two pieces of glue holding the WIFI card in place.

      Ask FixBot

      Add Comment

    7. Sonos Connect Bottom Motherboard Replacement: step 7, image 1 of 3 Sonos Connect Bottom Motherboard Replacement: step 7, image 2 of 3 Sonos Connect Bottom Motherboard Replacement: step 7, image 3 of 3
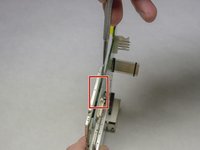
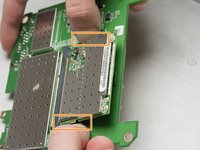
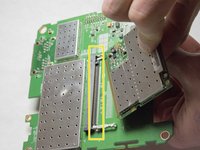
      • Scrape the glued pad underneath the WIFI card to seperate the card from the board.

      • Push apart the two clips holding the WIFI card in the connection.

      • Pull the WIFI card out of the connection.

      • When putting the new WIFI card in, put the card in the connector first, then push downward until it clicks.

      Ask FixBot

      Add Comment

    1. Sonos Connect Bottom Motherboard Replacement, Top Motherboard: step 8, image 1 of 1
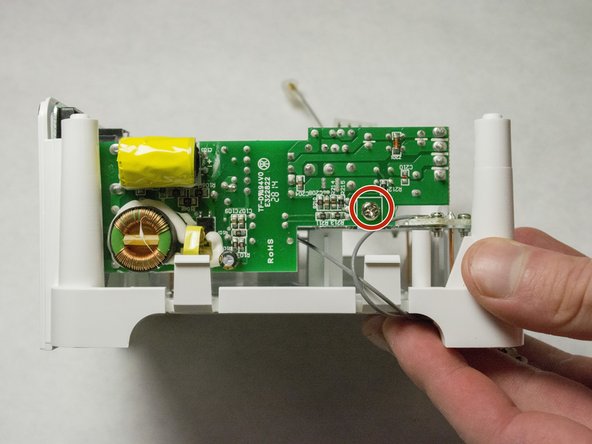
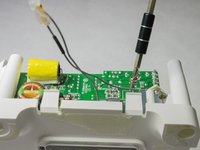
      • Remove the 7mm length Phillips screw holding the board in place.

      Ask FixBot

      Add Comment

    2. Sonos Connect Bottom Motherboard Replacement: step 9, image 1 of 2 Sonos Connect Bottom Motherboard Replacement: step 9, image 2 of 2
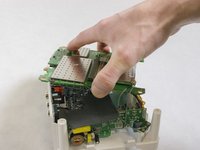
      • Flip the board over to access the Molex Cable.

      Ask FixBot

      Add Comment

    3. Sonos Connect Bottom Motherboard Replacement: step 10, image 1 of 1
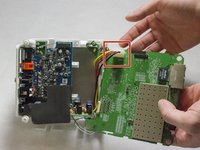
      • Disconnect the Molex Cable from the top motherboard.

      Ask FixBot

      Add Comment

    1. Sonos Connect Bottom Motherboard Replacement, Internal Power Supply: step 11, image 1 of 2 Sonos Connect Bottom Motherboard Replacement, Internal Power Supply: step 11, image 2 of 2
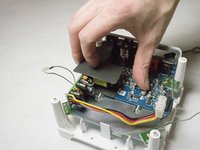
      • Remove foam protective insulator from the bottom board.

      Ask FixBot

      Add Comment

    2. Sonos Connect Bottom Motherboard Replacement: step 12, image 1 of 2 Sonos Connect Bottom Motherboard Replacement: step 12, image 2 of 2
      • Picture shows the side of the device.

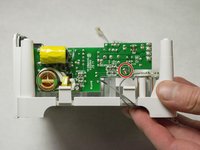
      • Remove the 7mm length Phillips screw from the power supply motherboard.

      Ask FixBot

      Add Comment

    3. Sonos Connect Bottom Motherboard Replacement: step 13, image 1 of 3 Sonos Connect Bottom Motherboard Replacement: step 13, image 2 of 3 Sonos Connect Bottom Motherboard Replacement: step 13, image 3 of 3
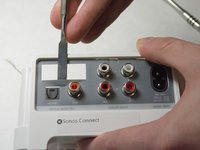
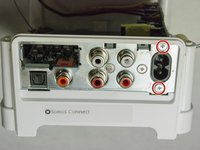
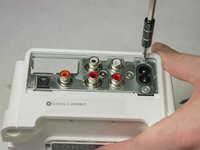
      • Remove the adhesive backed rear label by using a spudger.

      • Remove the two 8mm length screws as shown.

      Ask FixBot

      Add Comment

    4. Sonos Connect Bottom Motherboard Replacement: step 14, image 1 of 2 Sonos Connect Bottom Motherboard Replacement: step 14, image 2 of 2
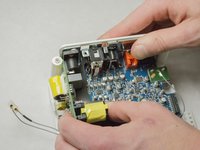
      • Pull the power supply out of the back of the device.

      Ask FixBot

      Add Comment

    1. Sonos Connect Bottom Motherboard Replacement, Bottom Motherboard: step 15, image 1 of 2 Sonos Connect Bottom Motherboard Replacement, Bottom Motherboard: step 15, image 2 of 2
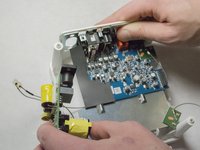
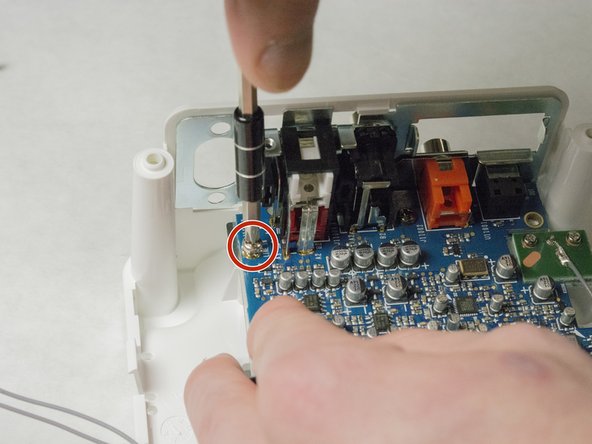
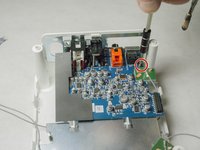
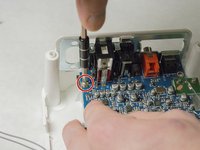
      • Remove the two 7.5mm length screws on the top of the board.

      Ask FixBot

      Add Comment

    2. Sonos Connect Bottom Motherboard Replacement: step 16, image 1 of 1
      • Remove the other two 8mm length screws on the back of the device. You might have already removed the screws for the power supply, and that's OK!

      Ask FixBot

      Add Comment

    3. Sonos Connect Bottom Motherboard Replacement: step 17, image 1 of 1
      • Slide the board out from the plastic casing.

      • You must pull the board out from back to front, because of the plugs on the back of the board.

      Ask FixBot

      Add Comment

Conclusion

To reassemble your device, follow these instructions in reverse order.

Cancel: I did not complete this guide.

8 other people completed this guide.

Clark Snyder

Member since: 01/21/16

497 Reputation

4 Guides authored

Team

IUPUI, Team 3-2, Baechle Spring 2016 Member of IUPUI, Team 3-2, Baechle Spring 2016

IUPUI-BAECHLE-S16S3G2

4 Members

48 Guides authored

1 Guide Comment

I have bad audio on one channel, who supplies parts for this equipment?

Luis Nunes - Reply Share

Add Comment

View Statistics:

Past 24 Hours: 2

Past 7 Days: 27

Past 30 Days: 96

All Time: 7,348