
Solio CLASSIC2 Electric Wire Replacement

Kelly Perkins and 3 other contributors
Last updated on Jan 28, 2014
Views: 871
View statistics:
- Past 24 Hours:
- 2
- Past 7 Days:
- 27
- Past 30 Days:
- 98
- All Time:
- 871
Comments: 0
No one has left comments on this guide. Will you be first?
Go to guide commentsCompleted: 0 1
No one has marked this guide "completed." Will you be the first?
1 person has marked this guide "completed." It's you — great job!
Favorites: 1 2
1 person has favorited (and subscribed to) this guide. Will you be next?
2 people have favorited (and subscribed to) this guide — including you!
Introduction
Go to step 1 ↓To replace a broken wire connected to the circuit board, soldering must be done. Before attempting this guide, please read the IFixit's guide to soldering (How To Solder and Desolder Connections). For this replacement, perform all steps on a table away from any flammable objects.
What you need
Parts
Tools


-
-
-
Turn off the device by pressing on the clear power button behind the device.
 Ask FixBot
-
-
-
Using the Phillips #1 screwdriver, remove the 2mm screw located on the bottom of the device, near the hinge.
-
-
-
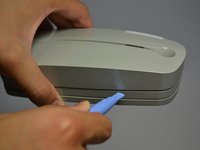
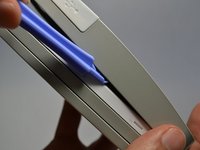
Using the plastic opening tools, gently pry open the side of the large panel.
-
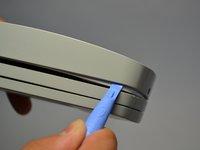
Keeping the tool in, slowly slide the tool along the side of the panel.
-
-
-
Rotate the device 180 degrees.
-
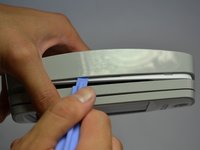
Gently slide the plastic opening tool along the side of the panel.
-
-
-
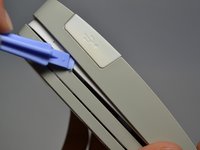
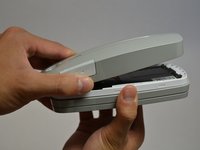
Using both hands, slowly pull apart the back panel from the rest of the device.
-
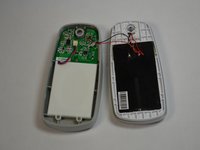
Gently flip the back panel open so the circuit board faces up and the two panels are side by side.
-
-
-
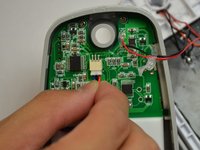
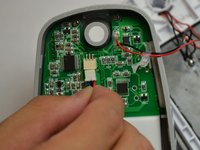
Softly pinch the red and blue wires close to the white connector.
-
To pull the wires out, wiggle them back and forth until the connector is fully out.
-
-
-
-
-
-
Unscrew the three 2mm screws holding the circuit board down using a Phillips #1 screwdriver.
-
-
Tool used on this step:Tweezers$4.99
-
Make sure the white USB port cover on the side of the device is pulled out or you won't be able to lift the circuit board.
-
Gently lift the circuit board out of the device using tweezers.
-
-
-
-
-
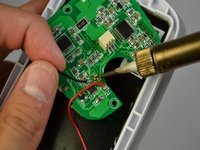
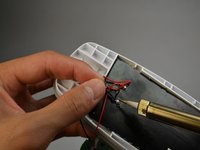
Using a solder iron with a fine tip, slowly solder off the broken wire from the first connection point.
-
Repeat for other connection point of wire.
-
-










To reassemble your device, follow these instructions in reverse order.

Team

Cal Poly, Team 4-28, Amido Fall 2013 Member of Cal Poly, Team 4-28, Amido Fall 2013
CPSU-AMIDO-F13S4G28
4 Members
84 Guides authored
