Introduction
A faulty drive in a laptop can be brought about by various causes but is a simple fix; replacing the drive. Although the thought of opening up the laptop and replacing a part can be frightening, it is quite simple.
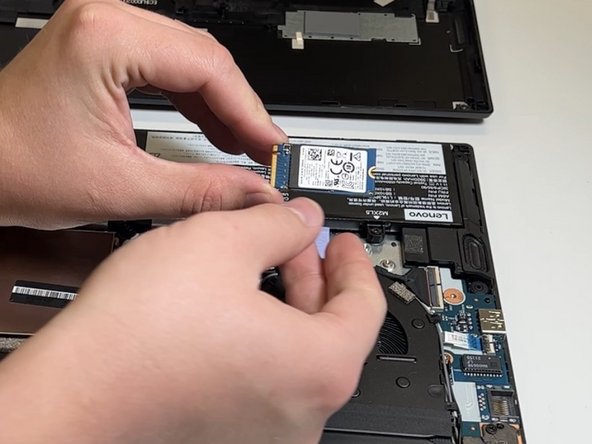
This repair should help anyone who has a faulty solid-state drive on their Lenovo ThinkPad laptop. Having the basic skills of using a screwdriver is essential to following this guide. Having a faulty drive can be a hassle to deal with, but following this guide will be the solution to your headaches. The type of solid state drive we are currently replacing is an NVME SN570 drive.
This specification for drive type is important as it defines both the type of interface or "plug" that the drive uses, as well as the size of the drive so that it fits into the correct slot.
What you need
-
-
Unscrew all 7 of the Phillips #0 back plate screws on the bottom of the laptop.
-
Separate the back from the laptop assembly using the opening pick tool.
-
-
-
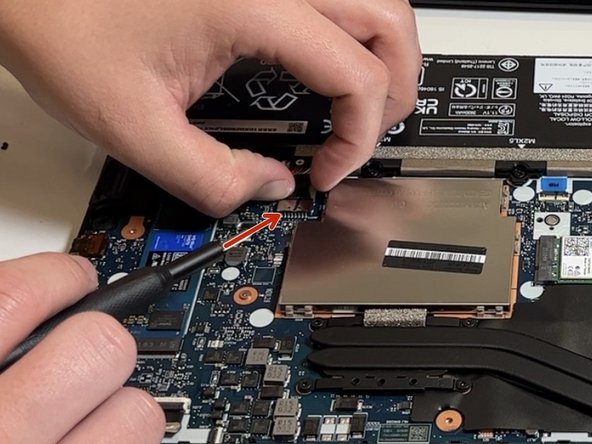
Unplug the battery connector and press the power button to ensure the device has no power running.
-
-
-
-
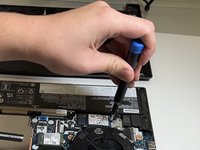
Use a Phillips #0 screwdriver to remove the single 4 mm screw that secures the solid-state drive.
-
-
-
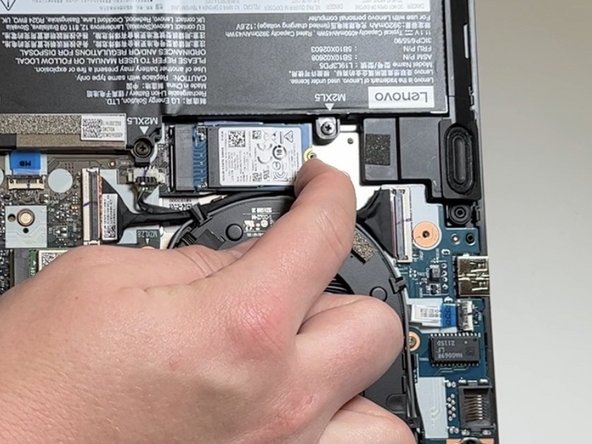
Screw in the Solid-State Drive 4 mm Retaining screw in the new Solid-State Drive using the phillips #0 screwdriver.
-

 Ask FixBot










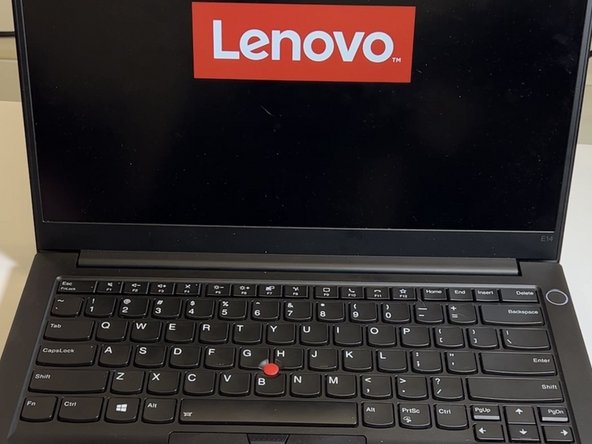
A good end of repair practice is to check to make sure that your laptop powers up safely and is able to boot into the new drive that has been installed in your laptop. Following this repair if your Operating System has not been installed, the next step is to install Windows / whichever Operating System you prefer.

Team

University of North Texas, Team 2-3, Raign Fall 2022 Member of University of North Texas, Team 2-3, Raign Fall 2022
UNT-RAIGN-F22S2G3
2 Members
2 Guides authored
