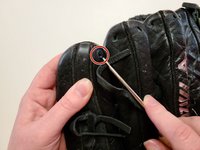
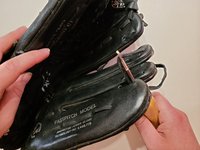
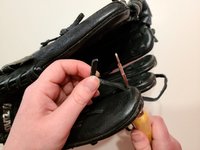
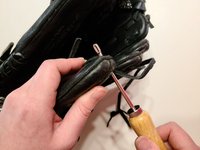
Free Shipping on Domestic Orders $75+

Softball Glove String Replacement

Views: 1.8K

View statistics:

Past 24 Hours:
1
Past 7 Days:
25
Past 30 Days:
94
All Time:
1,832
Comments: 1

1 guide comment.

Go to guide comments
Completed: 1

1 person has marked this guide "completed." Will you be next?

Favorites: 0

No one has favorited (and subscribed to) this guide. Will you be the first?

Time Required: 20 - 40 minutes
Difficulty: Easy
Featured Student Guide

This guide has been the hard work of our awesome students and is found to be exceptionally cool by the iFixit staff.

Softball Glove String Replacement

Introduction

Go to step 1 ↓

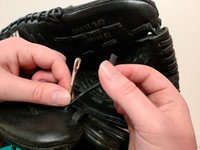
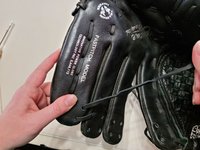
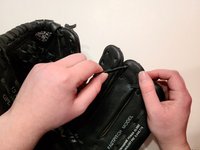
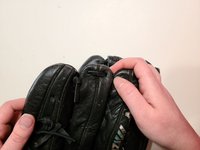
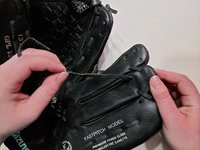
If your softball glove has a broken string, you need to restring it before you can play again. This guide will show you how to restring the fingers of your softball glove, making your glove as good as new. When restringing your glove, make sure the smooth part of the string is facing outwards. This is important so the string doesn’t slide or move around when you’re playing catch. Also, leather glove conditioner will make this process easier and smoother, but it is not required.

What you need

Tools

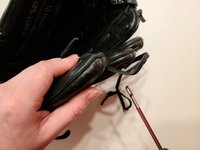
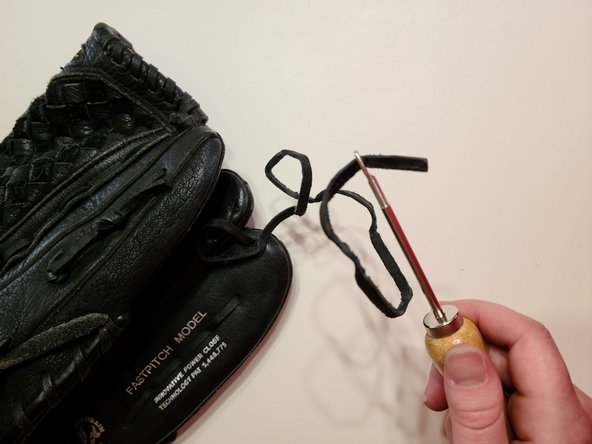
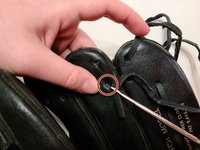
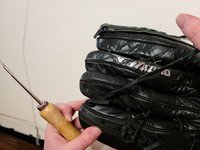
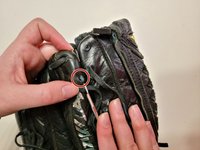
    1. Softball Glove String Replacement, Softball Glove String: step 1, image 1 of 3 Softball Glove String Replacement, Softball Glove String: step 1, image 2 of 3 Softball Glove String Replacement, Softball Glove String: step 1, image 3 of 3
      • Tie a knot at one end of the string.

      Ask FixBot

      Add Comment

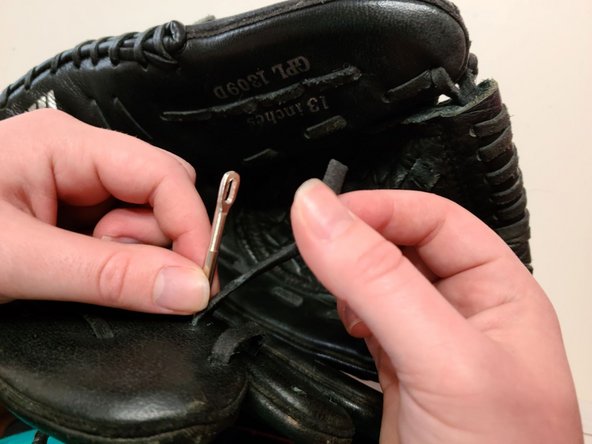
    2. Softball Glove String Replacement: step 2, image 1 of 2 Softball Glove String Replacement: step 2, image 2 of 2
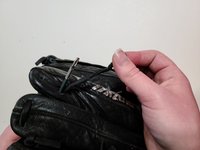
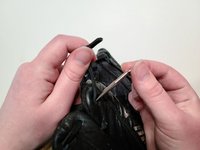
      • Put the string through the loop of the leather needle.

      Ask FixBot

      Add Comment

    3. Softball Glove String Replacement: step 3, image 1 of 2 Softball Glove String Replacement: step 3, image 2 of 2
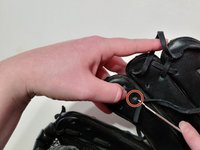
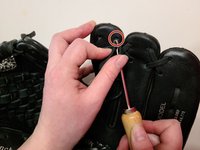
      • Push the needle through the first hole on the backside of the pinky finger.

      Ask FixBot

      Add Comment

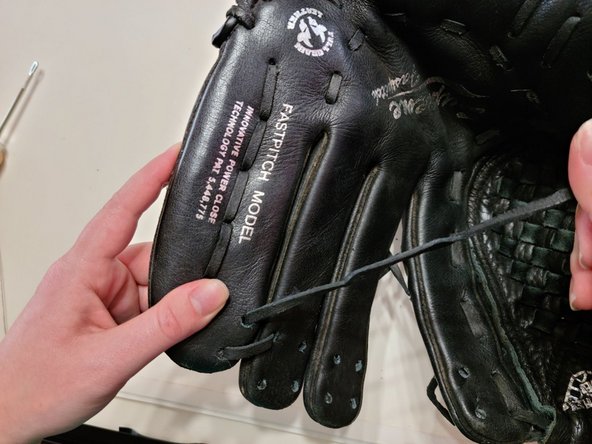
    4. Softball Glove String Replacement: step 4, image 1 of 3 Softball Glove String Replacement: step 4, image 2 of 3 Softball Glove String Replacement: step 4, image 3 of 3
      • Pull the string out of the needle and back the needle out of the hole.

      Ask FixBot

      Add Comment

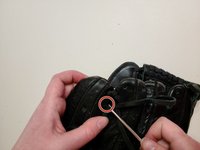
    5. Softball Glove String Replacement: step 5, image 1 of 2 Softball Glove String Replacement: step 5, image 2 of 2
      • Pull the string all the way through and reinsert the string into the needle.

      Ask FixBot

      Add Comment

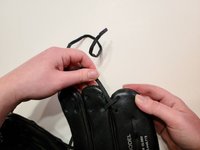
    6. Softball Glove String Replacement: step 6, image 1 of 2 Softball Glove String Replacement: step 6, image 2 of 2
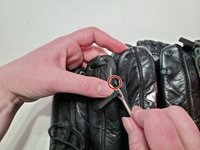
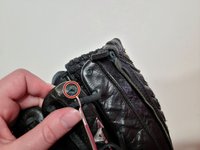
      • Push the needle through the bottom hole on the ring finger.

      • Pull the string out of the needle and all the way through the hole. Back the needle out of the hole.

      Ask FixBot
      Add Comment

    7. Softball Glove String Replacement: step 7, image 1 of 3 Softball Glove String Replacement: step 7, image 2 of 3 Softball Glove String Replacement: step 7, image 3 of 3
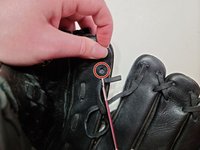
      • Insert the string back into the needle and push it through the bottom hole on the pinky.

      • Pull the string all the way through and remove it from the needle.

      Ask FixBot

      Add Comment

    8. Softball Glove String Replacement: step 8, image 1 of 3 Softball Glove String Replacement: step 8, image 2 of 3 Softball Glove String Replacement: step 8, image 3 of 3
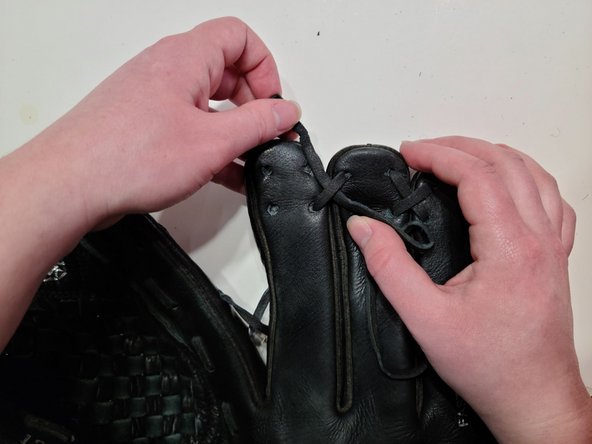
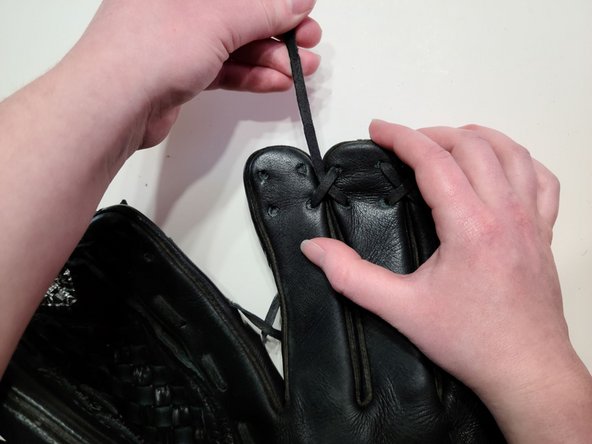
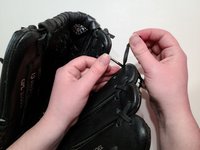
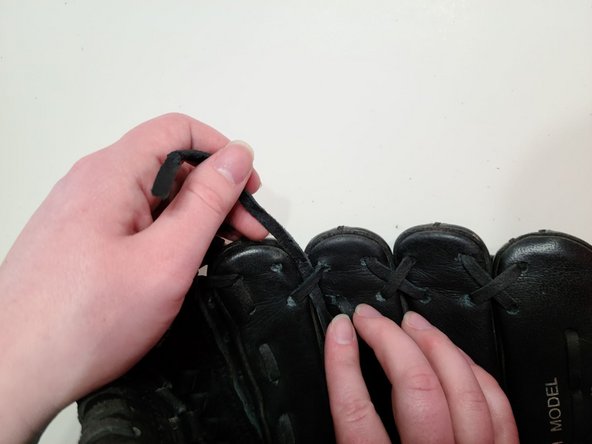
      • Pull the string under the loop, making an X.

      Ask FixBot

      Add Comment

    9. Softball Glove String Replacement: step 9, image 1 of 3 Softball Glove String Replacement: step 9, image 2 of 3 Softball Glove String Replacement: step 9, image 3 of 3
      • Put the string through the needle and push the needle though the top hole on the ring finger.

      • Pull the string all the way through and remove it from the needle.

      Ask FixBot

      Add Comment

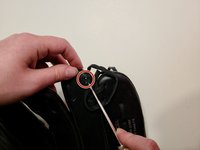
    10. Softball Glove String Replacement: step 10, image 1 of 3 Softball Glove String Replacement: step 10, image 2 of 3 Softball Glove String Replacement: step 10, image 3 of 3
      • Going around the back of the ring finger, insert the string through the top hole on the left side of the ring finger.

      • Pull the string all the way through.

      Ask FixBot
      Add Comment
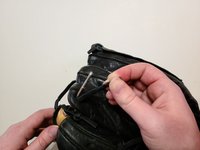
    11. Softball Glove String Replacement: step 11, image 1 of 3 Softball Glove String Replacement: step 11, image 2 of 3 Softball Glove String Replacement: step 11, image 3 of 3
      • Insert the string through the bottom hole on the middle finger.

      • Pull the string all the way through.

      Ask FixBot
      Add Comment

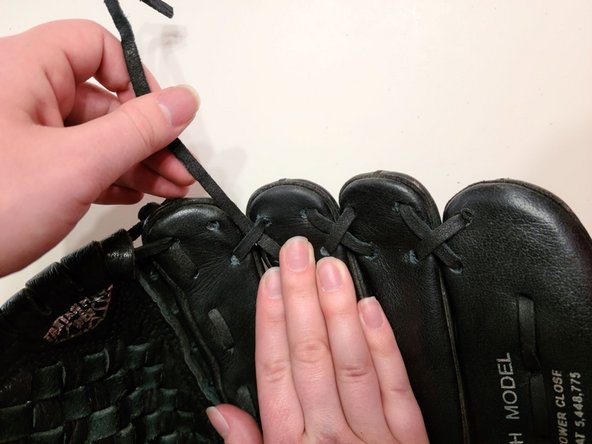
    12. Softball Glove String Replacement: step 12, image 1 of 2 Softball Glove String Replacement: step 12, image 2 of 2
      • Cross over the backside and insert the string into the bottom hole on the left side of the ring finger.

      Ask FixBot

      Add Comment

    13. Softball Glove String Replacement: step 13, image 1 of 3 Softball Glove String Replacement: step 13, image 2 of 3 Softball Glove String Replacement: step 13, image 3 of 3
      • Pull the string under the loop to make an X.

      Ask FixBot

      Add Comment

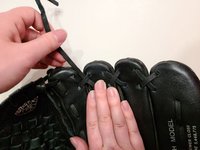
    14. Softball Glove String Replacement: step 14, image 1 of 3 Softball Glove String Replacement: step 14, image 2 of 3 Softball Glove String Replacement: step 14, image 3 of 3
      • Push the string through the top hole on the right side of the middle finger.

      • Pull the string all the way through.

      Ask FixBot
      Add Comment

    15. Softball Glove String Replacement: step 15, image 1 of 3 Softball Glove String Replacement: step 15, image 2 of 3 Softball Glove String Replacement: step 15, image 3 of 3
      • Going around the back of the middle finger, insert the string into top hole on the right side of the middle finger.

      • Pull the string all the way through.

      Ask FixBot

      Add Comment

    16. Softball Glove String Replacement: step 16, image 1 of 3 Softball Glove String Replacement: step 16, image 2 of 3 Softball Glove String Replacement: step 16, image 3 of 3
      • Insert the string into the bottom right hole on the pointer finger.

      • Pull the string all the way through.

      Ask FixBot

      Add Comment

    17. Softball Glove String Replacement: step 17, image 1 of 3 Softball Glove String Replacement: step 17, image 2 of 3 Softball Glove String Replacement: step 17, image 3 of 3
      • On the backside, push the string through the bottom left hole on the middle finger and pull the string all the way through.

      Ask FixBot

      Add Comment

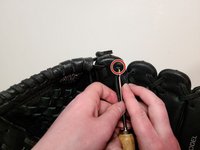
    18. Softball Glove String Replacement: step 18, image 1 of 3 Softball Glove String Replacement: step 18, image 2 of 3 Softball Glove String Replacement: step 18, image 3 of 3
      • Pull the string under the loop, making an X.

      Ask FixBot
      Add Comment

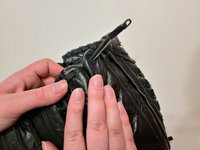
    19. Softball Glove String Replacement: step 19, image 1 of 3 Softball Glove String Replacement: step 19, image 2 of 3 Softball Glove String Replacement: step 19, image 3 of 3
      • Insert the string into the top right hole on the pointer finger and pull the string all the way through.

      Ask FixBot
      Add Comment

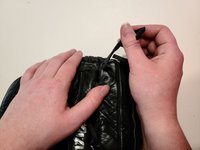
    20. Softball Glove String Replacement: step 20, image 1 of 3 Softball Glove String Replacement: step 20, image 2 of 3 Softball Glove String Replacement: step 20, image 3 of 3
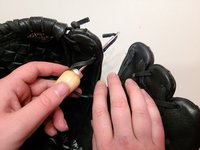
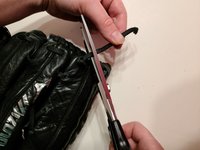
      • Tie the end of the string close to the glove.

      • Cut off the excess string.

      Ask FixBot

      Add Comment

Conclusion

To remove a string from a softball glove, repeat these steps in reverse order.

Cancel: I did not complete this guide.

One other person completed this guide.

Christina Hart

Member since: 03/23/21

331 Reputation

1 Guide authored

1 Guide Comment

Thank you so much for sharing this guide on softball glove string replacement! Your step-by-step instructions made it easy for me to replace the strings on my old glove and bring it back to life. Your expertise and generosity are truly appreciated!

Juliet Cyrus - Reply Share

Add Comment

View Statistics:

Past 24 Hours: 1

Past 7 Days: 25

Past 30 Days: 94

All Time: 1,832