Free Shipping on Domestic Orders $75+

SodaStream Source Loader Tab Replacement

Views: 30K

View statistics:

Past 24 Hours:
16
Past 7 Days:
56
Past 30 Days:
233
All Time:
29,873
Comments: 69

63 comments on steps, 6 guide comments.

Go to guide comments
Completed: 8

8 people have marked this guide "completed." Will you be next?

Favorites: 2

2 people have favorited (and subscribed to) this guide. Will you be next?

Time Required: 45 minutes - 1 hour
Difficulty: Moderate
SodaStream Source Loader Tab Replacement

Introduction

Go to step 1 ↓

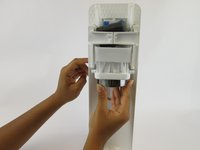
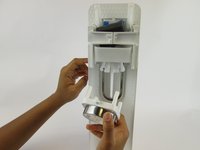
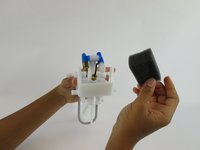
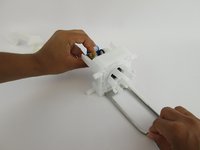
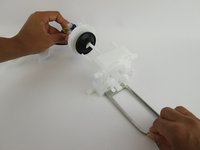
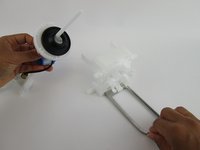
The SodaStream Source creates soda when the loader tab is engaged. Pressing on this tab initiates carbonation and flavor infusion. This tab may become damaged through use and can be replaced through the steps given in this guide. The tab is located within the carbonating block and has its own cover. Replacement of the loader tab requires both external and internal disassembly of the device. This guide shows the steps to access this internal component.

What you need

Tools

    1. SodaStream Source Loader Tab Replacement, SodaStream Source External Disassembly: step 1, image 1 of 3 SodaStream Source Loader Tab Replacement, SodaStream Source External Disassembly: step 1, image 2 of 3 SodaStream Source Loader Tab Replacement, SodaStream Source External Disassembly: step 1, image 3 of 3
      • Remove the soda bottle and the CO₂ canister from the machine.

      Ask FixBot

      Add Comment

    2. SodaStream Source Loader Tab Replacement: step 2, image 1 of 2 SodaStream Source Loader Tab Replacement: step 2, image 2 of 2
      Tool used on this step:
      Phillips #1 Screwdriver
      $8.99
      Buy
      Ask FixBot

      Add Comment

    3. SodaStream Source Loader Tab Replacement: step 3, image 1 of 2 SodaStream Source Loader Tab Replacement: step 3, image 2 of 2
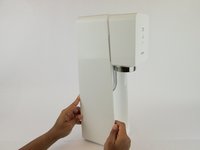
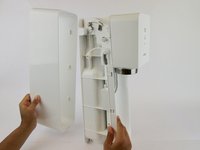
      • Pull the outer cover away from the front of the device.

      Ask FixBot

      Add Comment

    4. SodaStream Source Loader Tab Replacement: step 4, image 1 of 1
      Tool used on this step:
      Phillips #1 Screwdriver
      $8.99
      Buy
      Ask FixBot

      Add Comment

    5. SodaStream Source Loader Tab Replacement: step 5, image 1 of 2 SodaStream Source Loader Tab Replacement: step 5, image 2 of 2
      Tool used on this step:
      Jimmy
      $7.95
      Buy
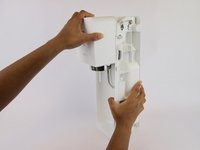
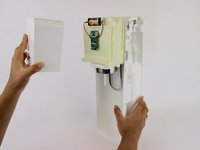
      • Firmly pull the front cover off.

      • This piece is difficult to remove and requires force. It may help to use a wide, thin object to pry it off (like a Jimmy).

      Ask FixBot

      Add Comment

    1. SodaStream Source Loader Tab Replacement, SodaStream Source  Internal Disassembly: step 6, image 1 of 3 SodaStream Source Loader Tab Replacement, SodaStream Source  Internal Disassembly: step 6, image 2 of 3 SodaStream Source Loader Tab Replacement, SodaStream Source  Internal Disassembly: step 6, image 3 of 3
      • Push the brass bar, located in the top of the device, out of the carbonating block.

      • You can use the end of your screwdriver to push this piece out.

      Ask FixBot

      Add Comment

    2. SodaStream Source Loader Tab Replacement: step 7, image 1 of 3 SodaStream Source Loader Tab Replacement: step 7, image 2 of 3 SodaStream Source Loader Tab Replacement: step 7, image 3 of 3
      • Slide the yellow battery cover up and away to remove it from the device.

      Ask FixBot

      Add Comment

    3. SodaStream Source Loader Tab Replacement: step 8, image 1 of 2 SodaStream Source Loader Tab Replacement: step 8, image 2 of 2
      • Unhook the bottom piece of the plastic arm on each side of the device.

      Ask FixBot

      Add Comment

    4. SodaStream Source Loader Tab Replacement: step 9, image 1 of 2 SodaStream Source Loader Tab Replacement: step 9, image 2 of 2
      • Lift the top of the plastic arm with the spudger and remove it on both sides.

      Ask FixBot

      Add Comment

    5. SodaStream Source Loader Tab Replacement: step 10, image 1 of 2 SodaStream Source Loader Tab Replacement: step 10, image 2 of 2
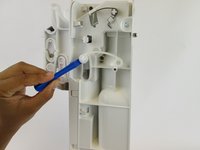
      • Remove the plastic piece, located near the front of the carbonating block, from both sides of the device using a plastic opening tool or nylon spudger.

      Ask FixBot

      Add Comment

    6. SodaStream Source Loader Tab Replacement: step 11, image 1 of 2 SodaStream Source Loader Tab Replacement: step 11, image 2 of 2
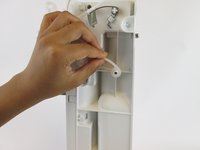
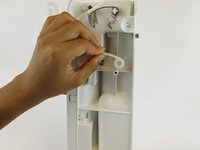
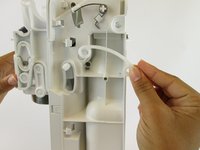
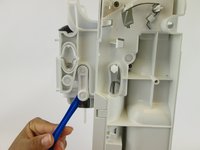
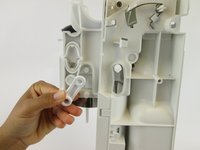
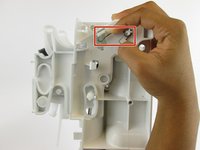
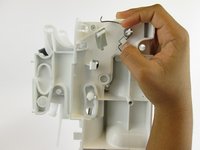
      • Remove the plastic oval and the spring within it.

      Ask FixBot

      Add Comment

    7. SodaStream Source Loader Tab Replacement: step 12, image 1 of 2 SodaStream Source Loader Tab Replacement: step 12, image 2 of 2
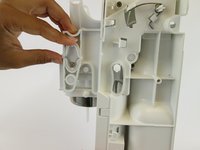
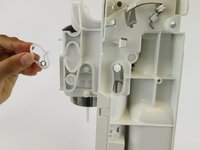
      • Pull the loader tab cover down and away from the rest of the carbonating block.

      Ask FixBot

      Add Comment

    8. SodaStream Source Loader Tab Replacement: step 13, image 1 of 1
      • Remove the three 17.9 mm screws located on the right side.

      • These screws may be difficult to access.

      Ask FixBot

      Add Comment

    9. SodaStream Source Loader Tab Replacement: step 14, image 1 of 2 SodaStream Source Loader Tab Replacement: step 14, image 2 of 2
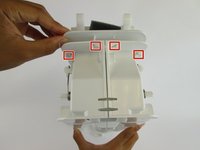
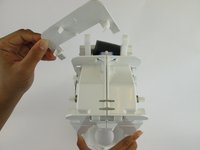
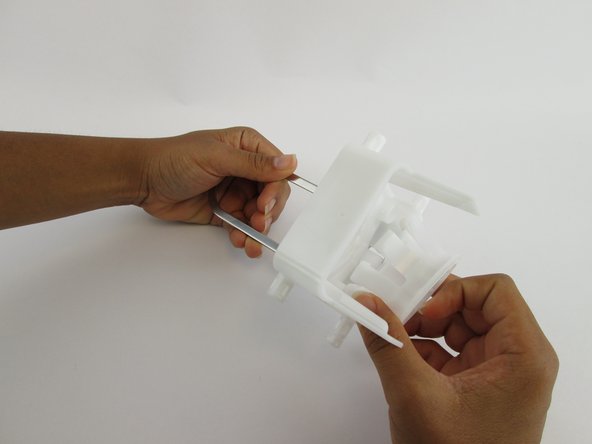
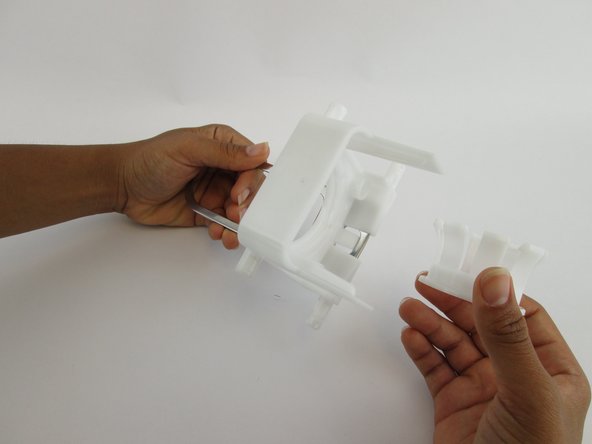
      • Unhook the four clips on the top of the carbonating block and remove the plastic cover.

      Ask FixBot

      Add Comment

    10. SodaStream Source Loader Tab Replacement: step 15, image 1 of 3 SodaStream Source Loader Tab Replacement: step 15, image 2 of 3 SodaStream Source Loader Tab Replacement: step 15, image 3 of 3
      • Lift the clips located on both sides with the plastic spudger. Slide the front cover off.

      Ask FixBot

      Add Comment

    11. SodaStream Source Loader Tab Replacement: step 16, image 1 of 2 SodaStream Source Loader Tab Replacement: step 16, image 2 of 2
      • Unhook the silver spring arms on both sides of the device by pushing down.

      Ask FixBot

      Add Comment

    12. SodaStream Source Loader Tab Replacement: step 17, image 1 of 1
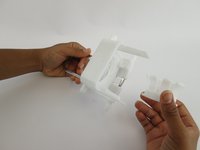
      • Grip the right and left sides of the device and pull it into two identical halves.

      • Once these two pieces are apart, all remaining internal components will fall out of the device.

      Ask FixBot

      Add Comment

    13. SodaStream Source Loader Tab Replacement: step 18, image 1 of 3 SodaStream Source Loader Tab Replacement: step 18, image 2 of 3 SodaStream Source Loader Tab Replacement: step 18, image 3 of 3
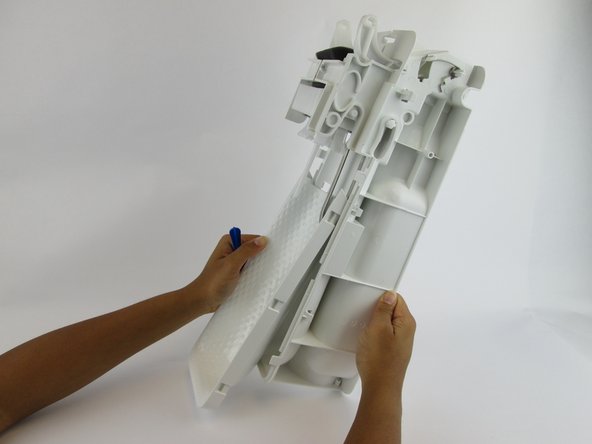
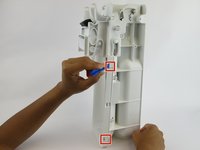
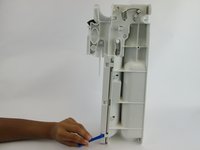
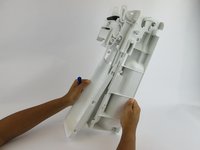
      • Pull the foam pad up and remove it from the front side of the carbonation component.

      Ask FixBot

      Add Comment

    14. SodaStream Source Loader Tab Replacement: step 19, image 1 of 1
      • Remove the six 17.7 mm screws from the underside of the loader tab piece.

      Ask FixBot

      Add Comment

    15. SodaStream Source Loader Tab Replacement: step 20, image 1 of 3 SodaStream Source Loader Tab Replacement: step 20, image 2 of 3 SodaStream Source Loader Tab Replacement: step 20, image 3 of 3
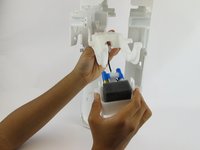
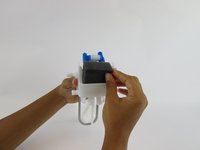
      • Pull the loader tab out of the nozzle.

      Ask FixBot

      Add Comment

    1. SodaStream Source Loader Tab Replacement, Loader Tab: step 21, image 1 of 3 SodaStream Source Loader Tab Replacement, Loader Tab: step 21, image 2 of 3 SodaStream Source Loader Tab Replacement, Loader Tab: step 21, image 3 of 3
      • Pull the small inner plastic circle out of the large plastic loader tab piece.

      Ask FixBot

      Add Comment

Conclusion

To reassemble your device, follow these instructions in reverse order.

Cancel: I did not complete this guide.

8 other people completed this guide.

Angela Mossgrove

Member since: 02/20/17

1,219 Reputation

3 Guides authored

Team

USF Tampa, Team S1-G4, Leahy Spring 2017 Member of USF Tampa, Team S1-G4, Leahy Spring 2017

USFT-LEAHY-S17S1G4

3 Members

84 Guides authored

6 Guide Comments

Thank you SO much for this! I was having a lot of trouble with this thing not releasing the bottle, so I disassembled it all and put it back together and now it works a treat! Not sure what was going on but I am so excited. You weren’t kidding at the end about it all falling apart… took ages to work out how it all went back together, but now I understand it and I have a working SodaStream. 5*!

Amanda L - Reply Share

Do you know where the tiny magnet goes? It fell out on the table as I was disassembling.

cheryl meeks - Reply Share

I think it has something to do with the microchip for the LED’s. Can’t figure out how else the light would light. I haven’t taken it apart far enough to find the magnet. Hope this helps you.

Paul Bibeau - Reply Share

You can see the magnet in step 18, the first picture. Its right below where a screw used to be.

Tom Green - Reply Share

I placed sodastream on side and removed top half. I could then see where parts needed to be after they “fell out” for reassembly. More pictures of those steps would be helpful. Thank

cheryl meeks - Reply Share

Add Comment

View Statistics:

Past 24 Hours: 16

Past 7 Days: 56

Past 30 Days: 233

All Time: 29,873