Free Shipping on Domestic Orders $75+

Snapfon ez One Microphone Replacement

Views: 902

View statistics:

Past 24 Hours:
2
Past 7 Days:
14
Past 30 Days:
90
All Time:
902
Comments: 0

No one has left comments on this guide. Will you be first?

Go to guide comments
Completed: 0

No one has marked this guide "completed." Will you be the first?

Favorites: 0

No one has favorited (and subscribed to) this guide. Will you be the first?

Time Required: 15 - 30 minutes
Difficulty: Difficult
Needs Better Images

Better photos will improve this guide. Help out by taking, editing, or uploading new ones!

Action Shots

Be an action hero! This guide needs images that better demonstrate how to perform specific actions.

Snapfon ez One Microphone Replacement

Introduction

Go to step 1 ↓

The microphone enables the phone to record sound from the user. The microphone has the ability to pick up sound waves and convert the sound waves into electronic signals.

What you need

Tools

    1. Snapfon ez One Microphone Replacement, Remove the battery cover: step 1, image 1 of 1
      • Turn off the phone to prevent data loss.

      • Press and slide the battery out to remove it.

      • Picture rights belong to Snapfon®. Picture is used for educational purposes only. No copyright infringement intended.

      Ask FixBot

      Add Comment

    2. Snapfon ez One Microphone Replacement, Remove the battery: step 2, image 1 of 1
      • Pry the battery out with your thumb or the iFixit opening tool.

      • Make sure to properly dispose of the old battery at a recycling center.

      • Picture rights belong to Snapfon®. Picture is used for educational purposes only. No copyright infringement intended.

      Ask FixBot

      Add Comment

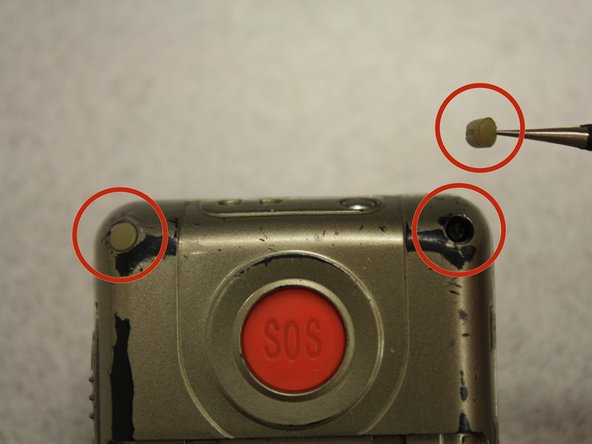
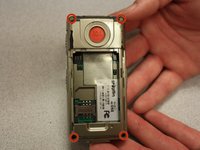
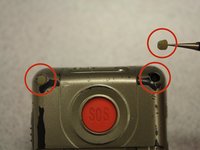
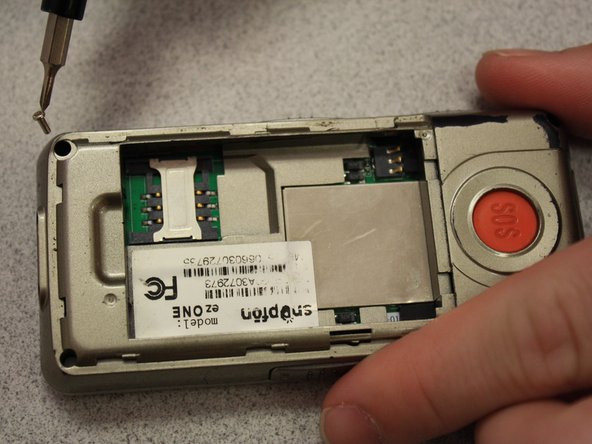
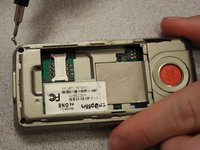
    1. Snapfon ez One Microphone Replacement, Removing the plastic inserts: step 3, image 1 of 2 Snapfon ez One Microphone Replacement, Removing the plastic inserts: step 3, image 2 of 2
      Tool used on this step:
      Tweezers
      $4.99
      Buy
      • Remove the four rubber inserts from the screw holes using a pair of tweezers.

      Ask FixBot

      Add Comment

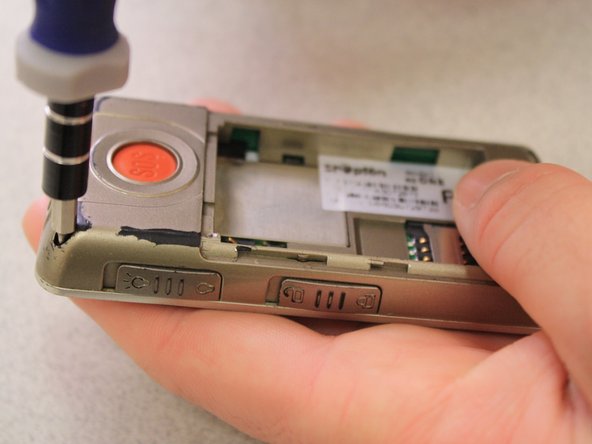
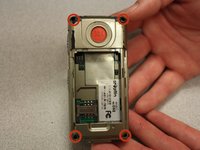
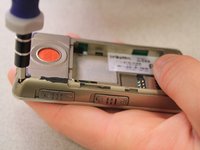
    2. Snapfon ez One Microphone Replacement, Remove the shield screws: step 4, image 1 of 3 Snapfon ez One Microphone Replacement, Remove the shield screws: step 4, image 2 of 3 Snapfon ez One Microphone Replacement, Remove the shield screws: step 4, image 3 of 3
      • Remove the four 3.1mm screws in the corners with a Phillips #00 screwdriver.

      Ask FixBot

      Add Comment

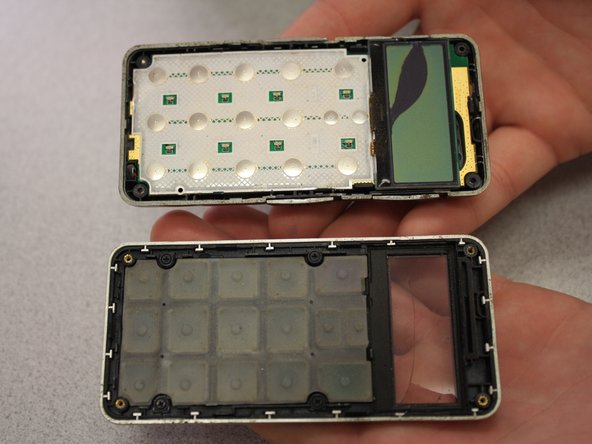
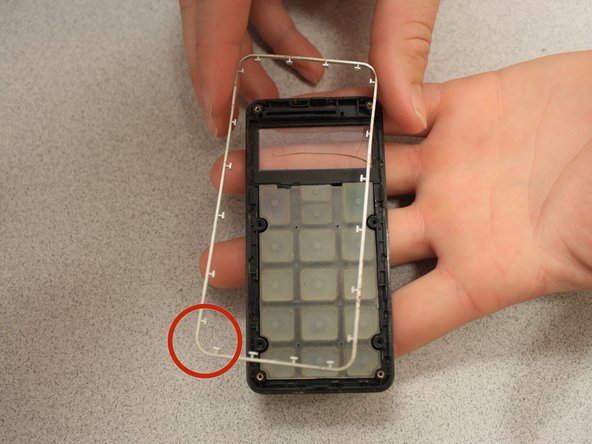
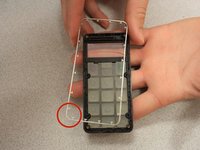
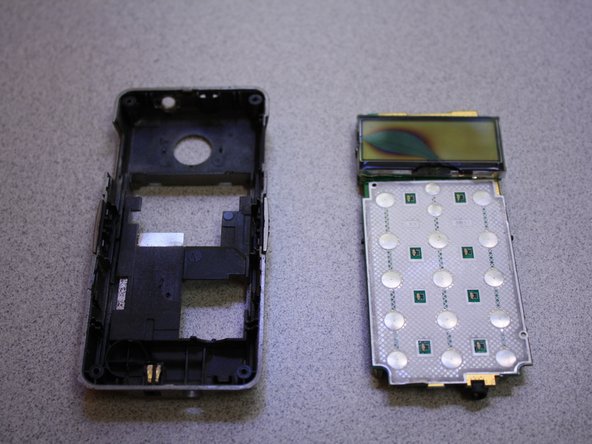
    3. Snapfon ez One Microphone Replacement, Separate the case: step 5, image 1 of 3 Snapfon ez One Microphone Replacement, Separate the case: step 5, image 2 of 3 Snapfon ez One Microphone Replacement, Separate the case: step 5, image 3 of 3
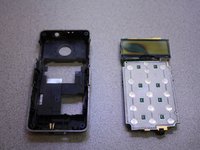
      • Separate the front case from the back case.

      • Remove the metal bumper from the front case’s perimeter.

      Ask FixBot

      Add Comment

    4. Snapfon ez One Microphone Replacement, Remove the volume slider: step 6, image 1 of 1
      • Pry the volume slider button out with tweezers.

      • The volume slider button may fall out during the separation of the front and back cases. This is OK.

      Ask FixBot

      Add Comment

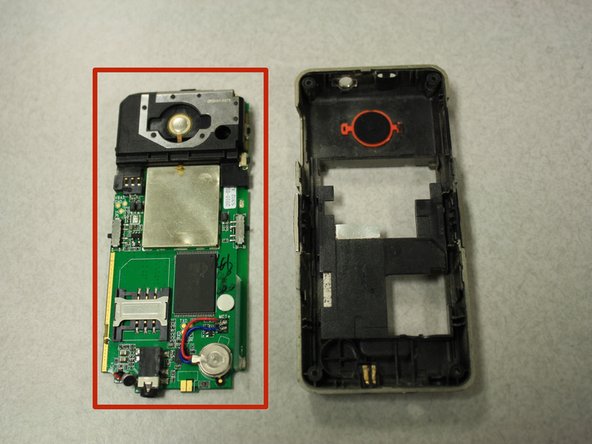
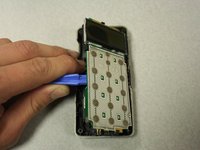
    5. Snapfon ez One Microphone Replacement, Remove the motherboard: step 7, image 1 of 3 Snapfon ez One Microphone Replacement, Remove the motherboard: step 7, image 2 of 3 Snapfon ez One Microphone Replacement, Remove the motherboard: step 7, image 3 of 3
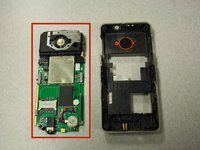
      • Separate the circuit board from the inside of the back case by prying between them with the opening tool.

      • The last picture is a view of the back of the circuit board.

      Ask FixBot

      Add Comment

    1. Snapfon ez One Microphone Replacement, Microphone: step 8, image 1 of 1
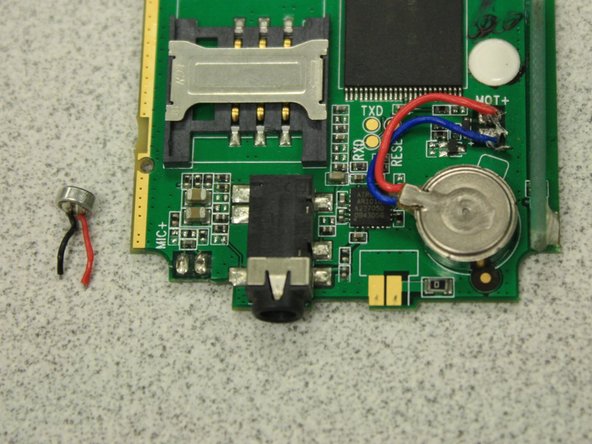
      • Locate the microphone on the back of the circuit board.

      Ask FixBot

      Add Comment

    2. Snapfon ez One Microphone Replacement: step 9, image 1 of 2 Snapfon ez One Microphone Replacement: step 9, image 2 of 2
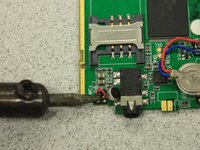
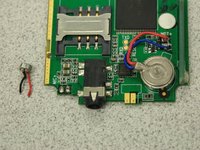
      • Desolder the microphone from the circuit board using the soldering iron.

      • The solder iron creates high temperatures that may cause bodily harm.

      • Take the replacement microphone and melt the wires to the circuit board with the soldering iron in the same fashion that the old microphone was oriented.

      Ask FixBot

      Add Comment

Conclusion

To reassemble your device, follow these instructions in reverse order.

Cancel: I did not complete this guide.

John Bender

Member since: 03/26/14

818 Reputation

8 Guides authored

Team

Clemson, Team 6-5, Benson Spring 2014 Member of Clemson, Team 6-5, Benson Spring 2014

CLEM-BENSON-S14S6G5

3 Members

96 Guides authored

0 Guide Comments

Add Comment

View Statistics:

Past 24 Hours: 2

Past 7 Days: 14

Past 30 Days: 90

All Time: 902