
Slingbox SOLO DC Power Connector Replacement

Nitin Muralidhar and
Last updated on Aug 11, 2016
Views: 827
View statistics:
- Past 24 Hours:
- 2
- Past 7 Days:
- 14
- Past 30 Days:
- 75
- All Time:
- 827
Comments: 0
No one has left comments on this guide. Will you be first?
Go to guide commentsCompleted: 0 1
No one has marked this guide "completed." Will you be the first?
1 person has marked this guide "completed." It's you — great job!
Favorites: 2 3
2 people have favorited (and subscribed to) this guide. Will you be next?
3 people have favorited (and subscribed to) this guide — including you!
Introduction
Go to step 1 ↓The purpose of this guide is to show the steps necessary to replace the faulty DC power connector.
What you need
Parts
Tools


-
-
-
Use the plastic opening tool to remove the four rubber pads from the bottom of the device.
 Ask FixBot
-
-
-
Remove the four black 5mm screws using the PH1 screwdriver.
-
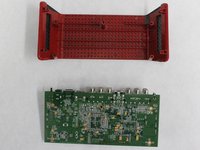
Gently pull and separate the two case covers.
-
-
-
-
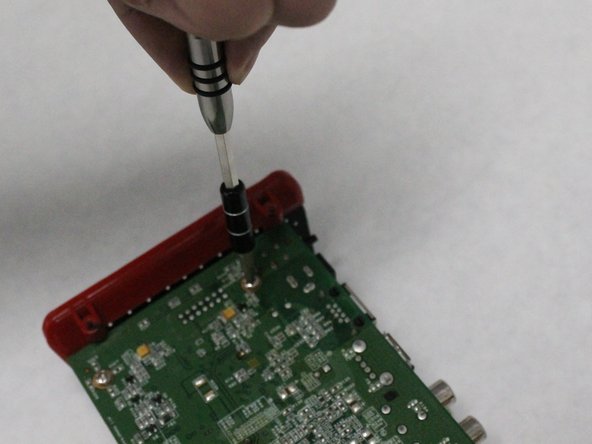
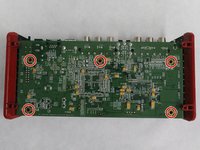
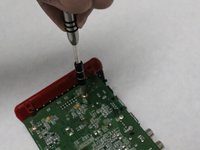
Remove the five silver screws on the motherboard using the PH1 screwdriver.
-
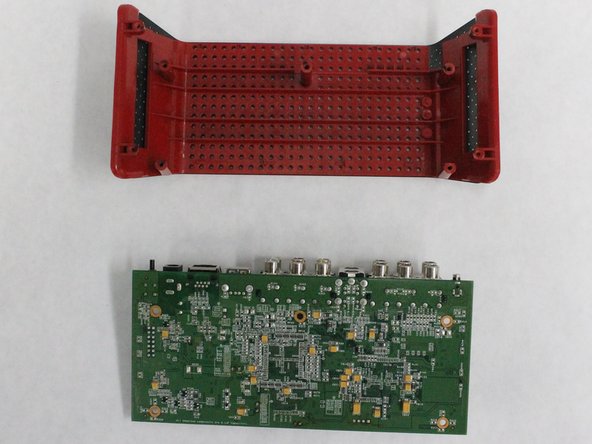
Gently slide and separate the motherboard from the base.
-
-
-
-
-
Desolder all three lead prongs.
-
Gently pull the DC power connector from the motherboard.
-
-



To reassemble your device, follow the instructions in reverse order.

Team

IUPUI, Team 2-2, Harley SU 2016 Member of IUPUI, Team 2-2, Harley SU 2016
IUPUI-HARLEY-SU16S2G2
5 Members
24 Guides authored
