
Skil 88 Motor Replacement

Last updated on Jan 13, 2026
Views: 1.3K
View statistics:
- Past 24 Hours:
- 2
- Past 7 Days:
- 18
- Past 30 Days:
- 105
- All Time:
- 1,290
Comments: 0
No one has left comments on this guide. Will you be first?
Go to guide commentsCompleted: 0 1
No one has marked this guide "completed." Will you be the first?
1 person has marked this guide "completed." It's you — great job!
Favorites: 1 2
1 person has favorited (and subscribed to) this guide. Will you be next?
2 people have favorited (and subscribed to) this guide — including you!
Better Introduction
Improve this guide by completing or revising its introduction.
Introduction
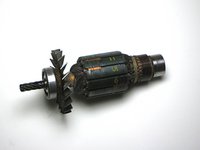
Go to step 1 ↓If you have a Skil 88 (SPT88-01 or SPT88-02) with a faulty motor, then this guide will help you to do a quick replacement to get it working once again. What is a Skil 88 Motor? It is a drill from the STP88 series that uses a motor in order to convert electrical currents in order to power it so it can drill through tough objects due to the fact it is powered using a motor. If the motor were to become faulty, then the drill would not be able to be used at all as that's its power source. This fix should be easy for any person no matter their experience with repair or replacement. Some warnings that you need to know about is that first make sure that the device is disconnected before replacing to make sure it does not accidentally turn on and that when removing parts, they may fall off so be prepared for if that does happen. Once you have made sure it is turned off, you can get started.
What you need
Tools


-
-
-
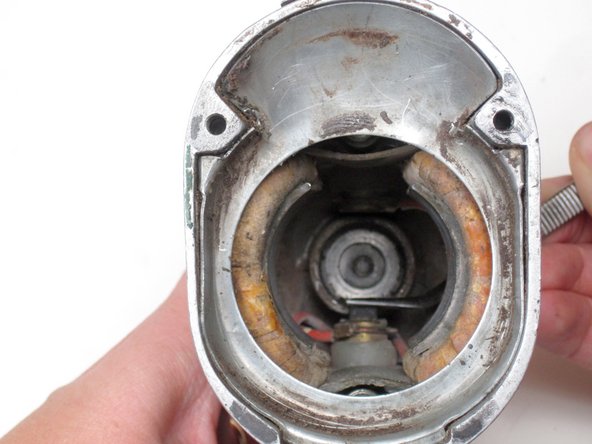
On the front of the drill, remove the three 2" flathead screws connecting the front housing to the rear housing.
 Ask FixBot
-
-
-
-
-
Tool used on this step:Tweezers$4.99
-
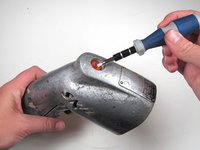
For reassembly, remove the orange cap on top using your flathead screwdriver. A bushing should come out with it.
-
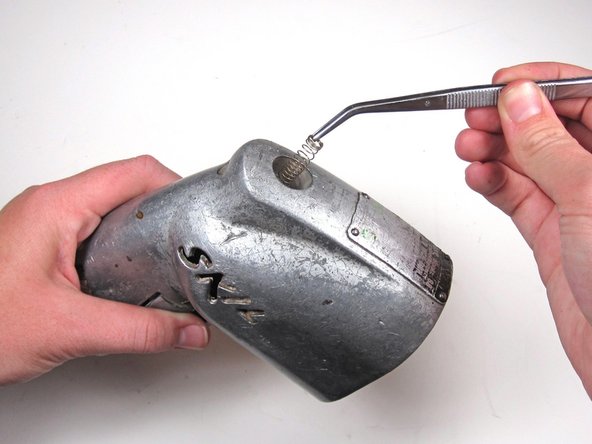
Depress the bushing on bottom using the tweezers. To reach the bushing you will have to put the tweezers through the "Skil" lettering. Insert the motor as it is depressed.
-
Using the tweezers, place the other bushing back in through the hole in the top. Screw the orange cap back on.
-


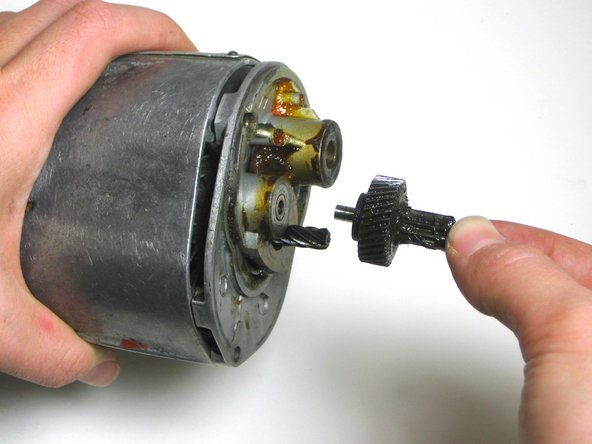

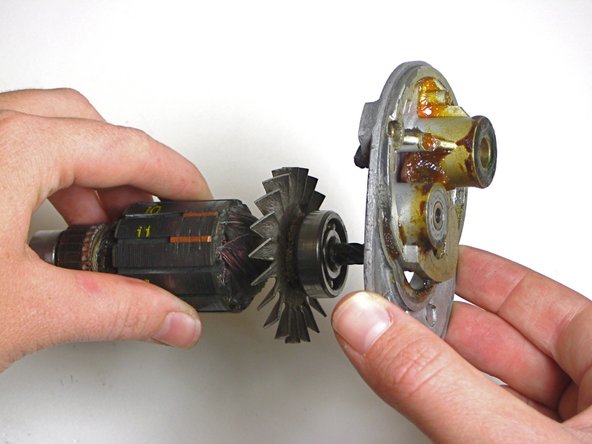
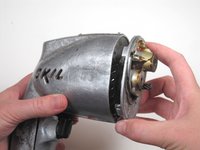
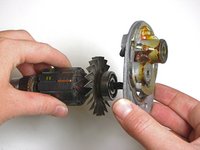

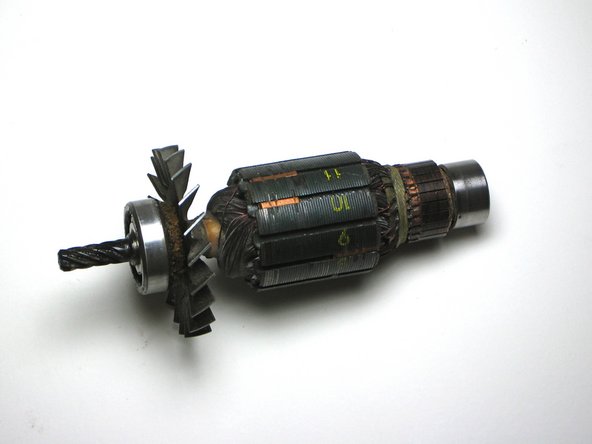
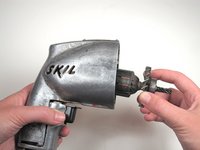

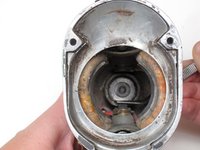
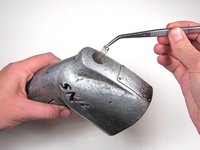
To continue reassembly, simply follow the guide backwards starting at step 2.

Team

Cal Poly, Team 5-17, Maness Fall 2010 Member of Cal Poly, Team 5-17, Maness Fall 2010
CPSU-MANESS-F10S5G17
3 Members
84 Guides authored
