Free Shipping on Domestic Orders $75+

SiriusXM Onyx Screen Replacement

What you need

  1. SiriusXM Onyx Screen Replacement, Motherboard: step 1, image 1 of 1
    • Take the iFixit opening tool and place it between the crevice as shown.

    Ask FixBot

    Add Comment

  2. SiriusXM Onyx Screen Replacement: step 2, image 1 of 2 SiriusXM Onyx Screen Replacement: step 2, image 2 of 2
    • Apply pressure to the iFixit opening tool, pushing down until the the plastic casing pops off.

    Ask FixBot

    Add Comment

  3. SiriusXM Onyx Screen Replacement: step 3, image 1 of 2 SiriusXM Onyx Screen Replacement: step 3, image 2 of 2
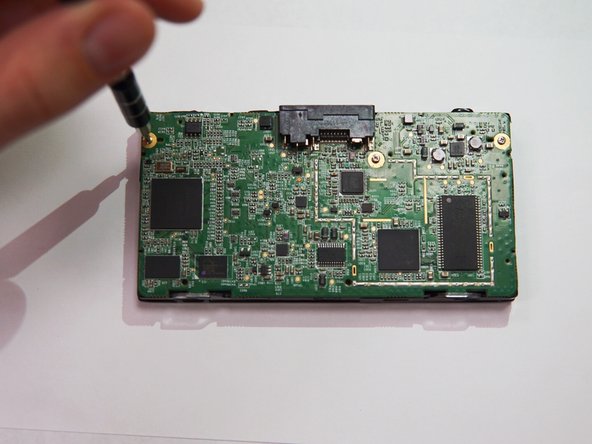
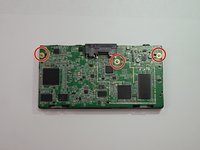
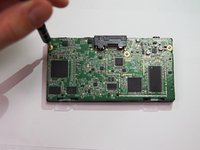
    • Use the Phillips PH00 to remove the three marked screws.

    Ask FixBot

    Add Comment

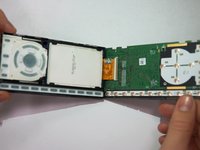
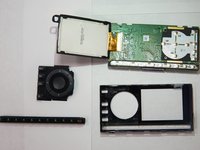
  4. SiriusXM Onyx Screen Replacement: step 4, image 1 of 3 SiriusXM Onyx Screen Replacement: step 4, image 2 of 3 SiriusXM Onyx Screen Replacement: step 4, image 3 of 3
    • Once the screws have been removed, the motherboard is free to come out.

    Ask FixBot

    Add Comment

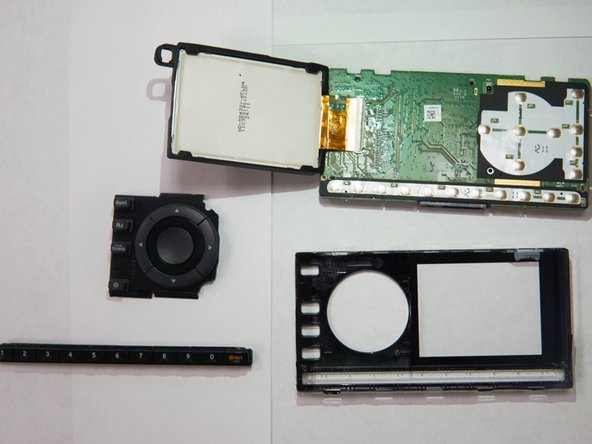
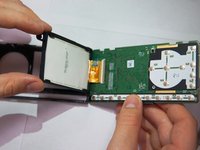
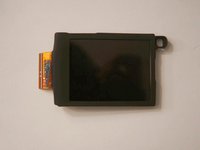
  5. SiriusXM Onyx Screen Replacement, Screen: step 5, image 1 of 3 SiriusXM Onyx Screen Replacement, Screen: step 5, image 2 of 3 SiriusXM Onyx Screen Replacement, Screen: step 5, image 3 of 3
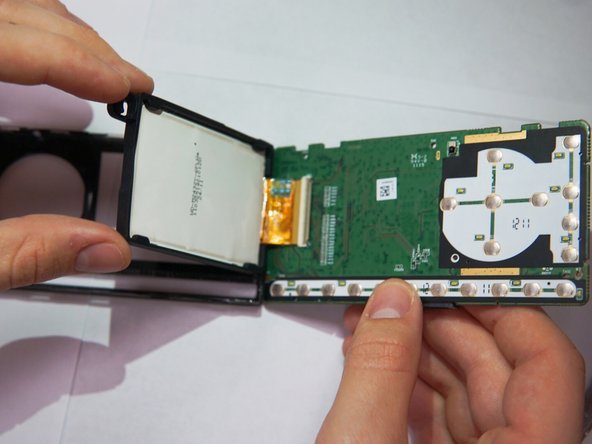
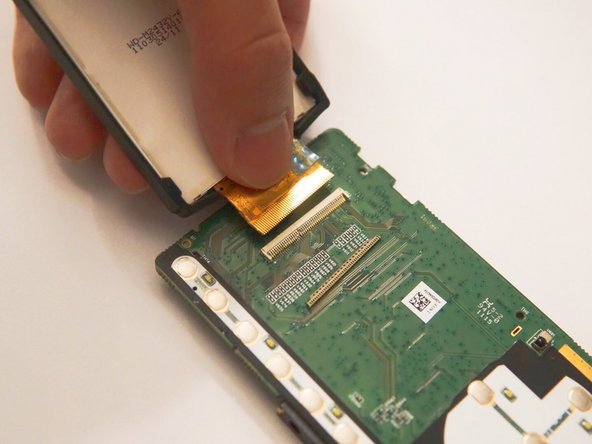
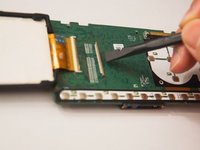
    • Remove the plastic case in front of the socket using the spudger.

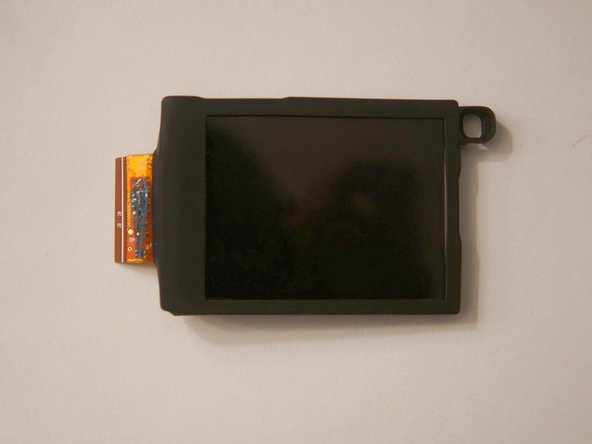
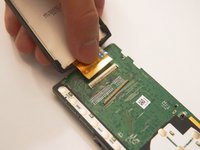
    • Hold the screen and gently pull in the direction of the cable to separate screen from the socket.

    Ask FixBot

    Add Comment

Conclusion

To reassemble your device, follow these instructions in reverse order.

Cancel: I did not complete this guide.

Thomas Zhang

Member since: 10/17/17

107 Reputation

1 Guide authored

0 Guide Comments

Add Comment

View Statistics:

Past 24 Hours: 1

Past 7 Days: 4

Past 30 Days: 23

All Time: 497