Free Shipping on Domestic Orders $75+

SiriusXM Onyx Casing Replacement

What you need

  1. SiriusXM Onyx Casing Replacement, Casing: step 1, image 1 of 1
    • Take the iFixit opening tool and place it between the back casing and the device as shown.

    Ask FixBot

    Add Comment

  2. SiriusXM Onyx Casing Replacement: step 2, image 1 of 2 SiriusXM Onyx Casing Replacement: step 2, image 2 of 2
    • Apply pressure to the iFixit opening tool, pushing down until the the plastic casing pops off.

    Ask FixBot

    Add Comment

  3. SiriusXM Onyx Casing Replacement: step 3, image 1 of 2 SiriusXM Onyx Casing Replacement: step 3, image 2 of 2
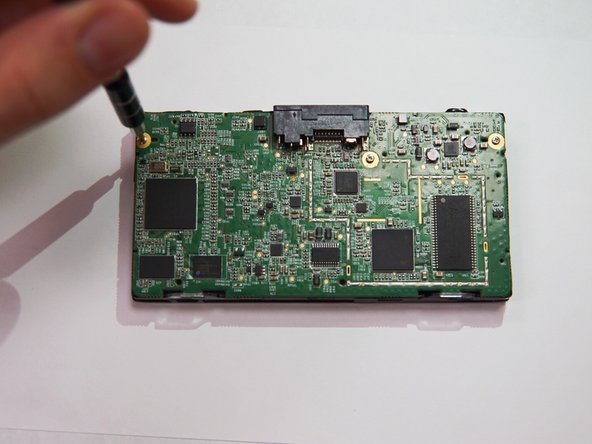
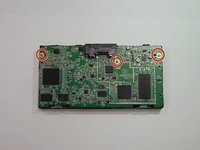
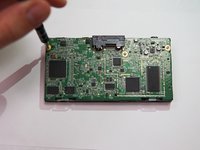
    • Use the Phillips PH00 screwdriver to remove the three marked screws.

    Ask FixBot

    Add Comment

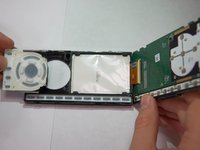
  4. SiriusXM Onyx Casing Replacement: step 4, image 1 of 3 SiriusXM Onyx Casing Replacement: step 4, image 2 of 3 SiriusXM Onyx Casing Replacement: step 4, image 3 of 3
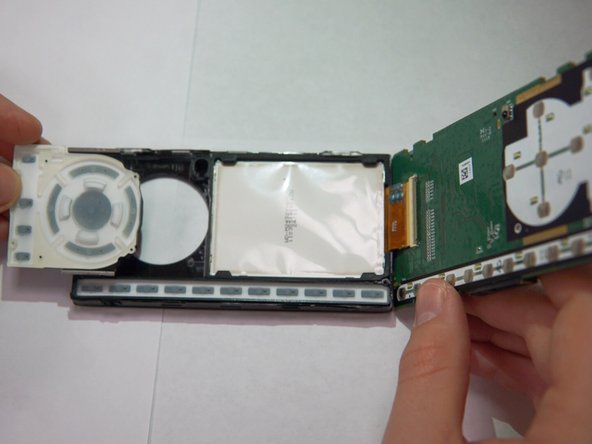
    • Remove the buttons from the casing.

    Ask FixBot

    Add Comment

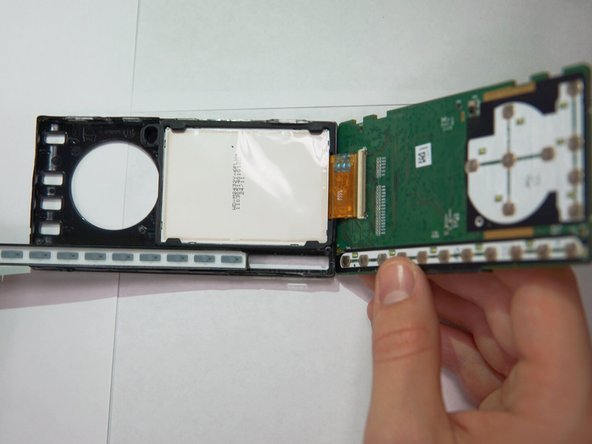
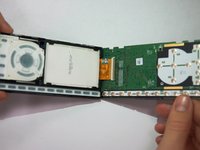
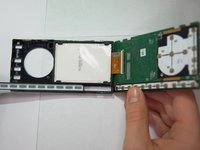
  5. SiriusXM Onyx Casing Replacement: step 5, image 1 of 2 SiriusXM Onyx Casing Replacement: step 5, image 2 of 2
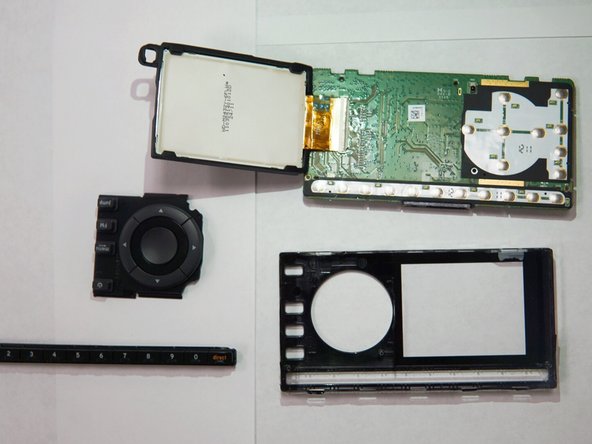
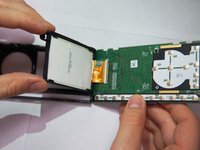
    • Remove the motherboard, and the casing should be free.

    Ask FixBot

    Add Comment

Conclusion

To reassemble your device, follow these instructions in reverse order.

Cancel: I did not complete this guide.

Christina Tao

Member since: 10/17/17

319 Reputation

3 Guides authored

1 Guide Comment

Thank you! I couldn’t figure out how to get it open!

Cameron Miller - Reply Share

Add Comment

View Statistics:

Past 24 Hours: 0

Past 7 Days: 7

Past 30 Days: 20

All Time: 485