Free Shipping on Domestic Orders $75+

Shop-Vac MC150A Motor Replacement

What you need

    1. Shop-Vac MC150A Motor Replacement, Unlatch the power unit assembly: step 1, image 1 of 1
      • Before you begin, make sure to switch off the device and unplug it from the outlet.

      • Unlatch the two side clips securing the power unit assembly to the tank.

      • Remove the power unit assembly from the tank assembly.

      Ask FixBot

      Add Comment

    2. Shop-Vac MC150A Motor Replacement, Remove the top cover: step 2, image 1 of 2 Shop-Vac MC150A Motor Replacement, Remove the top cover: step 2, image 2 of 2
      • Use a 3.5 mm hex key to remove the three screws securing the top cover.

      • Remove the top cover.

      Ask FixBot

      Add Comment

    3. Shop-Vac MC150A Motor Replacement: step 3, image 1 of 1
      • Use a 3.5 mm hex key to remove the four screws securing the power unit assembly.

      Ask FixBot

      Add Comment

    4. Shop-Vac MC150A Motor Replacement: step 4, image 1 of 1
      • Separate the power unit assembly from the cover.

      Ask FixBot

      Add Comment

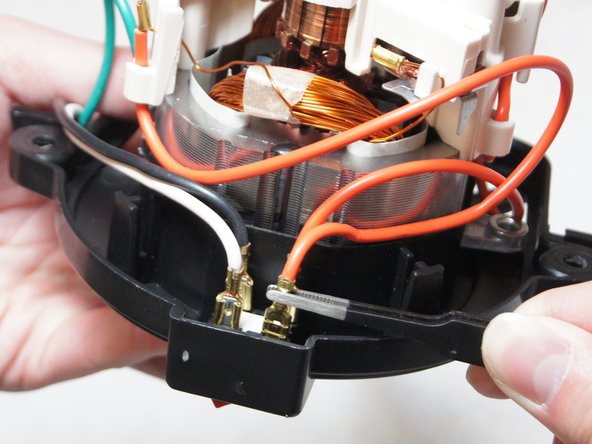
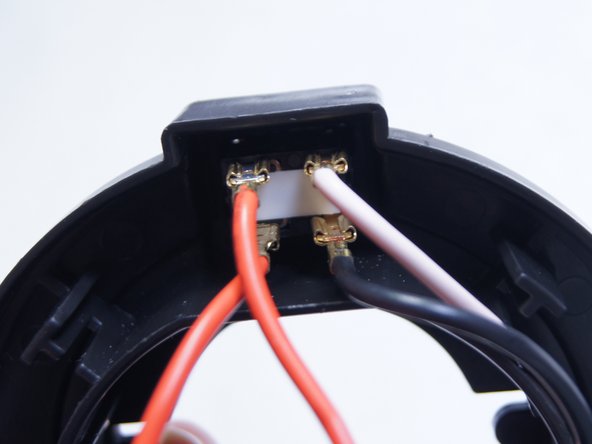
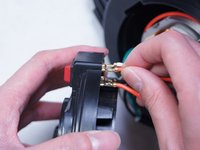
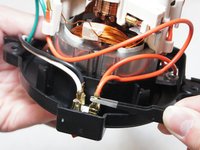
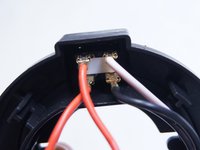
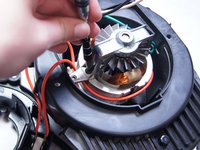
    1. Shop-Vac MC150A Motor Replacement, Disconnect the switch: step 5, image 1 of 3 Shop-Vac MC150A Motor Replacement, Disconnect the switch: step 5, image 2 of 3 Shop-Vac MC150A Motor Replacement, Disconnect the switch: step 5, image 3 of 3
      • Pull out and disconnect the four spade connectors from the switch module.

      • During reassembly, use the last image as a reference for how to connect the wires.

      Ask FixBot

      Add Comment

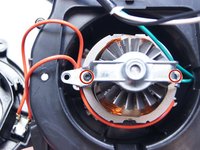
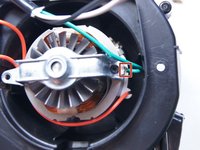
    2. Shop-Vac MC150A Motor Replacement, Unscrew the motor bracket: step 6, image 1 of 2 Shop-Vac MC150A Motor Replacement, Unscrew the motor bracket: step 6, image 2 of 2
      • Use a Torx T15 driver to unscrew the two screws securing the metal motor bracket.

      Ask FixBot

      Add Comment

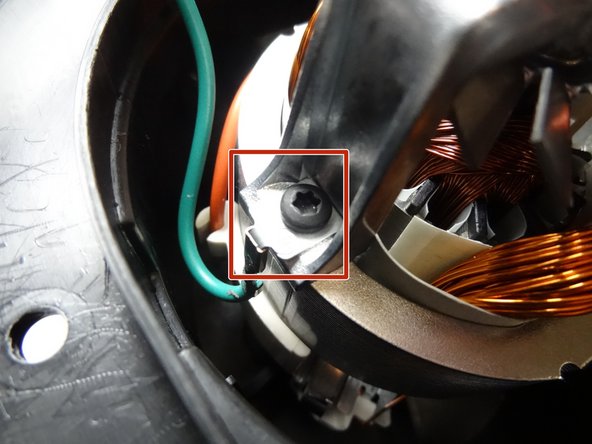
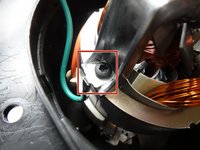
    3. Shop-Vac MC150A Motor Replacement: step 7, image 1 of 2 Shop-Vac MC150A Motor Replacement: step 7, image 2 of 2
      • During reassembly, be sure to reattach the green ground wire clip to the bracket.

      Ask FixBot

      Add Comment

    4. Shop-Vac MC150A Motor Replacement: step 8, image 1 of 1
      • Separate the clip from the green wire and transfer it to the replacement motor.

      Ask FixBot

      Add Comment

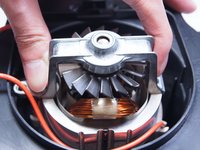
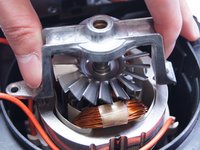
    1. Shop-Vac MC150A Motor Replacement, Motor: step 9, image 1 of 2 Shop-Vac MC150A Motor Replacement, Motor: step 9, image 2 of 2
      • Remove the motor bracket.

      Ask FixBot

      Add Comment

    2. Shop-Vac MC150A Motor Replacement: step 10, image 1 of 1
      • Turn the part over to the other side.

      • Use the socket wrench remove the bolt securing the aluminum plate.

      Ask FixBot

      Add Comment

    3. Shop-Vac MC150A Motor Replacement: step 11, image 1 of 1
      • Unscrew the two Phillips head screws holding the cover to the motor.

      • After removing the cover to the motor, you can replace the motor.

      Ask FixBot

      Add Comment

Conclusion

To reassemble your device, follow these instructions in reverse order.

Cancel: I did not complete this guide.

8 other people completed this guide.

Ngunlian

Member since: 02/08/16

756 Reputation

5 Guides authored

Team

IUPUI, Team 1-2, Baechle Spring 2016 Member of IUPUI, Team 1-2, Baechle Spring 2016

IUPUI-BAECHLE-S16S1G2

5 Members

60 Guides authored

2 Guide Comments

Where do I buy a new motor?????

Gerald Mikel - Reply Share

Yeah that's what we all would like to know, removing is the easy part

Junkyard_Boxer - Reply Share

Add Comment

View Statistics:

Past 24 Hours: 9

Past 7 Days: 43

Past 30 Days: 189

All Time: 32,567