Free Shipping on Domestic Orders $75+

Sharper Image SVC430 Lens Replacement

What you need

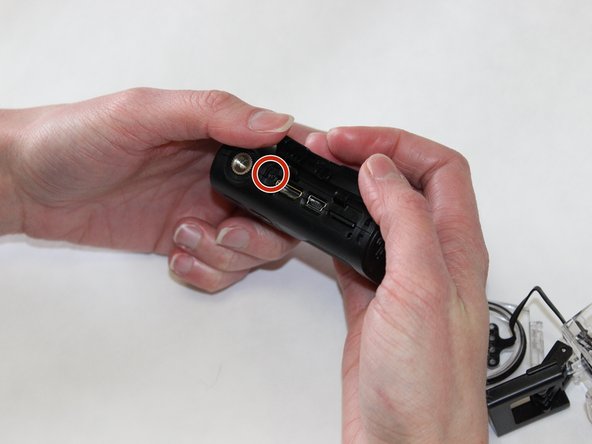
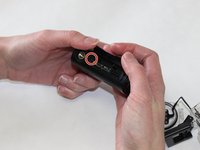
  1. Sharper Image SVC430 Lens Replacement, Sharper Image SVC430 Disassembly: step 1, image 1 of 2 Sharper Image SVC430 Lens Replacement, Sharper Image SVC430 Disassembly: step 1, image 2 of 2
    • Power off your device before you begin.

    • Use your thumb to push down on the lever that says "open" while simultaneously pushing up the latch with your other thumb.

    Ask FixBot

    Add Comment

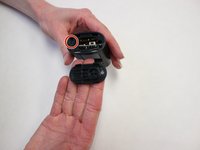
  2. Sharper Image SVC430 Lens Replacement: step 2, image 1 of 2 Sharper Image SVC430 Lens Replacement: step 2, image 2 of 2
    • Once the latch is free, simply pull the front of the waterproof case off and slide the camera out.

    Ask FixBot

    Add Comment

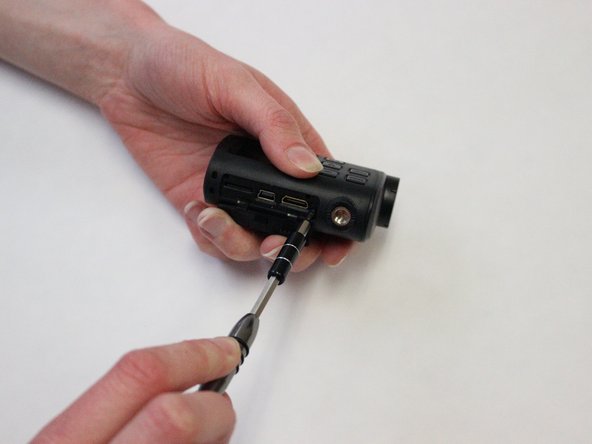
  3. Sharper Image SVC430 Lens Replacement: step 3, image 1 of 3 Sharper Image SVC430 Lens Replacement: step 3, image 2 of 3 Sharper Image SVC430 Lens Replacement: step 3, image 3 of 3
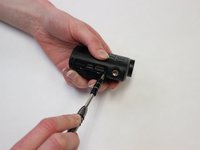
    • Locate the bottom of the device.

    • Now, using the metal screwdriver, unscrew the screw on the bottom of the device.

    Ask FixBot

    Add Comment

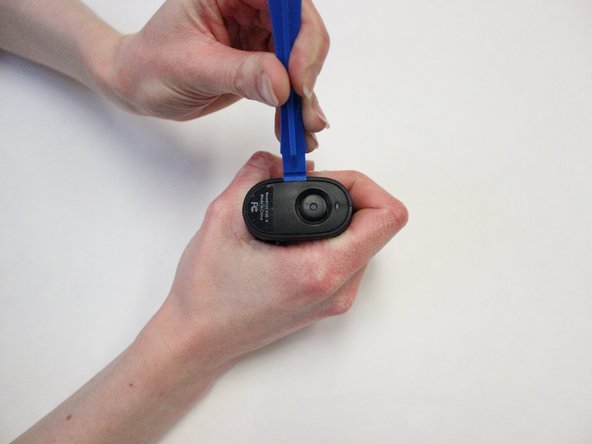
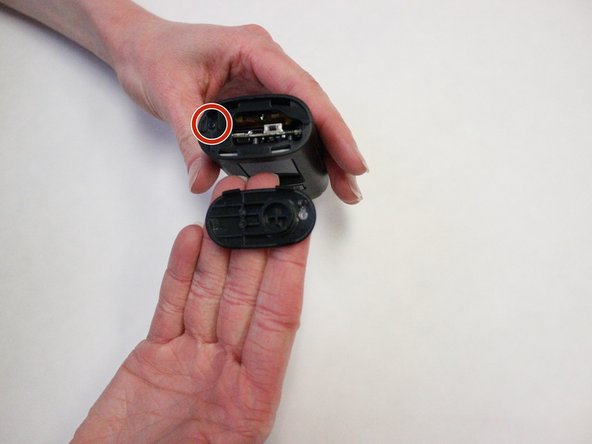
  4. Sharper Image SVC430 Lens Replacement: step 4, image 1 of 2 Sharper Image SVC430 Lens Replacement: step 4, image 2 of 2
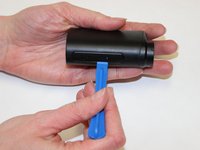
    • This panel should come off easily, do not apply too much pressure.

    • Use the plastic opening tool to pry open the plastic panel from the top of the camera.

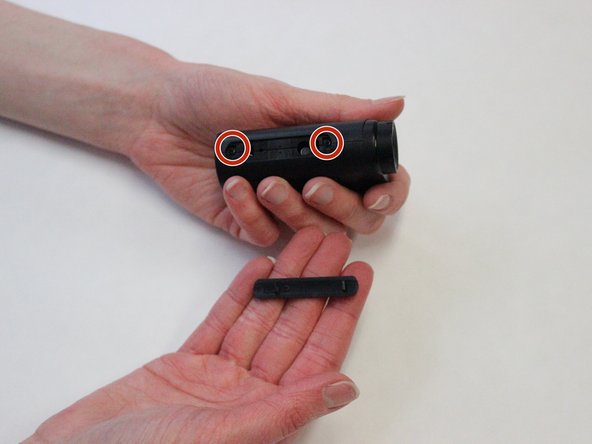
    • Locate the two screws on the top of the device.

    Ask FixBot

    Add Comment

  5. Sharper Image SVC430 Lens Replacement: step 5, image 1 of 1
    • Use the JIS J0 screwdriver to unscrew the two screws on the top of the device.

    Ask FixBot

    Add Comment

  6. Sharper Image SVC430 Lens Replacement: step 6, image 1 of 3 Sharper Image SVC430 Lens Replacement: step 6, image 2 of 3 Sharper Image SVC430 Lens Replacement: step 6, image 3 of 3
    • Use the plastic opening tool to pry off the back panel.

    • The back panel will come off easily.

    Ask FixBot

    Add Comment

  7. Sharper Image SVC430 Lens Replacement: step 7, image 1 of 1
    • Use the metal screwdriver to unscrew the screw from the back of the device.

    Ask FixBot

    Add Comment

  8. Sharper Image SVC430 Lens Replacement: step 8, image 1 of 1
    • Use the plastic opening tool to pry off the front panel of the device.

    Ask FixBot

    Add Comment

  9. Sharper Image SVC430 Lens Replacement: step 9, image 1 of 1
    • Using the screwdriver, unscrew the screw located underneath the front panel.

    Ask FixBot

    Add Comment

  10. Sharper Image SVC430 Lens Replacement: step 10, image 1 of 1
    • Be gentle with the device since there are wires attached to the front plate and two halves.

    • Gently pull both sides of the device to expose the interior of the device.

    Ask FixBot

    Add Comment

  11. Sharper Image SVC430 Lens Replacement, Lens: step 11, image 1 of 1
    • Behind the lens, use the metal screwdriver to unscrew the two screws holding the lens in place on the circuit board.

    Ask FixBot

    Add Comment

  12. Sharper Image SVC430 Lens Replacement: step 12, image 1 of 1
    • The lens should easily remove from the circuit board.

    Ask FixBot

    Add Comment

Conclusion

To reassemble your device, follow these instructions in reverse order.

Cancel: I did not complete this guide.

One other person completed this guide.

0 Guide Comments

Add Comment

View Statistics:

Past 24 Hours: 0

Past 7 Days: 5

Past 30 Days: 29

All Time: 472