Free Shipping on Domestic Orders $75+

Sharp FX Digitizer/Screen Replacement

Views: 3.8K

View statistics:

Past 24 Hours:
2
Past 7 Days:
17
Past 30 Days:
91
All Time:
3,818
Comments: 0

No one has left comments on this guide. Will you be first?

Go to guide comments
Completed: 1

1 person has marked this guide "completed." Will you be next?

Favorites: 2

2 people have favorited (and subscribed to) this guide. Will you be next?

Time Required: 15 - 30 minutes
Difficulty: Difficult
Community-Contributed Guide

An awesome member of our community made this guide. It was not created by iFixit staff.

Sharp FX Digitizer/Screen Replacement

Introduction

Go to step 1 ↓

I am not responsible for anything in this article.

What you need

Parts

Tools

    1. Sharp FX Digitizer/Screen Replacement, Digitizer/Screen: step 1, image 1 of 3 Sharp FX Digitizer/Screen Replacement, Digitizer/Screen: step 1, image 2 of 3 Sharp FX Digitizer/Screen Replacement, Digitizer/Screen: step 1, image 3 of 3
      • Remove - Back,microSD,battery,sim

      • Remove black rubber screw covers on back of display.

      • Remove 000 phillips screws (4) from top of display.

      Ask FixBot

      Add Comment

    2. Sharp FX Digitizer/Screen Replacement: step 2, image 1 of 2 Sharp FX Digitizer/Screen Replacement: step 2, image 2 of 2
      • Remove 3 small silver screws from battery area.

      • Remove 2 Torx t-7's by MicroSD slot.

      • After screws are removed you can detach screen.

      Ask FixBot

      Add Comment

    3. Sharp FX Digitizer/Screen Replacement: step 3, image 1 of 3 Sharp FX Digitizer/Screen Replacement: step 3, image 2 of 3 Sharp FX Digitizer/Screen Replacement: step 3, image 3 of 3
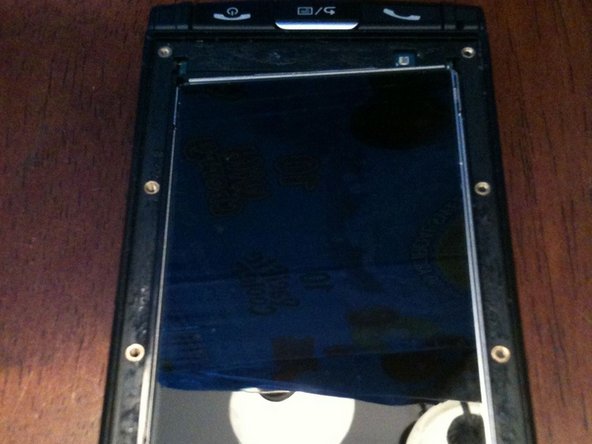
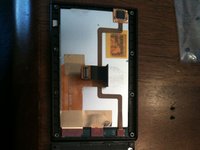
      • Remove 4 additional 000 phillips screws from display.

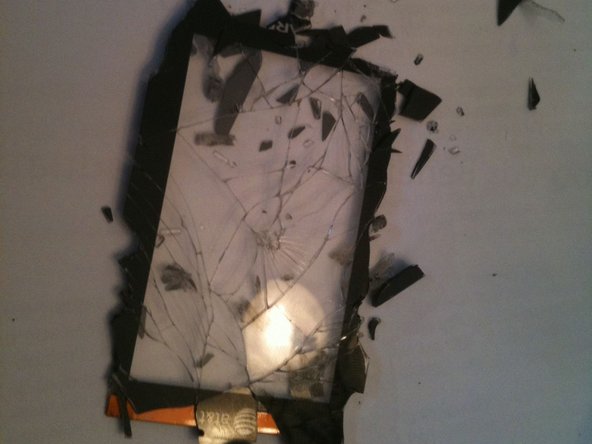
      • Using some heat,spudger,frce pry away the broken display from the frame.

      • Use extreme caution the actual display is very fragile.

      Ask FixBot

      Add Comment

    4. Sharp FX Digitizer/Screen Replacement: step 4, image 1 of 3 Sharp FX Digitizer/Screen Replacement: step 4, image 2 of 3 Sharp FX Digitizer/Screen Replacement: step 4, image 3 of 3
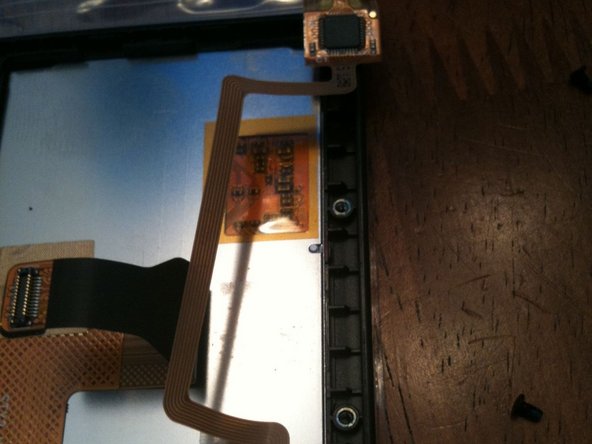
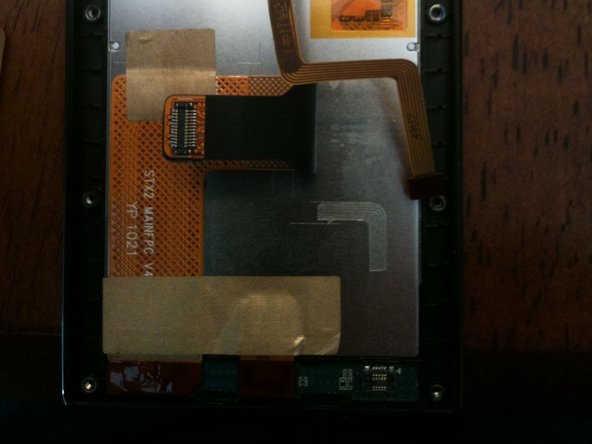
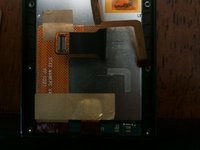
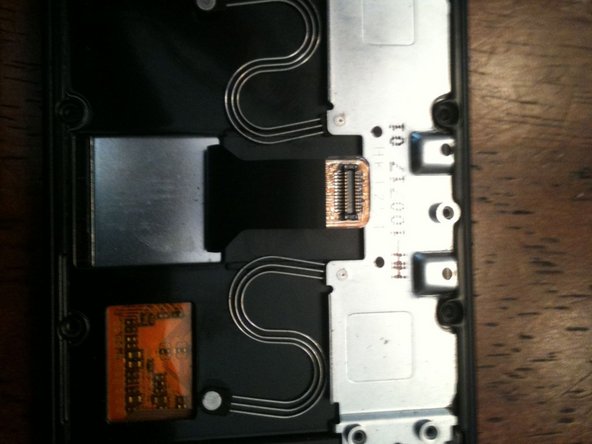
      • Remove connector for digitizer

      • replace connector with new digitizer and rebuild.

      Ask FixBot

      Add Comment

    5. Sharp FX Digitizer/Screen Replacement: step 5, image 1 of 3 Sharp FX Digitizer/Screen Replacement: step 5, image 2 of 3 Sharp FX Digitizer/Screen Replacement: step 5, image 3 of 3
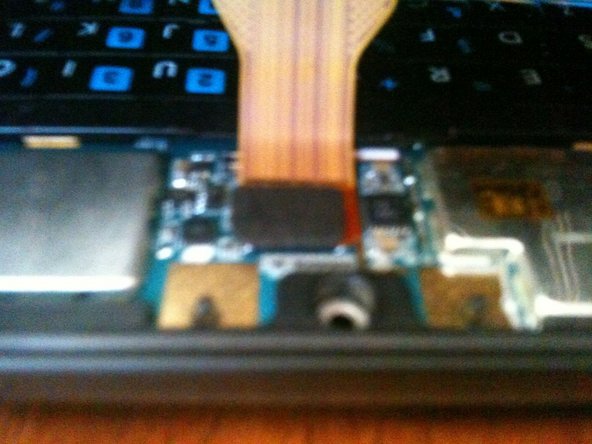
      • Reconnect to main motherboard.

      Ask FixBot

      Add Comment

    6. Sharp FX Digitizer/Screen Replacement: step 6, image 1 of 3 Sharp FX Digitizer/Screen Replacement: step 6, image 2 of 3 Sharp FX Digitizer/Screen Replacement: step 6, image 3 of 3
      • reassemble.

      • Enjoy the new display

      Ask FixBot

      Add Comment

Conclusion

To reassemble your device, follow these instructions in reverse order.

Cancel: I did not complete this guide.

One other person completed this guide.

jckoniecki

Member since: 11/08/10

51 Reputation

1 Guide authored

0 Guide Comments

Add Comment

View Statistics:

Past 24 Hours: 2

Past 7 Days: 17

Past 30 Days: 91

All Time: 3,818