Free Shipping on Domestic Orders $75+

Sharp Aquos LC13B2UA Front Case Replacement

What you need

  1. Sharp Aquos LC13B2UA Front Case Replacement, Stand: step 1, image 1 of 2 Sharp Aquos LC13B2UA Front Case Replacement, Stand: step 1, image 2 of 2
    • Place the TV face down on a flat smooth surface as to not scratch the screen.

    • Using a Phillips #2 screwdriver remove the four 8mm screws attaching the stand to the TV.

    Ask FixBot

    Add Comment

  2. Sharp Aquos LC13B2UA Front Case Replacement: step 2, image 1 of 2 Sharp Aquos LC13B2UA Front Case Replacement: step 2, image 2 of 2
    • Lift the stand off the television.

    Ask FixBot

    Add Comment

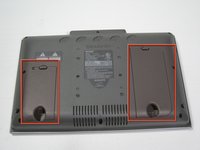
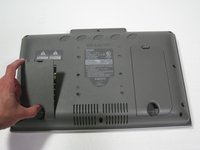
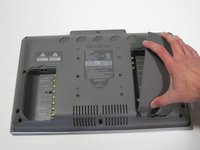
  3. Sharp Aquos LC13B2UA Front Case Replacement, Back Case: step 3, image 1 of 3 Sharp Aquos LC13B2UA Front Case Replacement, Back Case: step 3, image 2 of 3 Sharp Aquos LC13B2UA Front Case Replacement, Back Case: step 3, image 3 of 3
    • Remove the two back panels by prying them out with your hands.

    Ask FixBot

    Add Comment

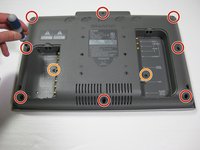
  4. Sharp Aquos LC13B2UA Front Case Replacement: step 4, image 1 of 2 Sharp Aquos LC13B2UA Front Case Replacement: step 4, image 2 of 2
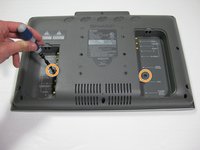
    • Using a Phillips #2 screwdriver, remove the eight 6mm Phillips screws located around the edge.

    • Using a Phillips #2 screwdriver, remove the two 6mm Phillips screws located near the inputs.

    Ask FixBot

    Add Comment

  5. Sharp Aquos LC13B2UA Front Case Replacement: step 5, image 1 of 1
    • Using your hands, gently lift and remove the back case of the television.

    Ask FixBot

    Add Comment

  6. Sharp Aquos LC13B2UA Front Case Replacement, Motherboard: step 6, image 1 of 3 Sharp Aquos LC13B2UA Front Case Replacement, Motherboard: step 6, image 2 of 3 Sharp Aquos LC13B2UA Front Case Replacement, Motherboard: step 6, image 3 of 3
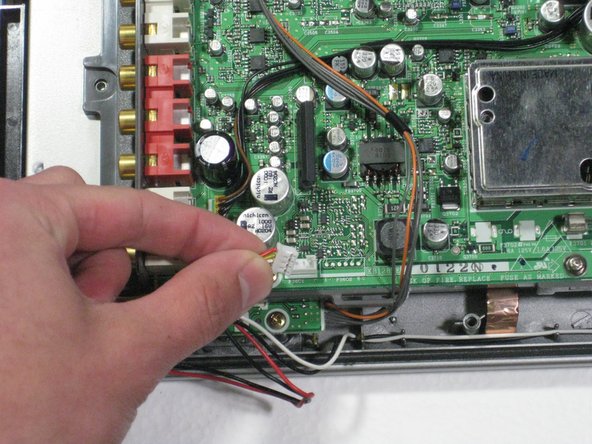
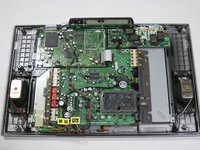
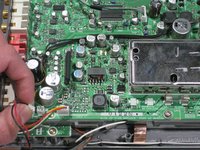
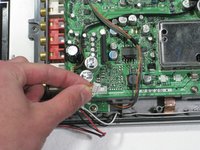
    • Remove the two speaker cables and the connector from the circuit board by pinching the plastic connectors and firmly pulling up.

    • Pull on the plastic part of the connector, even though it may seem easiest to pull on the wires.

    Ask FixBot

    Add Comment

  7. Sharp Aquos LC13B2UA Front Case Replacement: step 7, image 1 of 2 Sharp Aquos LC13B2UA Front Case Replacement: step 7, image 2 of 2
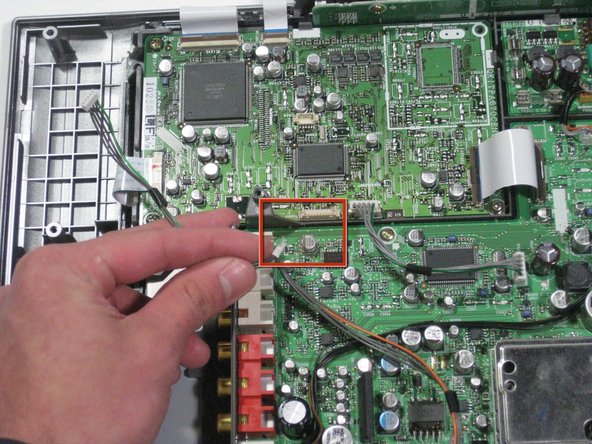
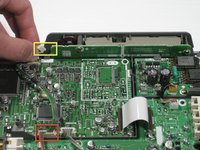
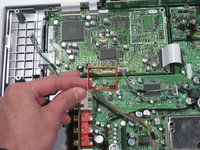
    • Remove the green and gray power connector from the side of the buttons panel at the top of the television.

    • Remove the green/gray to orange/gray connector from the center of the circuit board.

    Ask FixBot

    Add Comment

  8. Sharp Aquos LC13B2UA Front Case Replacement: step 8, image 1 of 2 Sharp Aquos LC13B2UA Front Case Replacement: step 8, image 2 of 2
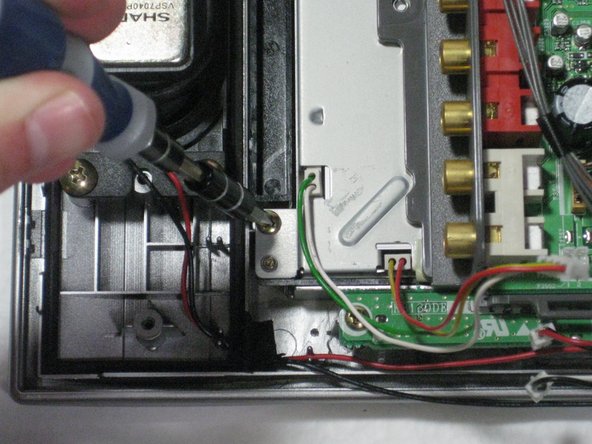
    • Remove the four 5mm phillips screws attaching the LCD and circuit board to the front case.

    Ask FixBot

    Add Comment

  9. Sharp Aquos LC13B2UA Front Case Replacement: step 9, image 1 of 1
    • Lift the circuit board/LCD block from the case by lifting the near side of the circuit board and sliding it under the button frame.

    Ask FixBot

    Add Comment

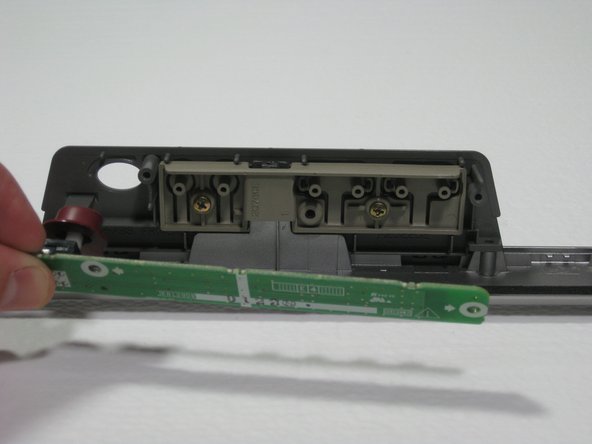
  10. Sharp Aquos LC13B2UA Front Case Replacement, Power Button: step 10, image 1 of 3 Sharp Aquos LC13B2UA Front Case Replacement, Power Button: step 10, image 2 of 3 Sharp Aquos LC13B2UA Front Case Replacement, Power Button: step 10, image 3 of 3
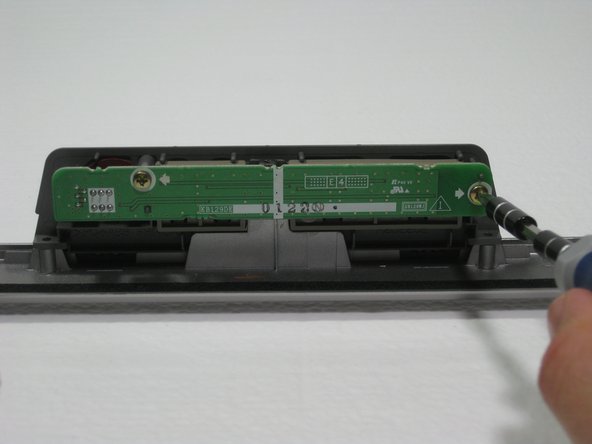
    • Remove the two 6mm Phillips screws.

    • Pull the board toward you, giving you access to the power button.

    Ask FixBot

    Add Comment

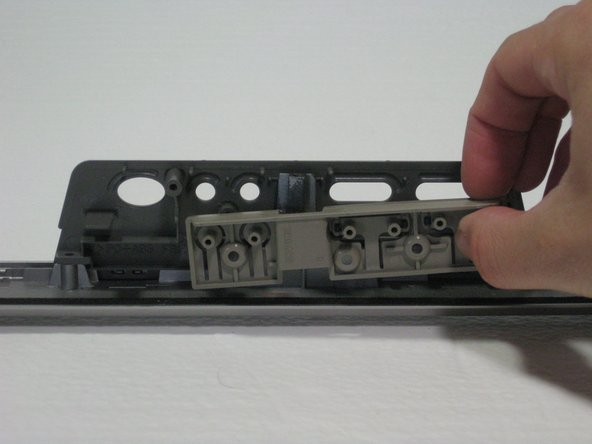
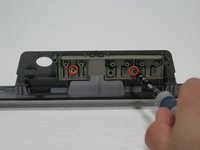
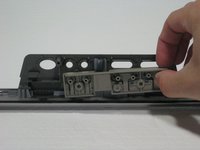
  11. Sharp Aquos LC13B2UA Front Case Replacement, Top Buttons: step 11, image 1 of 2 Sharp Aquos LC13B2UA Front Case Replacement, Top Buttons: step 11, image 2 of 2
    • Unscrew the two 4mm Phillips screws.

    • Lift the buttons off the front case.

    Ask FixBot

    Add Comment

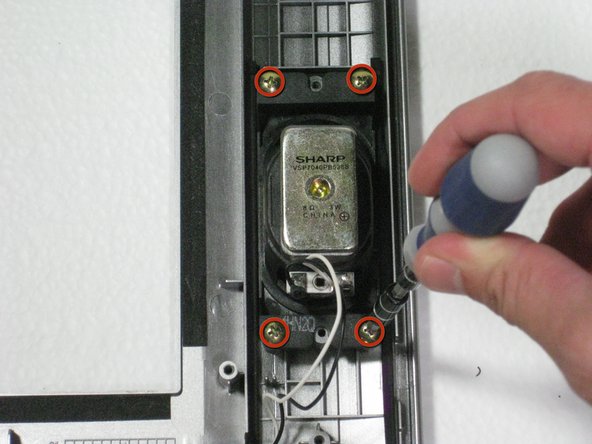
  12. Sharp Aquos LC13B2UA Front Case Replacement, Front Case: step 12, image 1 of 2 Sharp Aquos LC13B2UA Front Case Replacement, Front Case: step 12, image 2 of 2
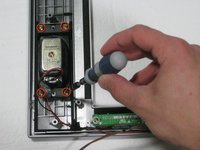
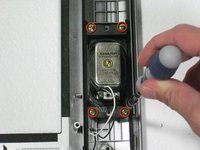
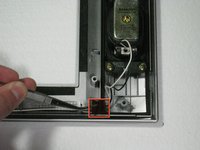
    • Remove the eight 10mm screws connecting the two speakers to the front case.

    Ask FixBot

    Add Comment

  13. Sharp Aquos LC13B2UA Front Case Replacement: step 13, image 1 of 3 Sharp Aquos LC13B2UA Front Case Replacement: step 13, image 2 of 3 Sharp Aquos LC13B2UA Front Case Replacement: step 13, image 3 of 3
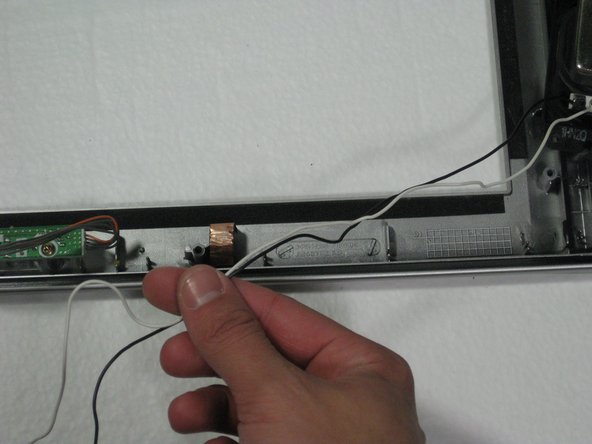
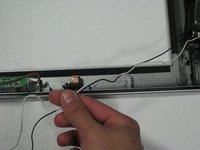
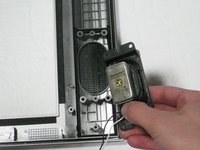
    • Remove the two black tape strips securing the audio cables to the case.

    • Lift the audio cable from the plastic prongs securing it to the front case

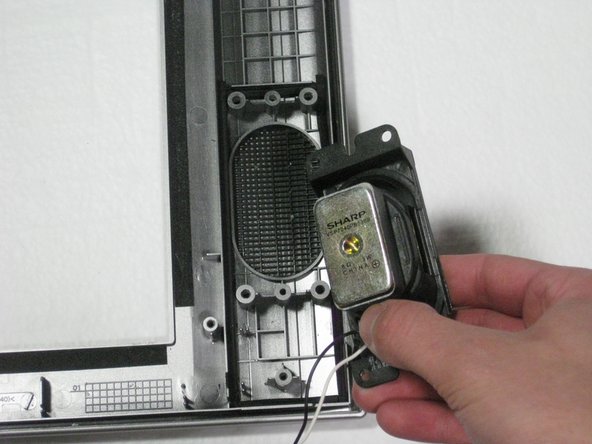
    • The speakers can now be removed.

    Ask FixBot

    Add Comment

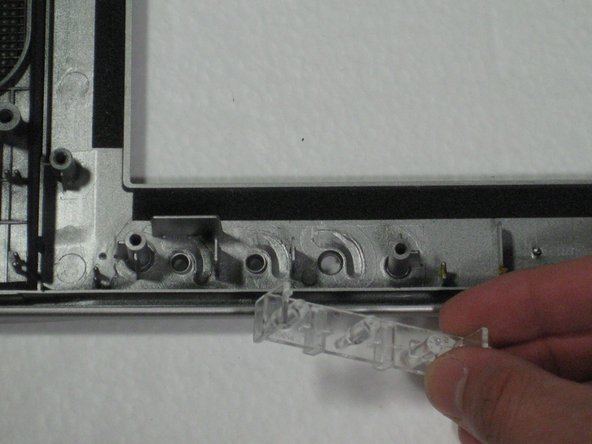
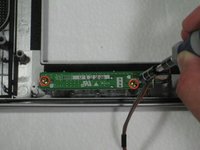
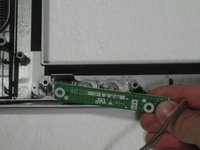
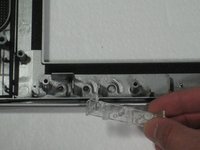
  14. Sharp Aquos LC13B2UA Front Case Replacement: step 14, image 1 of 3 Sharp Aquos LC13B2UA Front Case Replacement: step 14, image 2 of 3 Sharp Aquos LC13B2UA Front Case Replacement: step 14, image 3 of 3
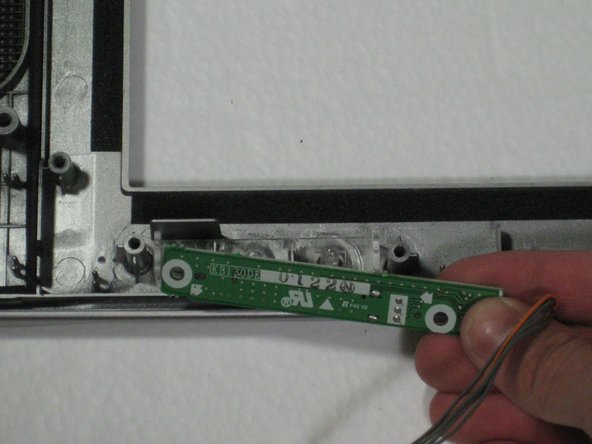
    • To remove the LED circuit at the base of the front casing, unscrew the two 5mm Phillips screws.

    • Lift the circuit to remove the plastic LED casing.

    Ask FixBot

    Add Comment

Conclusion

To reassemble your device, follow these instructions in reverse order.

Cancel: I did not complete this guide.

One other person completed this guide.

Robert Hobson

Member since: 01/20/11

1,290 Reputation

9 Guides authored

Team

Cal Poly, Team 1-11, Amido Winter 2011 Member of Cal Poly, Team 1-11, Amido Winter 2011

CPSU-AMIDO-W11S1G11

4 Members

9 Guides authored

0 Guide Comments

Add Comment

View Statistics:

Past 24 Hours: 0

Past 7 Days: 4

Past 30 Days: 34

All Time: 3,148