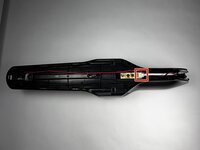
Free Shipping on Domestic Orders $75+

Shark UltraCyclone CH951 U4 Power Control Board Replacement

What you need

  1. Shark UltraCyclone CH951 U4 Power Control Board Replacement, Dust Cup: step 1, image 1 of 3 Shark UltraCyclone CH951 U4 Power Control Board Replacement, Dust Cup: step 1, image 2 of 3 Shark UltraCyclone CH951 U4 Power Control Board Replacement, Dust Cup: step 1, image 3 of 3
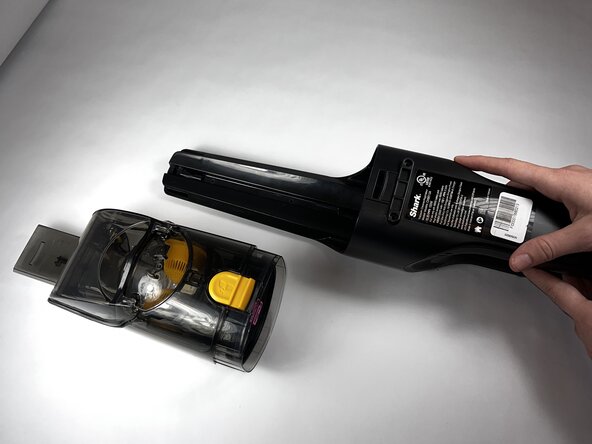
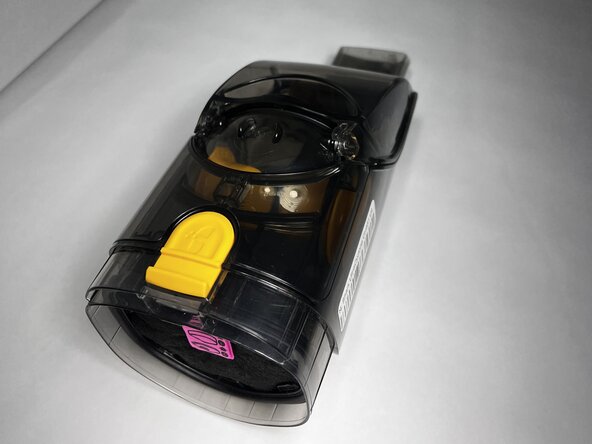
    • Press the dust cup release button and gently pull the dust cup away from the body of the vacuum.

    Ask FixBot

    Add Comment

  2. Shark UltraCyclone CH951 U4 Power Control Board Replacement, Casing: step 2, image 1 of 2 Shark UltraCyclone CH951 U4 Power Control Board Replacement, Casing: step 2, image 2 of 2
    • Use a TR9 Torx screwdriver to remove the two 8.7 mm screws previously behind the dust cup.

    Ask FixBot

    Add Comment

  3. Shark UltraCyclone CH951 U4 Power Control Board Replacement: step 3, image 1 of 1
    • Remove the two 12.2 mm screws underneath the dust cup button using a TR9 Torx screwdriver.

    Ask FixBot

    Add Comment

  4. Shark UltraCyclone CH951 U4 Power Control Board Replacement: step 4, image 1 of 1
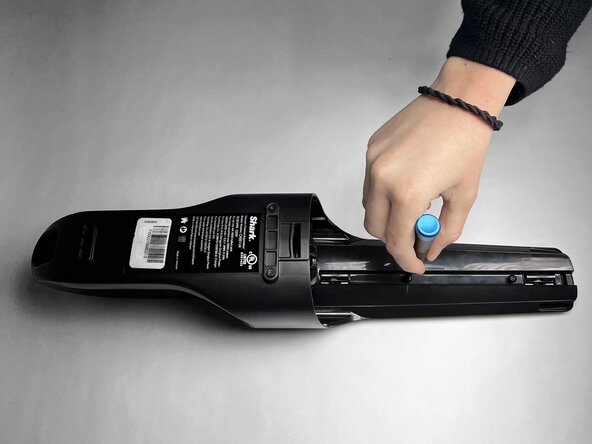
    • Remove the 13.9 mm screw beneath the charging port using a TR9 Torx screwdriver.

    Ask FixBot

    Add Comment

  5. Shark UltraCyclone CH951 U4 Power Control Board Replacement: step 5, image 1 of 1
    • Use the TR9 Torx screwdriver to remove two 11.6 mm screws that hold the exterior motor in place.

    • They are located underneath where the dust cup previously was and above the exterior motor.

    Ask FixBot

    Add Comment

  6. Shark UltraCyclone CH951 U4 Power Control Board Replacement: step 6, image 1 of 3 Shark UltraCyclone CH951 U4 Power Control Board Replacement: step 6, image 2 of 3 Shark UltraCyclone CH951 U4 Power Control Board Replacement: step 6, image 3 of 3
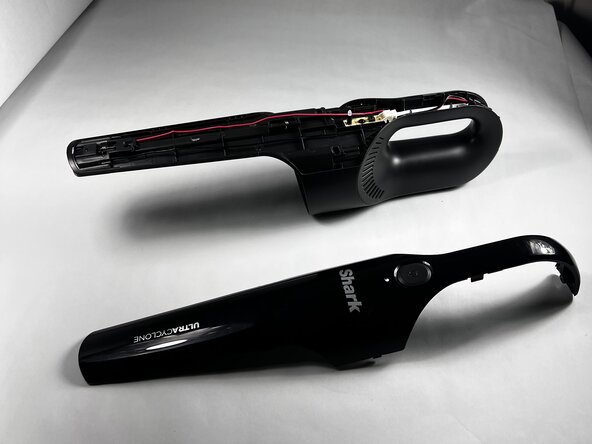
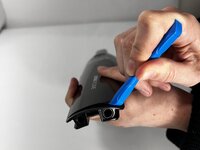
    • Run an iFixit Opening Tool under the casing along the vacuum body until the shell is removed starting around the attachment port, and sliding down towards the charging port.

    • If necessary, apply gentle force.

    Ask FixBot

    Add Comment

  7. Shark UltraCyclone CH951 U4 Power Control Board Replacement, Power Control Board: step 7, image 1 of 3 Shark UltraCyclone CH951 U4 Power Control Board Replacement, Power Control Board: step 7, image 2 of 3 Shark UltraCyclone CH951 U4 Power Control Board Replacement, Power Control Board: step 7, image 3 of 3
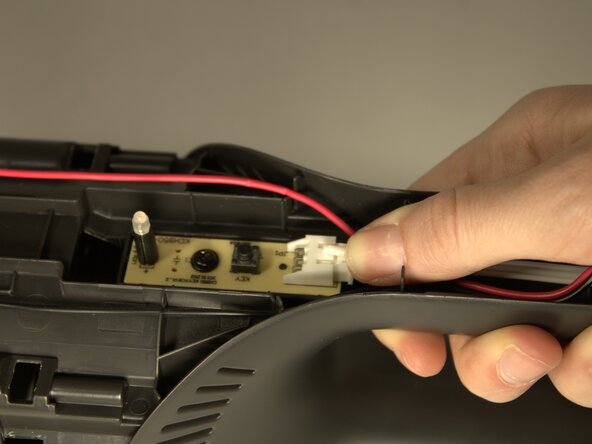
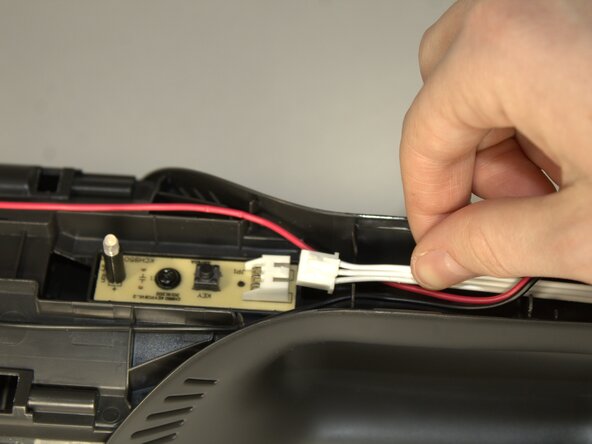
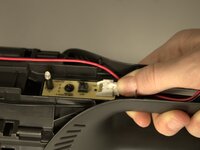
    • Press down on the connection point of the white wire and disconnect it.

    • The connector looks like a white latch. Push down on the edge to pop it out of place.

    Ask FixBot

    Add Comment

  8. Shark UltraCyclone CH951 U4 Power Control Board Replacement: step 8, image 1 of 1
    • Remove the 8.7mm screw in the center of the button control board.

    Ask FixBot

    Add Comment

  9. Shark UltraCyclone CH951 U4 Power Control Board Replacement: step 9, image 1 of 3 Shark UltraCyclone CH951 U4 Power Control Board Replacement: step 9, image 2 of 3 Shark UltraCyclone CH951 U4 Power Control Board Replacement: step 9, image 3 of 3
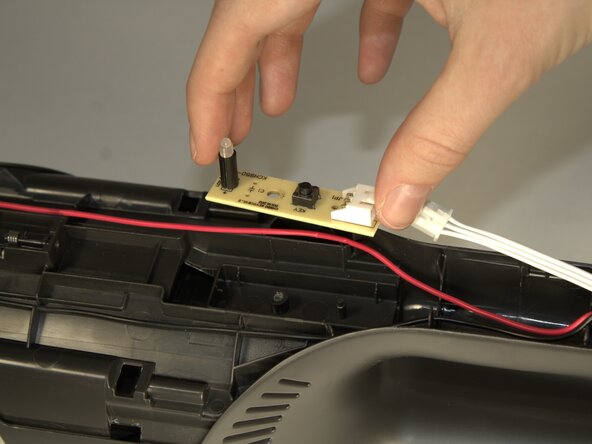
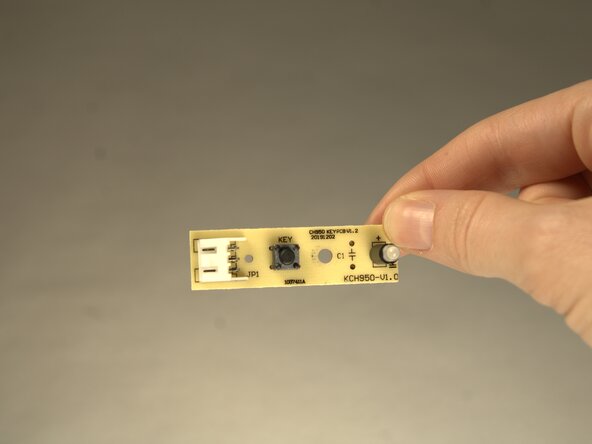
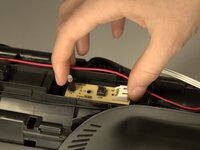
    • Remove the board by using your fingers and lifting the component from the body of the device.

    Ask FixBot

    Add Comment

Conclusion

To reassemble your device, follow these instructions in reverse order.

Cancel: I did not complete this guide.

3 other people completed this guide.

1 Guide Comment

Where can I buy the board?

Elder Romero - Reply Share

Add Comment

View Statistics:

Past 24 Hours: 2

Past 7 Days: 6

Past 30 Days: 42

All Time: 358