Introduction
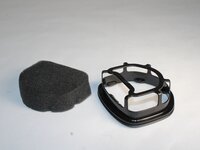
This guide will provide instruction on how to clean and replace the filter of the Shark UltraCyclone CH951. The filter is a foam part that is covered with felt. The filter stops debris from entering the motor and damaging the interior of the vacuum. If the filter gets clogged or has a defect, it will need to be replaced. This is an easy process.
-
-
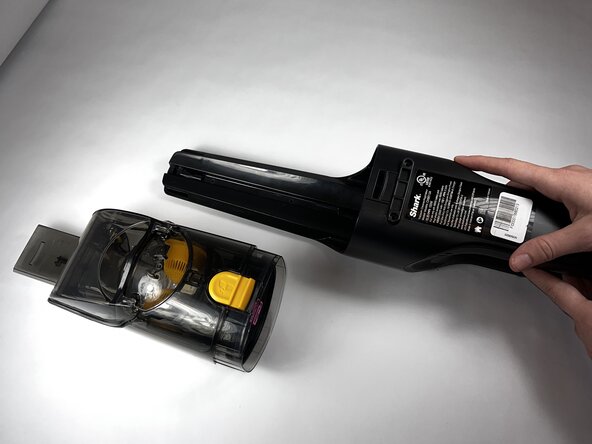
Press the dust cup release button and gently pull the dust cup away from the body of the vacuum.
 Ask FixBot
-
-
-
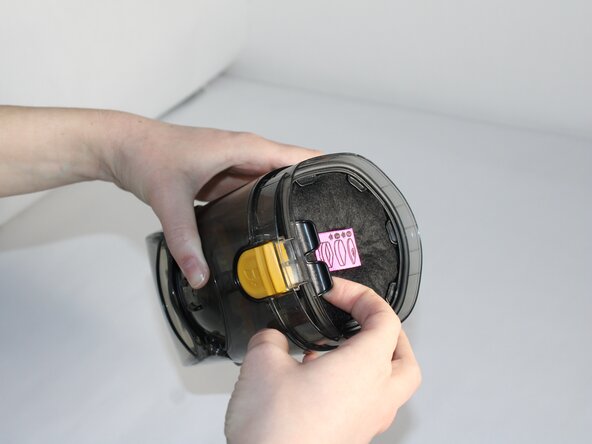
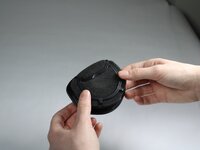
Place your fingers under the black tab on the plastic holder. Gently pull towards you.
-
-
-
-
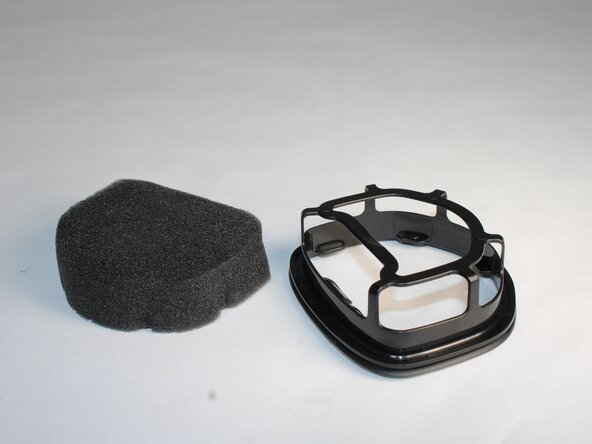
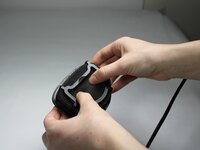
Rotate the component, and gently push from the bottom to dislodge the filter from the plastic holder.
-


To reassemble your device, follow these instructions in reverse order.
Cancel: I did not complete this guide.
One other person completed this guide.

Team

Colorado Mesa University, Team 1-3, Kinney Spring 2025 Member of Colorado Mesa University, Team 1-3, Kinney Spring 2025
CMU-KINNEY-S25S1G3
3 Members
6 Guides authored