Introduction
This guide will provide instruction for how to safely remove the plastic outer shell of the Shark UltraCyclone CH951 vacuum. The black casing that covers the majority of the exterior of the Shark UltraCyclone is removable. It's required to remove this casing in order to replace many of the components that protected by it. The casing is resistant to being removed so this is a moderately difficult task.
Note: If there are exposed wires or any defects noticeable, proceed with caution as other issues may cause risk.
What you need
-
-
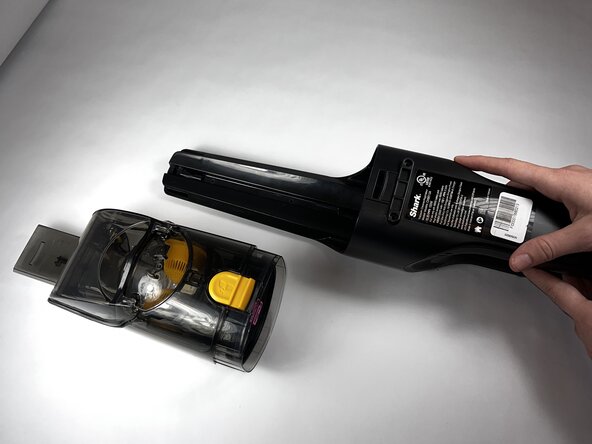
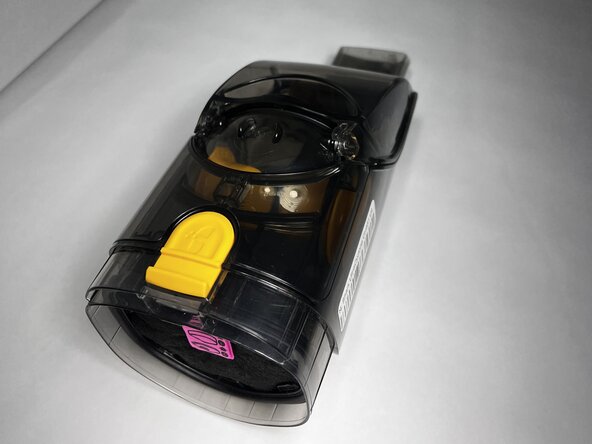
Press the dust cup release button and gently pull the dust cup away from the body of the vacuum.
 Ask FixBot
-
-
-
Use a TR9 Torx screwdriver to remove the two 8.7 mm screws previously behind the dust cup.
-
-
-
-
Remove the two 12.2 mm screws underneath the dust cup button using a TR9 Torx screwdriver.
-
-
-
Remove the 13.9 mm screw beneath the charging port using a TR9 Torx screwdriver.
-
-
-
Use the TR9 Torx screwdriver to remove two 11.6 mm screws that hold the exterior motor in place.
-
-
-
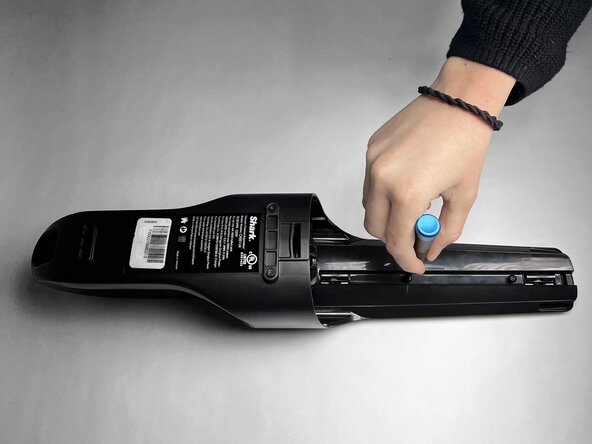
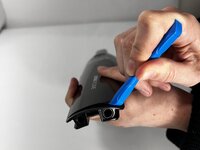
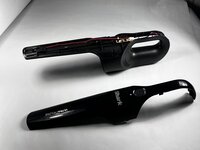
Run an iFixit Opening Tool under the casing along the vacuum body until the shell is removed starting around the attachment port, and sliding down towards the charging port.
-


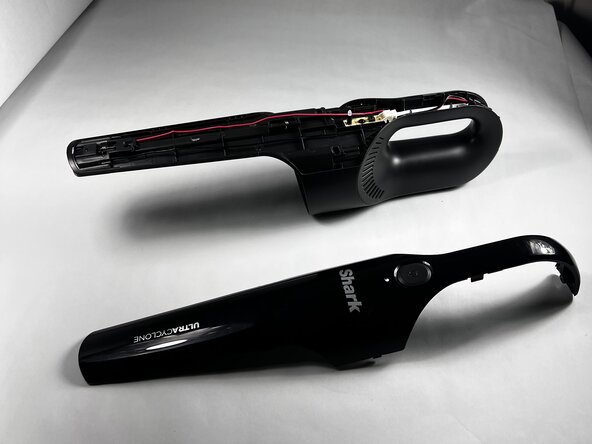

To reassemble your device, follow these instructions in reverse order.
Cancel: I did not complete this guide.
One other person completed this guide.

Team

Colorado Mesa University, Team 1-3, Kinney Spring 2025 Member of Colorado Mesa University, Team 1-3, Kinney Spring 2025
CMU-KINNEY-S25S1G3
3 Members
6 Guides authored