Free Shipping on Domestic Orders $75+

Shark Rocket Powerhead AH401 Panel Screws Replacement

What you need

  1. Shark Rocket Powerhead AH401 Panel Screws Replacement, Brushroll: step 1, image 1 of 3 Shark Rocket Powerhead AH401 Panel Screws Replacement, Brushroll: step 1, image 2 of 3 Shark Rocket Powerhead AH401 Panel Screws Replacement, Brushroll: step 1, image 3 of 3
    • Ensure the device is turned off and unplugged from any power source before beginning work.

    • Locate the two tabs with white arrows on them. They are located on either side of the brushroll cover.

    • Slide the tabs away from the center of the vacuum to unlock the brushroll cover.

    • Lift the brushroll cover upward.

    Ask FixBot

    Add Comment

  2. Shark Rocket Powerhead AH401 Panel Screws Replacement: step 2, image 1 of 2 Shark Rocket Powerhead AH401 Panel Screws Replacement: step 2, image 2 of 2
    • Lift the brushroll out by pulling the tab labeled "pull".

    Ask FixBot

    Add Comment

  3. Shark Rocket Powerhead AH401 Panel Screws Replacement, Dust Cup: step 3, image 1 of 3 Shark Rocket Powerhead AH401 Panel Screws Replacement, Dust Cup: step 3, image 2 of 3 Shark Rocket Powerhead AH401 Panel Screws Replacement, Dust Cup: step 3, image 3 of 3
    • Ensure the device is turned off and unplugged from any power source before beginning work.

    • Push down on the dust can lever to release the dust can in order to get to the filter grill.

    Ask FixBot

    Add Comment

  4. Shark Rocket Powerhead AH401 Panel Screws Replacement: step 4, image 1 of 2 Shark Rocket Powerhead AH401 Panel Screws Replacement: step 4, image 2 of 2
    • Remove the dust cup by lifting it off the dock.

    Ask FixBot

    Add Comment

  5. Shark Rocket Powerhead AH401 Panel Screws Replacement, Back Panel Screws: step 5, image 1 of 2 Shark Rocket Powerhead AH401 Panel Screws Replacement, Back Panel Screws: step 5, image 2 of 2
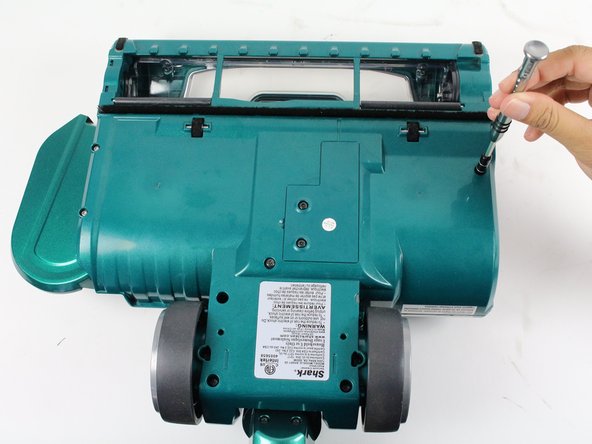
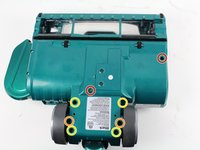
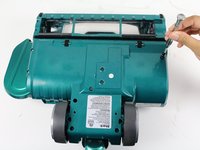
    • Flip the device over so that the bottom is face up.

    • Remove the eight screws shown by rotating counter-clockwise with a T15 Torx screwdriver.

    • Two 14 mm Torx screws

    • Two 16 mm Torx screws

    • Four 21 mm Torx screws

    Ask FixBot

    Add Comment

Conclusion

To reassemble your device, follow these instructions in reverse order.

Cancel: I did not complete this guide.

Toan Pham

Member since: 01/24/18

269 Reputation

3 Guides authored

Team

Cal Poly, Team S19-G3, Livingston Winter 2018 Member of Cal Poly, Team S19-G3, Livingston Winter 2018

CPSU-LIVINGSTON-W18S19G3

4 Members

18 Guides authored

0 Guide Comments

Add Comment

View Statistics:

Past 24 Hours: 1

Past 7 Days: 10

Past 30 Days: 30

All Time: 1,358