
Shark Rocket HV381 LED Replacement

Dandre Porter and one other contributor
Last updated on Dec 14, 2017
Views: 954
View statistics:
- Past 24 Hours:
- 1
- Past 7 Days:
- 18
- Past 30 Days:
- 105
- All Time:
- 954
Comments: 0
No one has left comments on this guide. Will you be first?
Go to guide commentsCompleted: 0 1
No one has marked this guide "completed." Will you be the first?
1 person has marked this guide "completed." It's you — great job!
Favorites: 0 1
No one has favorited (and subscribed to) this guide. Will you be the first?
1 person has favorited (and subscribed to) this guide — and that's you!
Introduction
Go to step 1 ↓This is a step by step guide to replacing busted LED lights on the Shark Rocket HV381.
What you need
Tools
-
T15 Torx Screwdriver$7.99


-
-
-
On the right-bottom of the body, pull down the black switch. You will hear an audible click when you detach the body from the vacuum head.
 Ask FixBot
-
-
-
Laying the vacuum head on the its right side, push the orange "Eject Roller" switch down. The Roller can now be removed with ease.
-
-
-
-
-
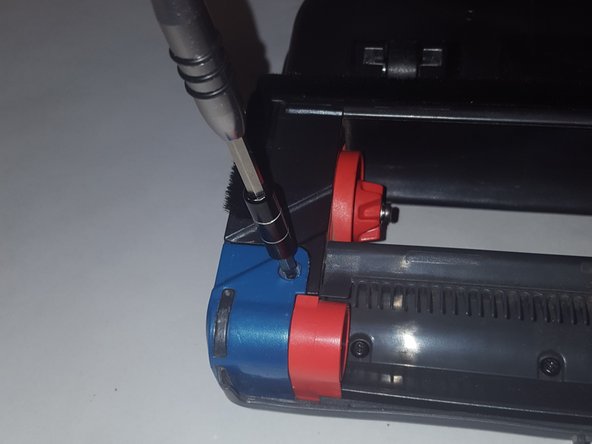
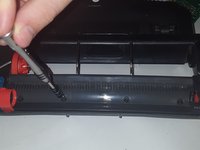
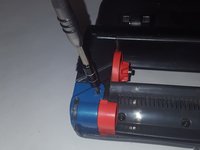
On the back of the vacuum head, located near the bottom, should be a row of screws. Using the T15 Screwdriver, remove all the screws on the bottom and the sides.
-
-
-
On the top side of the vacuum head, where the LED is located, use the Small Flathead screwdriver to pry open the cover. There should be no resistance.
-
-
-
-
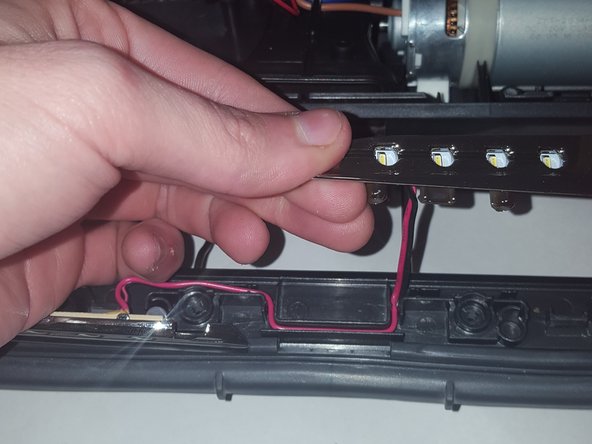
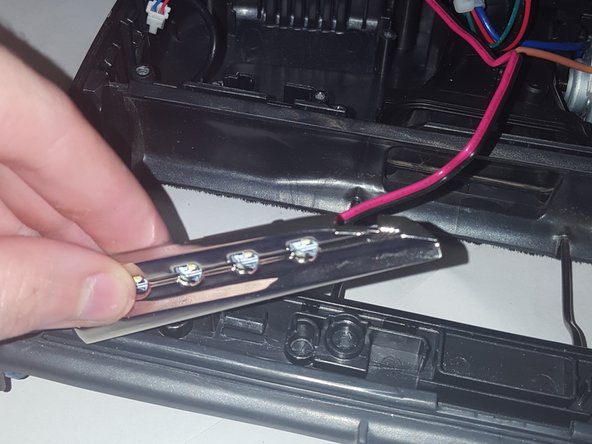
Picking the LED from the side, pull upwards to unwind the wires from their tracks.
-
-




To reassemble your device, follow these instructions in reverse order.

Team

Arkansas State University, Team S1-G5, Chamberlain Fall 2017 Member of Arkansas State University, Team S1-G5, Chamberlain Fall 2017
ARSU-CHAMBERLAIN-F17S1G5
3 Members
60 Guides authored
