Free Shipping on Domestic Orders $75+

Shark Navigator Lightweight Upright Motherboard Replacement

What you need

    1. Shark Navigator Lightweight Upright Motherboard Replacement, Head Shell: step 1, image 1 of 2 Shark Navigator Lightweight Upright Motherboard Replacement, Head Shell: step 1, image 2 of 2
      • Detach the hose connected on the bottom of the vacuum by pulling it out of the casing.

      Ask FixBot

      Add Comment

    2. Shark Navigator Lightweight Upright Motherboard Replacement: step 2, image 1 of 2 Shark Navigator Lightweight Upright Motherboard Replacement: step 2, image 2 of 2
      • Lay the vacuum on its side.

      • Press in the black, rubberish button located on the back of the vacuum to detach the vacuum head from the body.

      Ask FixBot

      Add Comment

    3. Shark Navigator Lightweight Upright Motherboard Replacement: step 3, image 1 of 1
      • Flip over the vacuum head so the brush head is facing up.

      Ask FixBot

      Add Comment

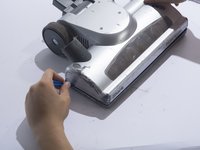
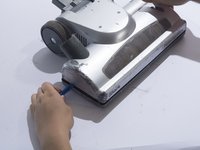
    4. Shark Navigator Lightweight Upright Motherboard Replacement: step 4, image 1 of 3 Shark Navigator Lightweight Upright Motherboard Replacement: step 4, image 2 of 3 Shark Navigator Lightweight Upright Motherboard Replacement: step 4, image 3 of 3
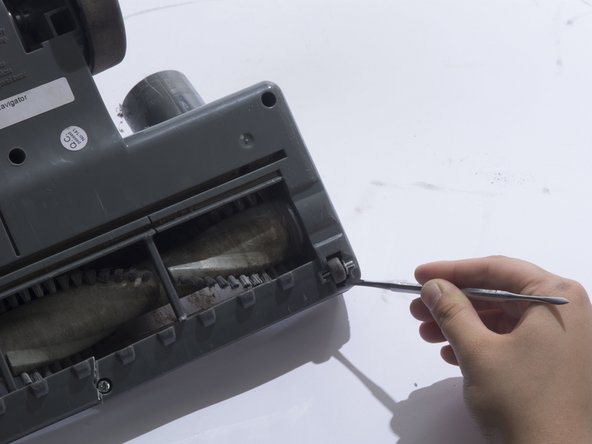
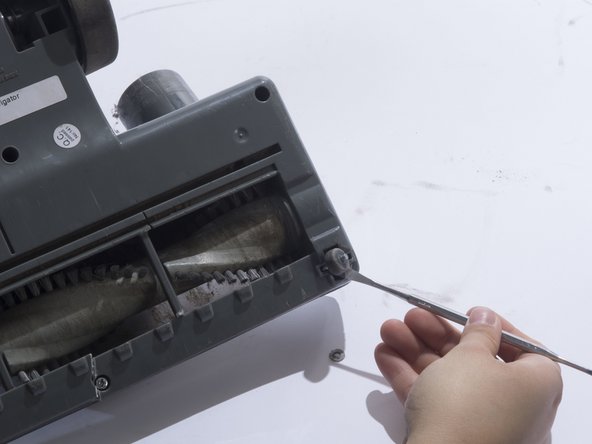
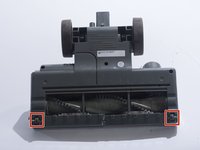
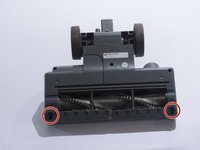
      • Remove the small front wheels with a metal spudger by inserting the metal spudger in front of the wheel and slowly prying up. This will free the wheel and reveal the screw beneath it.

      • Repeat this for the other wheel.

      Ask FixBot

      Add Comment

    5. Shark Navigator Lightweight Upright Motherboard Replacement: step 5, image 1 of 2 Shark Navigator Lightweight Upright Motherboard Replacement: step 5, image 2 of 2
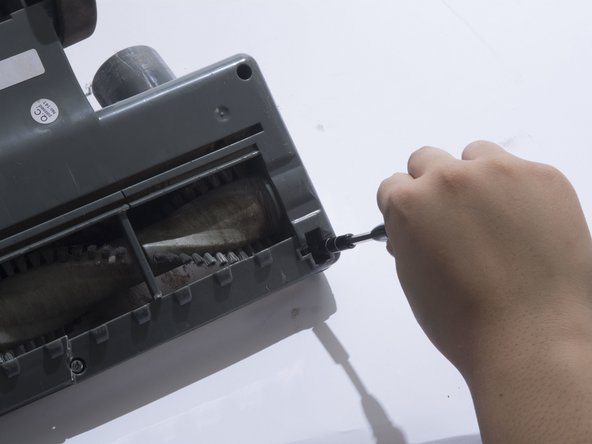
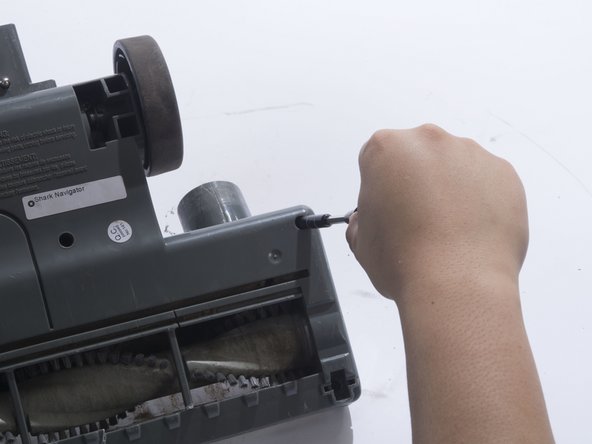
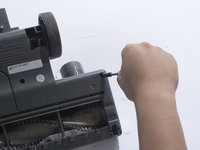
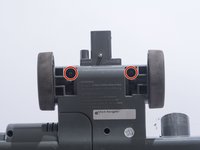
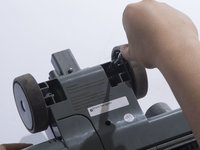
      • Remove the two 18mm screws with a JIS 1 screwdriver.

      Ask FixBot

      Add Comment

    6. Shark Navigator Lightweight Upright Motherboard Replacement: step 6, image 1 of 2 Shark Navigator Lightweight Upright Motherboard Replacement: step 6, image 2 of 2
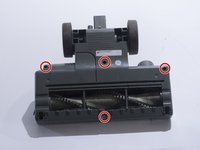
      • Remove the four 18mm screws located on the top corners and the bottom/middle of the vacuum head using a JIS 1 screwdriver.

      Ask FixBot

      Add Comment

    7. Shark Navigator Lightweight Upright Motherboard Replacement: step 7, image 1 of 2 Shark Navigator Lightweight Upright Motherboard Replacement: step 7, image 2 of 2
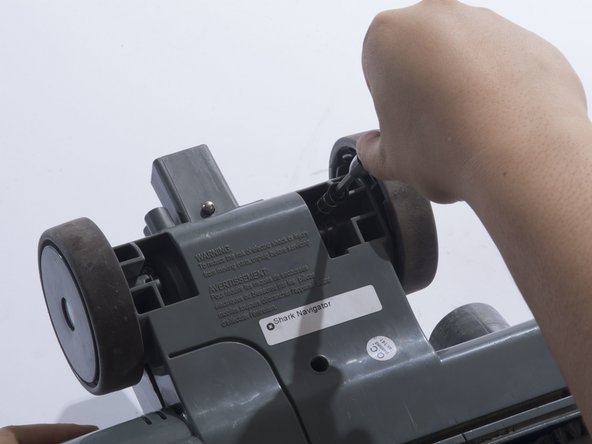
      • Remove the two 18mm screws located on the inside of the large wheels using a JIS 1 screwdriver.

      Ask FixBot

      Add Comment

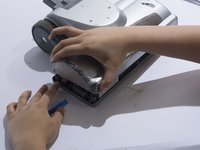
    8. Shark Navigator Lightweight Upright Motherboard Replacement: step 8, image 1 of 3 Shark Navigator Lightweight Upright Motherboard Replacement: step 8, image 2 of 3 Shark Navigator Lightweight Upright Motherboard Replacement: step 8, image 3 of 3
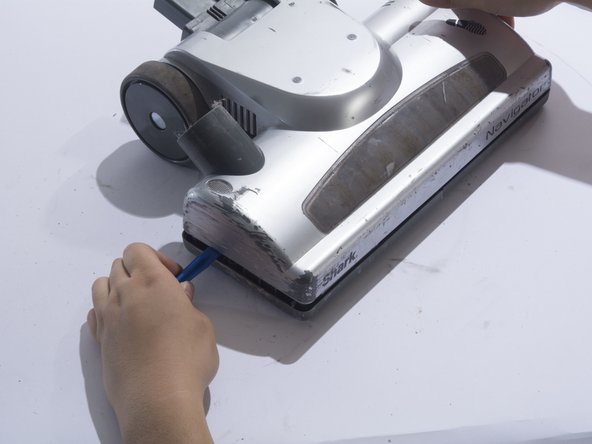
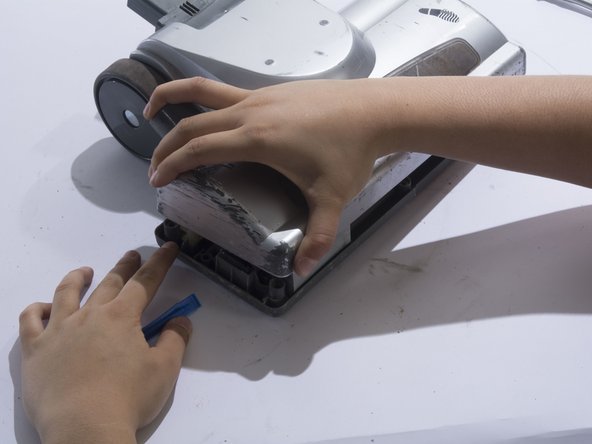
      • Remove the plastic cover by prying the plastic cover up using a plastic opening tool.

      • Prying in multiple locations may be necessary to create separation.

      Ask FixBot

      Add Comment

    1. Shark Navigator Lightweight Upright Motherboard Replacement, Motor: step 9, image 1 of 1
      • Locate the motor on the top right corner of the vacuum head shell.

      Ask FixBot

      Add Comment

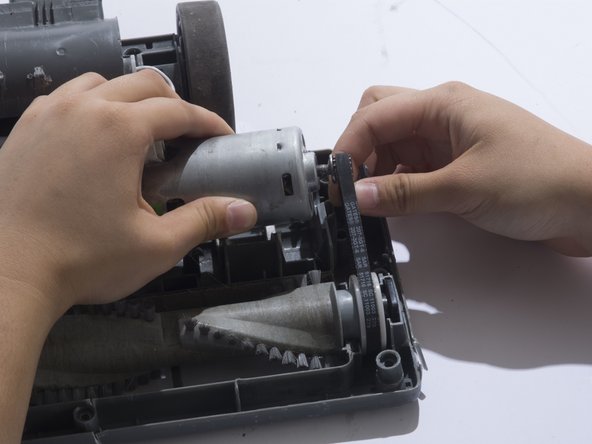
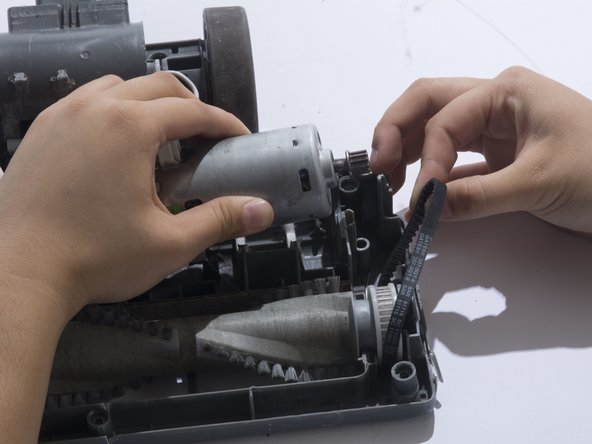
    2. Shark Navigator Lightweight Upright Motherboard Replacement: step 10, image 1 of 3 Shark Navigator Lightweight Upright Motherboard Replacement: step 10, image 2 of 3 Shark Navigator Lightweight Upright Motherboard Replacement: step 10, image 3 of 3
      • Remove the belt from the motor gear by sliding the belt to the right.

      Ask FixBot

      Add Comment

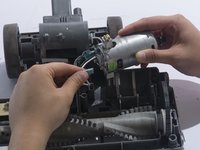
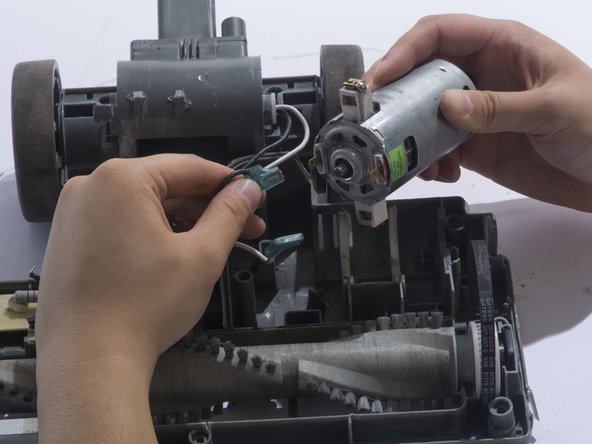
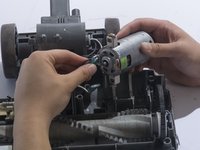
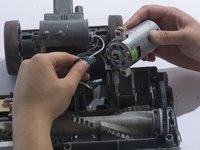
    3. Shark Navigator Lightweight Upright Motherboard Replacement: step 11, image 1 of 3 Shark Navigator Lightweight Upright Motherboard Replacement: step 11, image 2 of 3 Shark Navigator Lightweight Upright Motherboard Replacement: step 11, image 3 of 3
      • Remove the white metal wire connector from the motor.

      • The white cable is positive.

      Ask FixBot

      Add Comment

    4. Shark Navigator Lightweight Upright Motherboard Replacement: step 12, image 1 of 2 Shark Navigator Lightweight Upright Motherboard Replacement: step 12, image 2 of 2
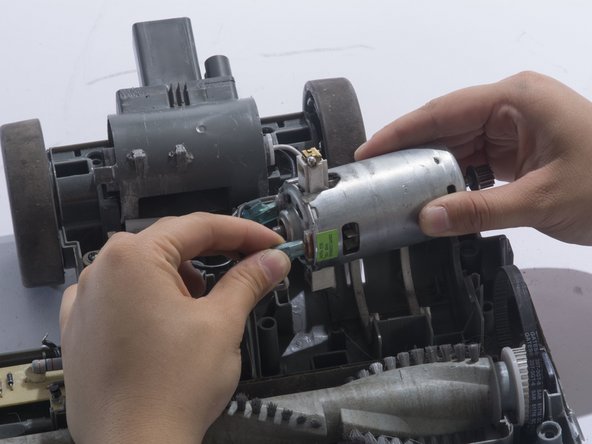
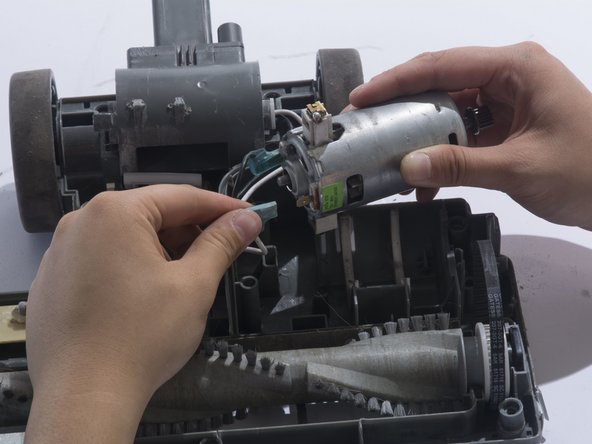
      • Remove the black metal wire connector from the motor.

      • The black cable is negative.

      Ask FixBot

      Add Comment

    1. Shark Navigator Lightweight Upright Motherboard Replacement, Motherboard: step 13, image 1 of 2 Shark Navigator Lightweight Upright Motherboard Replacement, Motherboard: step 13, image 2 of 2
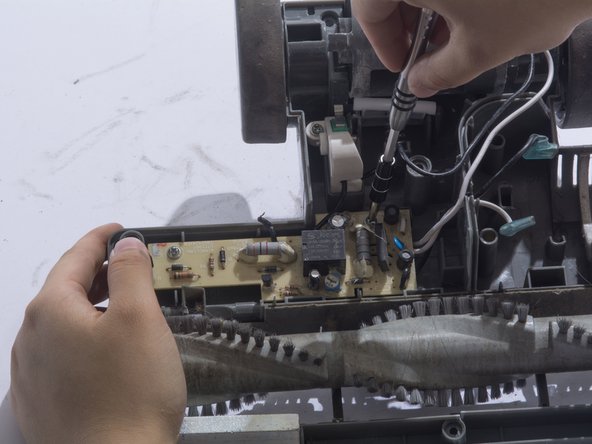
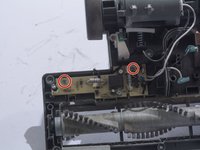
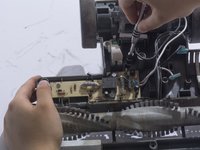
      • Remove the two 12mm screws using a JIS 1 screwdriver.

      Ask FixBot

      Add Comment

    2. Shark Navigator Lightweight Upright Motherboard Replacement: step 14, image 1 of 1
      • Remove the wire housing by removing one 12mm screw using a JIS 1 screwdriver.

      Ask FixBot

      Add Comment

    3. Shark Navigator Lightweight Upright Motherboard Replacement: step 15, image 1 of 2 Shark Navigator Lightweight Upright Motherboard Replacement: step 15, image 2 of 2
      Tool used on this step:
      Tweezers
      $4.99
      Buy
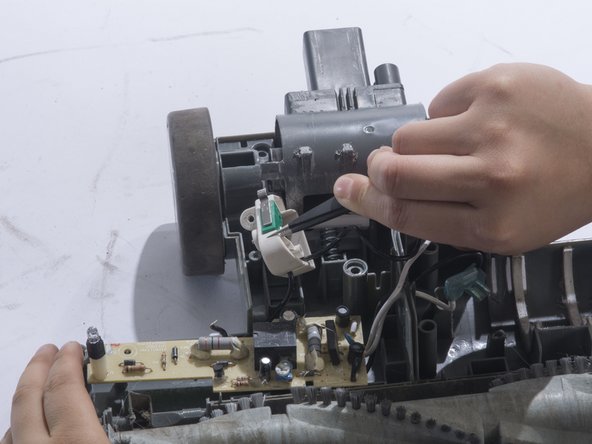
      • Lift up the wire housing from the plastic base using tweezers.

      Ask FixBot

      Add Comment

    4. Shark Navigator Lightweight Upright Motherboard Replacement: step 16, image 1 of 2 Shark Navigator Lightweight Upright Motherboard Replacement: step 16, image 2 of 2
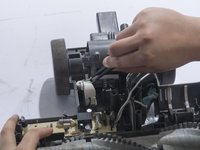
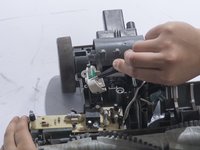
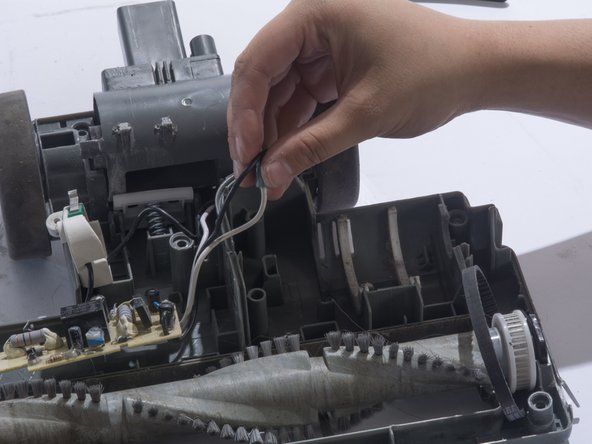
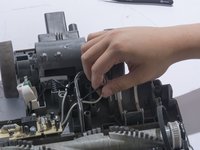
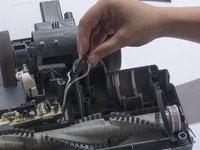
      • Free the black and white cables that were previously attached to the motor from their slot.

      Ask FixBot

      Add Comment

    5. Shark Navigator Lightweight Upright Motherboard Replacement: step 17, image 1 of 2 Shark Navigator Lightweight Upright Motherboard Replacement: step 17, image 2 of 2
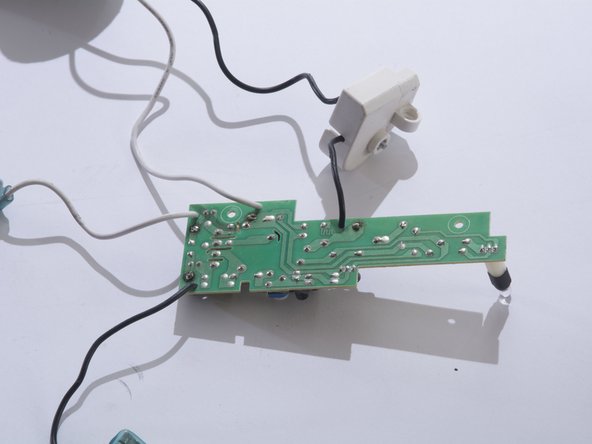
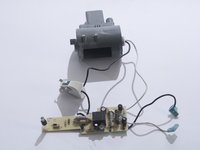
      • Free the motherboard and its connecting parts from the rest of the vacuum.

      • Turn the motherboard upside-down and spread wires out.

      Ask FixBot

      Add Comment

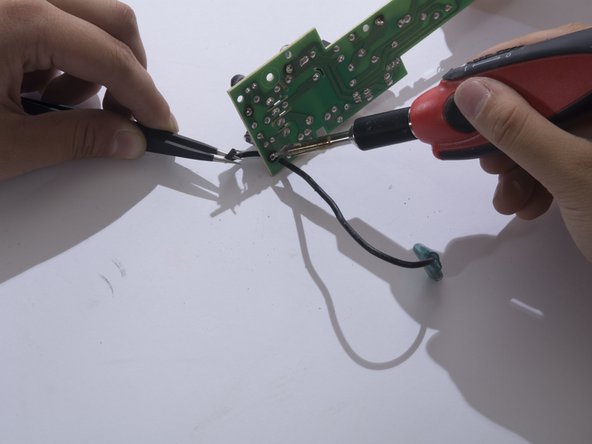
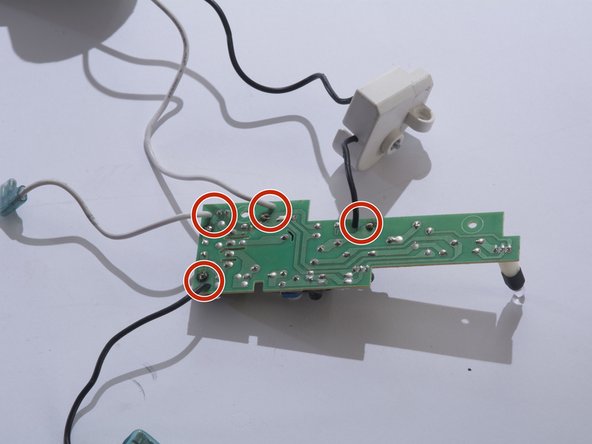
    6. Shark Navigator Lightweight Upright Motherboard Replacement: step 18, image 1 of 2 Shark Navigator Lightweight Upright Motherboard Replacement: step 18, image 2 of 2
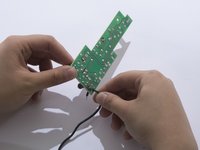
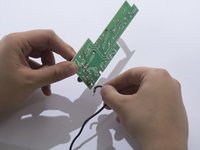
      • Heat the wire connection's solder joint until the joint looks wet and liquidy.

      • While maintaining contact with the solder iron, free the wire end by pulling the wire away from the board with the tweezers.

      • For instructions on how to solder properly please refer to this soldering technique guide. How To Solder and Desolder Connections

      • Remember which cables were soldered onto where. You will have to re-solder the cables back onto the same joint.

      • Solder iron is extremely hot and should be handled with care. Always wear eye protection when soldering.

      Ask FixBot

      Add Comment

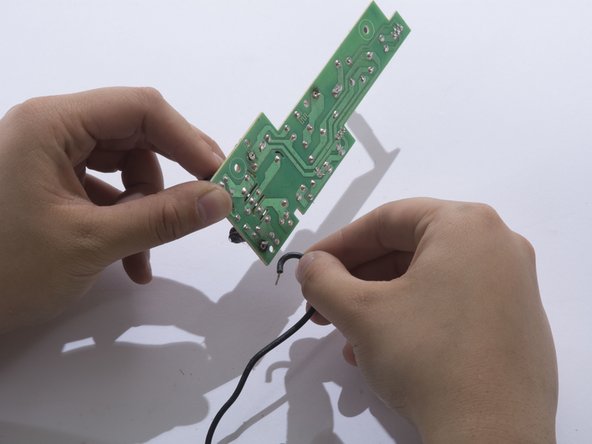
    7. Shark Navigator Lightweight Upright Motherboard Replacement: step 19, image 1 of 3 Shark Navigator Lightweight Upright Motherboard Replacement: step 19, image 2 of 3 Shark Navigator Lightweight Upright Motherboard Replacement: step 19, image 3 of 3
      • Completely free the cable by pulling it out of the board.

      • Repeat for the remaining cables. There are 4 total.

      Ask FixBot

      Add Comment

Conclusion

To reassemble your device, follow these instructions in reverse order.

Cancel: I did not complete this guide.

Suzie

Member since: 10/02/17

545 Reputation

4 Guides authored

Team

Cal Poly, Team S4-G6, Livingston Fall 2017 Member of Cal Poly, Team S4-G6, Livingston Fall 2017

CPSU-LIVINGSTON-F17S4G6

3 Members

70 Guides authored

0 Guide Comments

Add Comment

View Statistics:

Past 24 Hours: 5

Past 7 Days: 20

Past 30 Days: 105

All Time: 2,122