Introduction
If your Shark ION R750 is experiencing low battery life or charging issues, it may be due to battery damage or death, which requires a replacement.
The battery in a robot vacuum serves as the power source for its operation. Damage or malfunction in the battery can occur due to factors such as overcharging, exposure to extreme temperatures, serious crash, or age.
Continuing to operate a damaged battery can be hazardous, possibly leading to a heat reaction between the battery's lithium and oxygen or other dangerous malfunctions.
Before you start the replacement, please be sure to disconnect any power resources from the vacuum and make sure it is completely off.
What you need
-
-
-
On the bottom of the vacuum, unscrew both sides of the vacuum cover using a Phillips screwdriver.
-
Gently lift and remove the cover.
 Ask FixBot
-
-
-
-
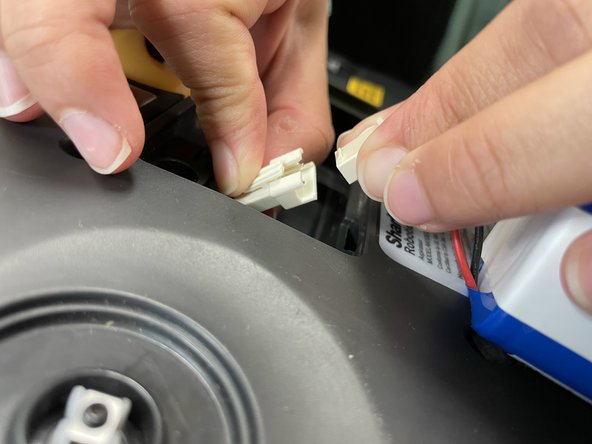
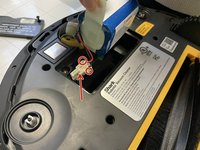
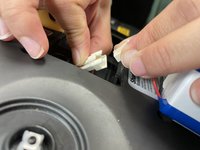
To disconnect the battery, firmly squeeze down on the marked tabs, then pull the connector out of the socket.
-
-



Team

University of North Texas, Team 1-7, Kilpatrick Fall 2023 Member of University of North Texas, Team 1-7, Kilpatrick Fall 2023
UNT-KILPATRICK-F23S1G7
4 Members
60 Guides authored
1 Guide Comment
Does the new battery need charging once inserted and if so how long? Mine did nothing once inserted. It didn't even light up!
