Free Shipping on Domestic Orders $75+

Shark Clean Sense HP102PET Sensor Replacement

What you need

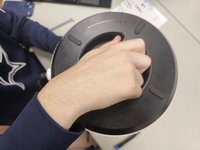
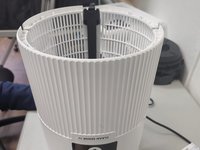
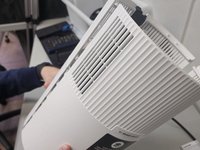
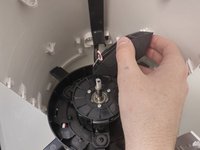
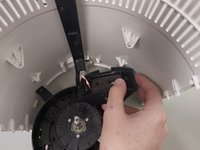
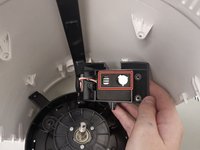
  1. Shark Clean Sense HP102PET Sensor Replacement, Outer White Shell: step 1, image 1 of 3 Shark Clean Sense HP102PET Sensor Replacement, Outer White Shell: step 1, image 2 of 3 Shark Clean Sense HP102PET Sensor Replacement, Outer White Shell: step 1, image 3 of 3
    • Turn off and unplug the air purifier before beginning.

    • Unscrew the one 1.2 cm screw holding the grate at the top with a TR10 Torx screwdriver.

    • Use a prying tool to carefully pry along the outer edges to disengage the inner retaining clips.

    • These retaining clips can be difficult to disengage, but releasing two clips on the same side should allow you to easily remove the grate.

    • Remove the grate.

    Ask FixBot

    Add Comment

  2. Shark Clean Sense HP102PET Sensor Replacement: step 2, image 1 of 1
    • Remove the two 1.2 cm screws with a TR10 Torx screwdriver.

    • Almost all screws are the same length (around 1 cm). The main difference is the bit that's used to remove them.

    Ask FixBot

    Add Comment

  3. Shark Clean Sense HP102PET Sensor Replacement: step 3, image 1 of 1
    • Use a Phillips #1 screwdriver to remove the four 1 cm screws.

    • This will make the fan holder slightly loose, but this will not be a problem until you open the case completely.

    Ask FixBot

    Add Comment

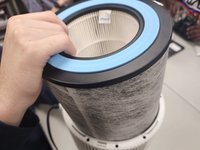
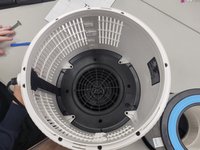
  4. Shark Clean Sense HP102PET Sensor Replacement: step 4, image 1 of 3 Shark Clean Sense HP102PET Sensor Replacement: step 4, image 2 of 3 Shark Clean Sense HP102PET Sensor Replacement: step 4, image 3 of 3
    • Flip the device over and unscrew the bottom by turning it clockwise.

    • Remove the filter.

    Ask FixBot

    Add Comment

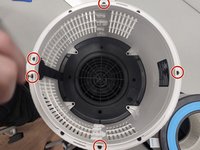
  5. Shark Clean Sense HP102PET Sensor Replacement: step 5, image 1 of 2 Shark Clean Sense HP102PET Sensor Replacement: step 5, image 2 of 2
    • Remove the five 1 cm a Phillips screwdriver.

    • Unscrew the four 1.2 cm screws with a TR10 Torx screwdriver.

    • The ring will not be hard to remove, but be careful on reassembly. Make sure that the power connector is properly seated when putting the ring back on.

    Ask FixBot

    Add Comment

  6. Shark Clean Sense HP102PET Sensor Replacement: step 6, image 1 of 2 Shark Clean Sense HP102PET Sensor Replacement: step 6, image 2 of 2
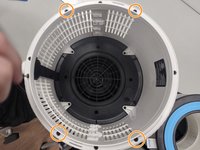
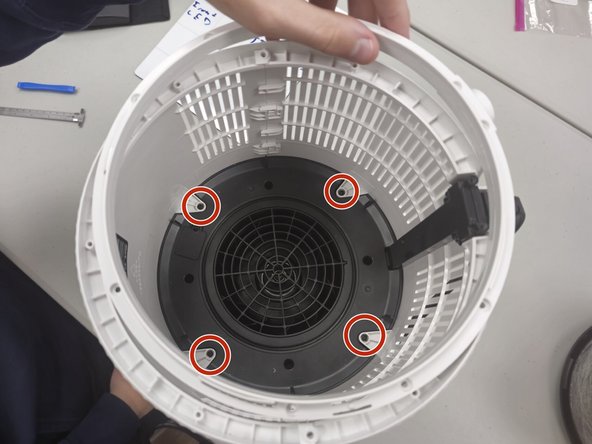
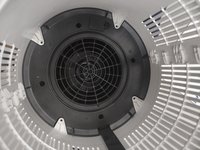
    • Remove the four 1 cm screws that secure the fan housing.

    Ask FixBot

    Add Comment

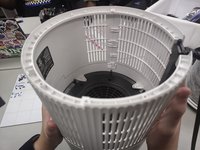
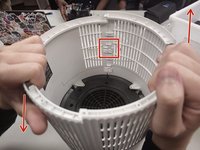
  7. Shark Clean Sense HP102PET Sensor Replacement: step 7, image 1 of 3 Shark Clean Sense HP102PET Sensor Replacement: step 7, image 2 of 3 Shark Clean Sense HP102PET Sensor Replacement: step 7, image 3 of 3
    • Make sure that you are pulling up on the side that allows, as pictured in the red box.

    • Gently slide the cases up and down, or hold one and gently pull up on the opposite side (Down on the left, up on the right for this picture).

    • The whole case will start to separate and the black disc will come loose. This is normal.

    Ask FixBot

    Add Comment

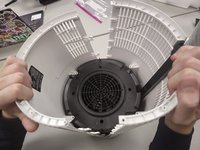
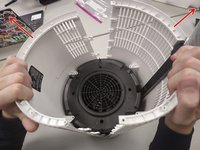
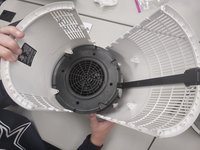
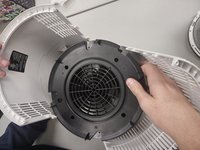
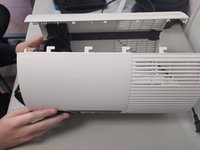
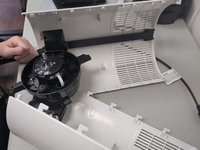
  8. Shark Clean Sense HP102PET Sensor Replacement: step 8, image 1 of 3 Shark Clean Sense HP102PET Sensor Replacement: step 8, image 2 of 3 Shark Clean Sense HP102PET Sensor Replacement: step 8, image 3 of 3
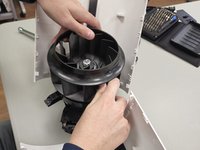
    • Gently open the case outwards as there are fragile electronics inside.

    • Remove the fan housing.

    Ask FixBot

    Add Comment

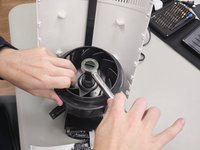
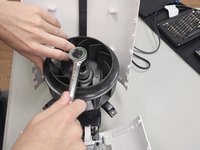
  9. Shark Clean Sense HP102PET Sensor Replacement, Fan: step 9, image 1 of 2 Shark Clean Sense HP102PET Sensor Replacement, Fan: step 9, image 2 of 2
    • Use a 1/2 inch wrench unscrew the bolt in the middle of the fan.

    • Note: This process is much easier if one of the shell sides is laid flat.

    Ask FixBot

    Add Comment

  10. Shark Clean Sense HP102PET Sensor Replacement: step 10, image 1 of 2 Shark Clean Sense HP102PET Sensor Replacement: step 10, image 2 of 2
    • After removing the bolt, lift the fan up and out.

    Ask FixBot

    Add Comment

  11. Shark Clean Sense HP102PET Sensor Replacement, Sensor: step 11, image 1 of 2 Shark Clean Sense HP102PET Sensor Replacement, Sensor: step 11, image 2 of 2
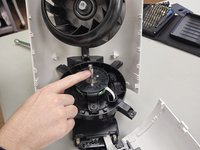
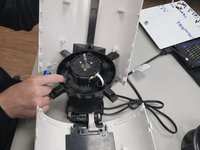
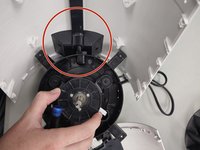
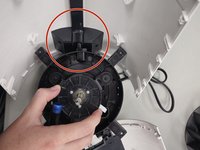
    • Gently pull housing outwards, to where you can easily access the portion circled in the third picture.

    • It is possible to access this area with the fan in, but is much easier with the fan removed.

    Ask FixBot

    Add Comment

  12. Shark Clean Sense HP102PET Sensor Replacement: step 12, image 1 of 3 Shark Clean Sense HP102PET Sensor Replacement: step 12, image 2 of 3 Shark Clean Sense HP102PET Sensor Replacement: step 12, image 3 of 3
    • Gently close the shell and progressively tilt it to where it is laying on its side.

    Ask FixBot

    Add Comment

  13. Shark Clean Sense HP102PET Sensor Replacement: step 13, image 1 of 2 Shark Clean Sense HP102PET Sensor Replacement: step 13, image 2 of 2
    • Open the case to where you can access the panel circled in red.

    Ask FixBot

    Add Comment

  14. Shark Clean Sense HP102PET Sensor Replacement: step 14, image 1 of 2 Shark Clean Sense HP102PET Sensor Replacement: step 14, image 2 of 2
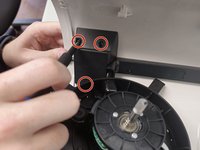
    • Remove the three 1 cm Phillips screws.

    • The third screw is hidden by the fan base in the picture.

    Ask FixBot

    Add Comment

  15. Shark Clean Sense HP102PET Sensor Replacement: step 15, image 1 of 3 Shark Clean Sense HP102PET Sensor Replacement: step 15, image 2 of 3 Shark Clean Sense HP102PET Sensor Replacement: step 15, image 3 of 3
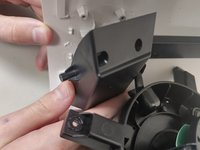
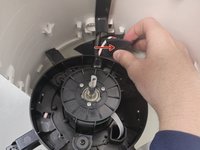
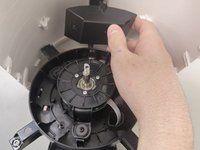
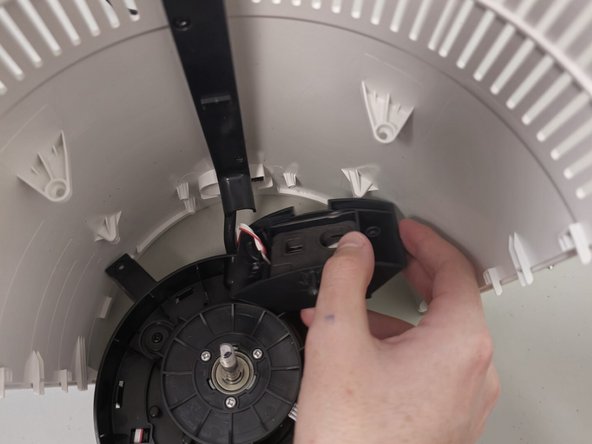
    • With the casing loose, return the shell to the upright position, as this will help with maneuvering the case to access the inside.

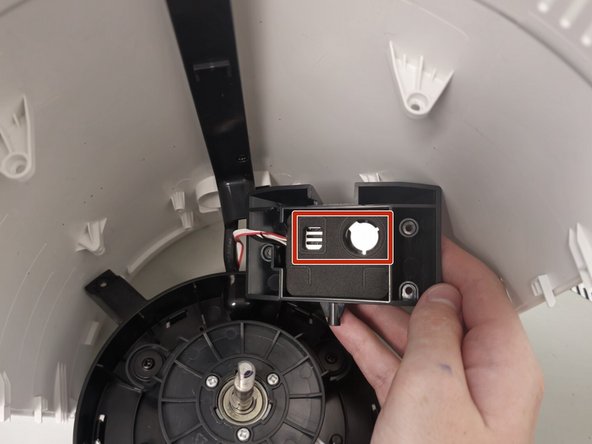
    • The sensor should rotate counter-clockwise, allowing the red and white wire to rotate with it so that it doesn't disconnect.

    Ask FixBot

    Add Comment

  16. Shark Clean Sense HP102PET Sensor Replacement: step 16, image 1 of 3 Shark Clean Sense HP102PET Sensor Replacement: step 16, image 2 of 3 Shark Clean Sense HP102PET Sensor Replacement: step 16, image 3 of 3
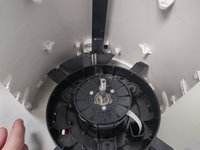
    • Rotate the sensor and make sure that the sensors are free from any blockages or gunk that could be interfering with the sensor or replace the sensor as needed.

    Ask FixBot

    Add Comment

Conclusion

To reassemble your device, follow the above steps in reverse order.
Take your e-waste to an R2 or e-Stewards certified recycler.
Repair didn’t go as planned? Try some basic troubleshooting or ask our Answers community for help.

Cancel: I did not complete this guide.

0 Guide Comments

Add Comment

View Statistics:

Past 24 Hours: 6

Past 7 Days: 29

Past 30 Days: 129

All Time: 2,233