Introduction
This step for speaker replacement is very fragile.
This guide demonstrates how to replace the right driver assembly. To do this, you'll need a Phillips #00 screwdriver, spudger, and soldering equipment.
This guide requires soldering. If you're unfamiliar with soldering, review the How to Solder and Desolder Connections guide and take appropriate precautions before beginning
What you need
-
-
On the right ear piece, insert an opening tool into the gap between the ear pad and the driver housing.
-
Gently pry the ear pad away from the driver housing until the ear pad fully releases.
-
Remove the right ear pad.
 Ask FixBot
-
-
-
Use a Phillips #00 screwdriver to remove four 6.5mm screws that secure the right driver housing.
-
-
-
-
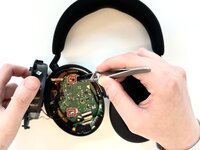
Insert a spudger into the seam between the driver housing and chassis.
-
Gently pry the driver housing up and out of the chassis, with care not to strain the connected cables.
-
-
-
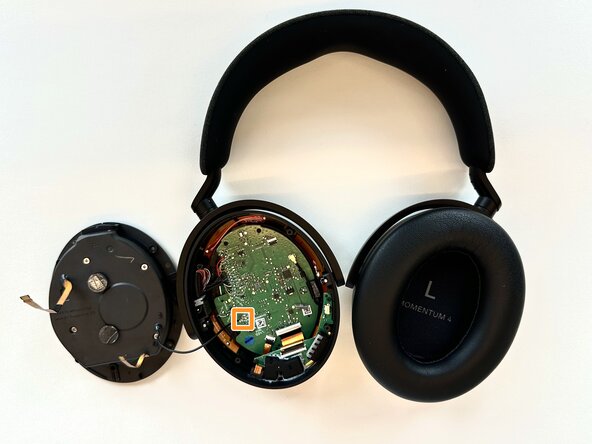
Flip up the two black ZIF locking flaps that secure the two bronze ribbon cables attached to the driver assembly.
-
Disconnect the two ribbon cables and set the driver assembly to the side of the chassis.
-
Desolder the two speaker cable motherboard connections.
-
Remove the driver assembly.
-



To reassemble your device, follow the above steps in reverse order.
Take your e-waste to an R2 or e-Stewards certified recycler.
Repair didn’t go as planned? Try some basic troubleshooting or ask our Answers community for help.
Cancel: I did not complete this guide.
One other person completed this guide.

Team

Western Carolina University, Team 1-4, Virtue Spring 2025 Member of Western Carolina University, Team 1-4, Virtue Spring 2025
WCU-VIRTUE-S25S1G4
4 Members
9 Guides authored
2 Guide Comments
Went smoothly, (didn’t do soldering step as I was disconnecting cable to troubleshoot static)
was hesitant to put so much centripetal force on the ear muffs since I didn’t want to break the tabs like I did so many times on the Sony xm5’s though.
But just had to move it enough for one to pop out then wiggle the rest out. Same with the actual chassis holding the board inside
