Free Shipping on Domestic Orders $75+

Sega Master System II Motherboard Replacement

What you need

  1. Sega Master System II Motherboard Replacement, Outer Case: step 1, image 1 of 1
    • Flip the console on its back and unscrew the 5 screws marked on this photo.

    Ask FixBot

    Add Comment

  2. Sega Master System II Motherboard Replacement: step 2, image 1 of 1
    • Once you've unscrewed those 5 screws, flip the console upright again.

    Ask FixBot

    Add Comment

  3. Sega Master System II Motherboard Replacement: step 3, image 1 of 2 Sega Master System II Motherboard Replacement: step 3, image 2 of 2
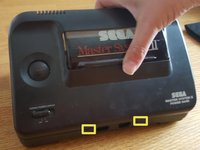
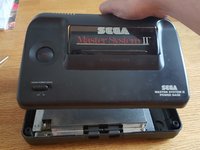
    • Once the console is upright, first gently pull the rear of the top up.

    • After the top is at an angle, gently remove it by pulling upwards.

    • Note: Be very careful! The top has 2 tabs connecting it with the bottom half, those are in the vincinity of the 2 controller ports! (marked yellow)

    Ask FixBot

    Add Comment

  4. Sega Master System II Motherboard Replacement: step 4, image 1 of 1
    • Once the 2 halves are separated, it should look something like this.

    Ask FixBot

    Add Comment

  5. Sega Master System II Motherboard Replacement, Motherboard: step 5, image 1 of 1
    • Next step is the removal of the RF shield.

    • There are 7 screws in total, please unscrew those.

    • The blue marked screw is shorten than the other 6 screws, this screw has to be put back in the exact same location during reassembly.

    • Note: Tab marked in yellow!

    Ask FixBot

    Add Comment

  6. Sega Master System II Motherboard Replacement: step 6, image 1 of 1
    • Carefully lift the RF shield up, left side first.

    • See the note in the previous step.

    Ask FixBot

    Add Comment

  7. Sega Master System II Motherboard Replacement: step 7, image 1 of 2 Sega Master System II Motherboard Replacement: step 7, image 2 of 2
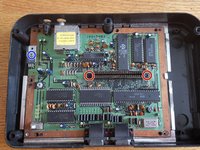
    • Now we have a complete view of the motherboard, thus coming to the last step.

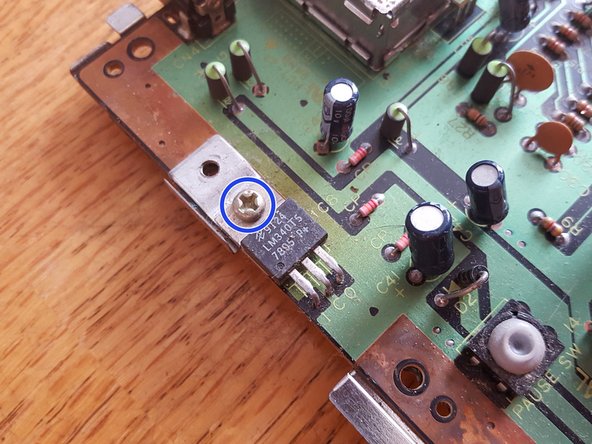
    • For this step you only need to remove 3 remaining screws.

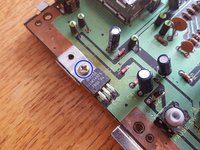
    • 2 screws on the connector.

    • There's 1 shorter screw as previously with the RF shield. This small screw keeps the voltage regulator in place.

    Ask FixBot

    Add Comment

  8. Sega Master System II Motherboard Replacement: step 8, image 1 of 1
    • When you've disassembled everything, it should look like this.

    • Once you've got the replacement board, just follow this guide in reverse order.

    Ask FixBot

    Add Comment

Conclusion

To reassemble your device, follow these instructions in reverse order.

Cancel: I did not complete this guide.

One other person completed this guide.

Arjan Kuiper

Member since: 04/20/16

290 Reputation

1 Guide authored

0 Guide Comments

Add Comment

View Statistics:

Past 24 Hours: 0

Past 7 Days: 9

Past 30 Days: 65

All Time: 5,580