Introduction
Although the Sega Game Gear TV Tuner is long outdated, it’s still a pretty cool retro handheld console attachment. In the 90’s, before the era of digital television, all you needed was a Game Gear with Tuner attached and you had your very first handheld console with the ability to “stream” video. With a A/V input built in you can still use it, with HD antenna attached, to watch television or even do some outrageously silly stuff like play Xbox 1/PS4 using your Sega Game Gear as a TV. Just remember to bring batteries.
What you need
-
-
-
Remove PH1 screw and lift up on the antenna to remove it
-
Remove 4 PH0 screws
-
Remove 2 3.8mm gamebit screws
-
Lift rear tuner shell away from unit
 Ask FixBot
-
-
-
A peek on the inside reveals 2 small retaining clips. Simply apply some pressure on the clips with a needle nose tweezer
-
Remove the motherboard from the unit
-
-
-
-
If it makes your repair easier you can separate the two PCBs by gently pulling the ribbon out of its connector. This is a friction fit cable
-
-
-
Flip the PCBs over with the back side facing you.
-
Remove 1 PH0 screw
-
Flip the board over again and gently pull the tuning dial assembly out of the pin header socket
-
-


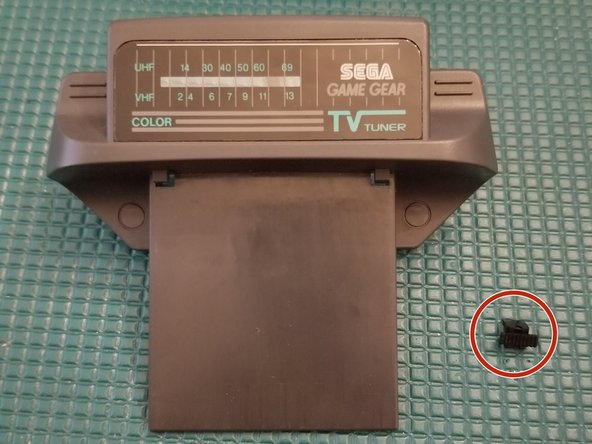


To reassemble your device, follow these instructions in reverse order.
Cancel: I did not complete this guide.
4 other people completed this guide.

3 Guide Comments
does anybody know what the ribbon cables pinout is? I would love to know, so I can hook up some video-in to the tv tuner board, since my good guess is, that the upper part is just transporting or converting the signal it gets from its receiver to a mere video-in signal with LandR audio, since you can also hook up video-in to the tv tuner on the jack. and my other wild guess is, that the board the actual receiver is hooked up to splits up the signal into 8-bit chunks the game gear itself can understand. Please feel free to correct me and give more info, i NEED the pinout, since i got no tools at home to check what the ribbon cable actually is cooking.
A small washer fell out of mine when I was taking it apart. Any idea where it goes?
If it's very thin and small circumference it goes between the antenna and swivel. There may be 2 of them.
