Introduction
Instructions on how to replace a defective Sega Dreamcast power supply with a working power supply.
What you need
-
-
-
Flip the console over on its back.
-
Take note of your model number, in case replacement parts are needed.
 Ask FixBot
-
-
-
Remove the expansion bay by applying pressure to the small clip on the expansion bay while prying it away from the console.
-
-
-
-
-
-
Locate and remove all four black 12mm Phillips #02 screws from the underside of the console.
-
-
-
Turn the console right side up.
-
Remove the top cover by gently lifting the upper portion of the console.
-
-
-
-
-
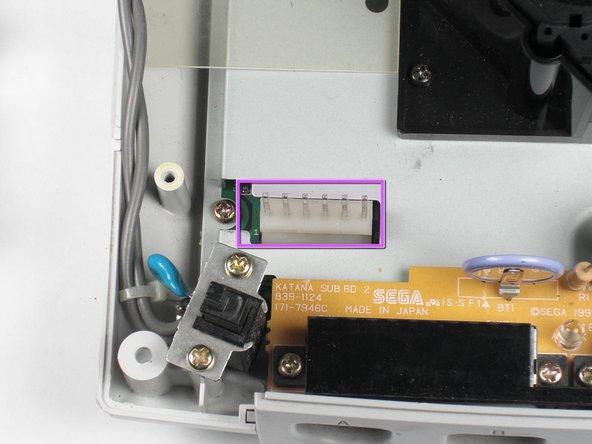
Remove the white female pin head by pinching and lifting directly up on the harness.
-
Remove the two Philips #02 screws from the board.
-
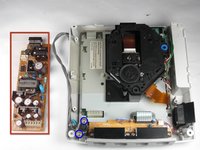
Remove the power board. Using both hands, gently lift the power board away from the console without damaging the male pin head
-
-
-
Remove the unit. Carefully remove the power board from the console by lightly grasping the board by the edge and lifting directly upward.
-
Remove the two 10mm #02 Philips screws to detach the switch module from the console.
-
Purchase a replacement power board.
-
-





To reassemble your device, follow these instructions in reverse order.
Cancel: I did not complete this guide.
6 other people completed this guide.

Team

Cal Poly, Team 5-1, Regan Fall 2009 Member of Cal Poly, Team 5-1, Regan Fall 2009
CPSU-REGAN-F09S5G1
5 Members
109 Guides authored
