Free Shipping on Domestic Orders $75+

Sega Dreamcast Logic Board Replacement

What you need

  1. Sega Dreamcast Logic Board Replacement, Expansion Bay: step 1, image 1 of 2 Sega Dreamcast Logic Board Replacement, Expansion Bay: step 1, image 2 of 2
    • Verify that the console is disconnected from the AC outlet before you begin.

    • Flip the console over on its back.

    • Take note of your model number, in case replacement parts are needed.

    Ask FixBot
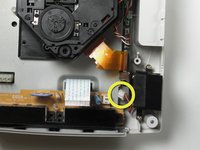
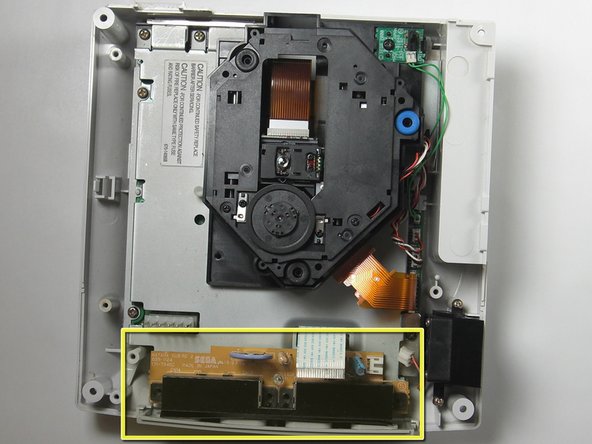
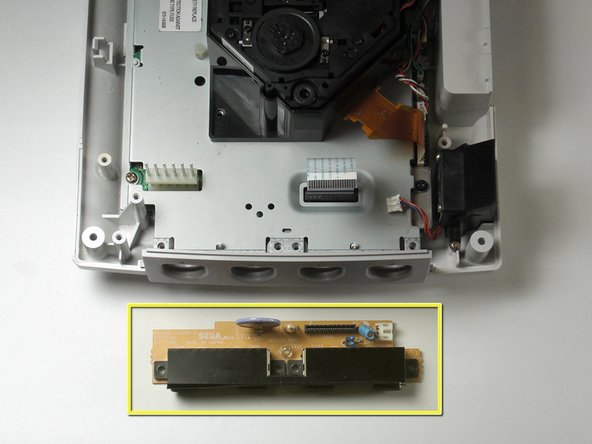
  2. Sega Dreamcast Logic Board Replacement: step 2, image 1 of 3 Sega Dreamcast Logic Board Replacement: step 2, image 2 of 3 Sega Dreamcast Logic Board Replacement: step 2, image 3 of 3
    • Remove the expansion bay by applying pressure to the small clip on the expansion bay while prying it away from the console.

    Ask FixBot
  3. Sega Dreamcast Logic Board Replacement, Top Cover: step 3, image 1 of 1
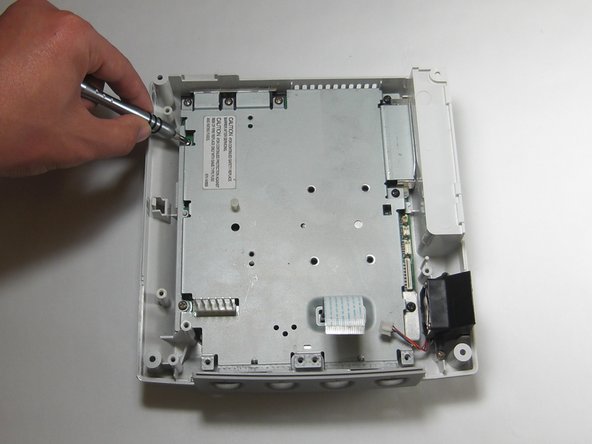
    • Locate and remove all four black 12mm Phillips #02 screws from the underside of the console.

    • Note: Remove the expansion bay to locate the fourth screw

    Ask FixBot
  4. Sega Dreamcast Logic Board Replacement: step 4, image 1 of 1
    • Internal components can be loose. Be careful that they do not fall out when removing the cover.

    • Turn the console right side up.

    • Remove the top cover by gently lifting the upper portion of the console.

    Ask FixBot
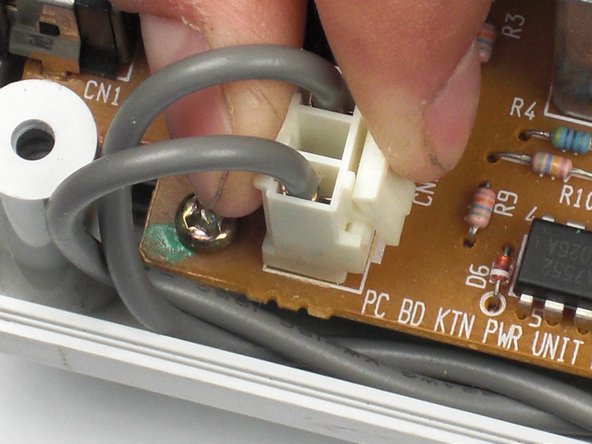
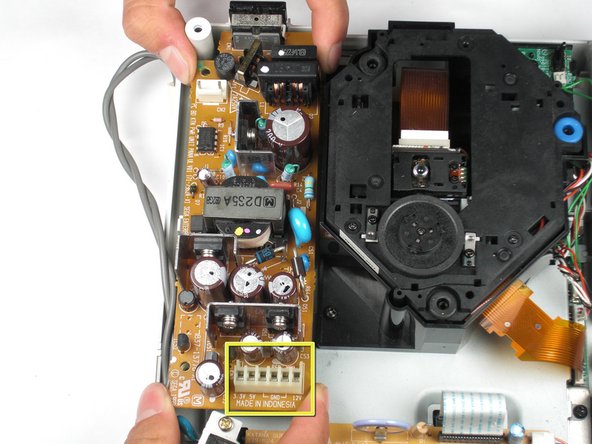
  5. Sega Dreamcast Logic Board Replacement, Power Block (Power Supply): step 5, image 1 of 2 Sega Dreamcast Logic Board Replacement, Power Block (Power Supply): step 5, image 2 of 2
    • Verify that the console is disconnected from the AC outlet before you begin. If you have just powered off the system, give the capacitors a few minutes to discharge before you begin working.

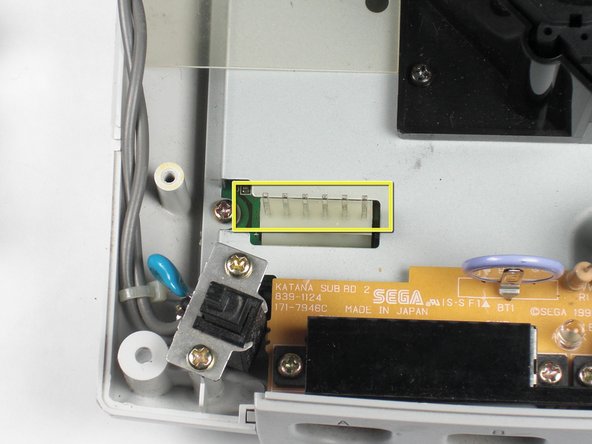
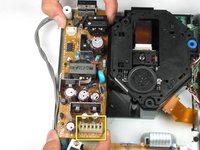
    • Remove the white female pin header by clamping the clip and pulling it up gently from the power board.

    Ask FixBot
  6. Sega Dreamcast Logic Board Replacement: step 6, image 1 of 1
    • Remove the two 10mm Philips #02 screws that are fastened to the power block.

    Ask FixBot
  7. Sega Dreamcast Logic Board Replacement: step 7, image 1 of 2 Sega Dreamcast Logic Board Replacement: step 7, image 2 of 2
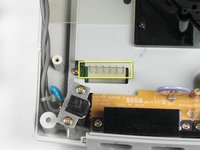
    • Do not bend the male pin header between the mounted head when you remove the power supply from the chassis.

    • Remove the power board by using both hands to gently lift the power board away from the console.

    Ask FixBot
  8. Sega Dreamcast Logic Board Replacement: step 8, image 1 of 1
    • Remove the clear plastic film that is tucked between the power supply and the chassis.

    Ask FixBot
  9. Sega Dreamcast Logic Board Replacement, Controller Port: step 9, image 1 of 2 Sega Dreamcast Logic Board Replacement, Controller Port: step 9, image 2 of 2
    • Be gentle with the white controller cable as it can be a bit fragile.

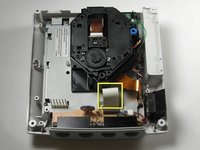
    • Disconnect the white controller cable by gently pulling the the cable while wiggling it back and forth until it detaches from the controller board.

    Ask FixBot
  10. Sega Dreamcast Logic Board Replacement: step 10, image 1 of 2 Sega Dreamcast Logic Board Replacement: step 10, image 2 of 2
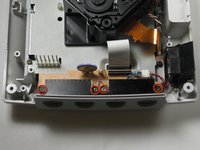
    • Remove the four 14mm Philips #02 screws located on the controller board.

    Ask FixBot
  11. Sega Dreamcast Logic Board Replacement: step 11, image 1 of 2 Sega Dreamcast Logic Board Replacement: step 11, image 2 of 2
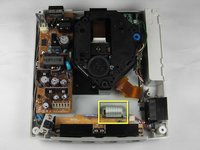
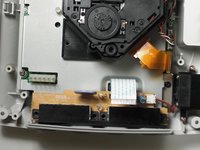
    • Disconnect the white fan header from the controller port.

    Ask FixBot
  12. Sega Dreamcast Logic Board Replacement: step 12, image 1 of 2 Sega Dreamcast Logic Board Replacement: step 12, image 2 of 2
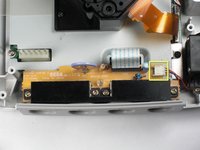
    • Remove the controller board by lifting it up from the controller port.

    Ask FixBot
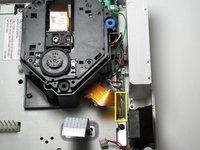
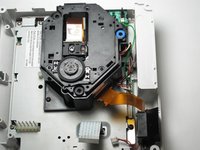
  13. Sega Dreamcast Logic Board Replacement, GD-ROM: step 13, image 1 of 2 Sega Dreamcast Logic Board Replacement, GD-ROM: step 13, image 2 of 2
    • Detach the orange cable by giving it a gentle pull while wiggling the cable back and forth until it loosens from the logic board.

    Ask FixBot
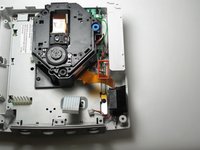
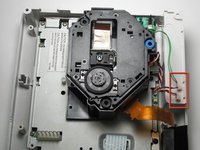
  14. Sega Dreamcast Logic Board Replacement: step 14, image 1 of 2 Sega Dreamcast Logic Board Replacement: step 14, image 2 of 2
    • Detach the cables by gently pulling the three GD-ROM cables to remove them from the logic board.

    Ask FixBot
  15. Sega Dreamcast Logic Board Replacement: step 15, image 1 of 2 Sega Dreamcast Logic Board Replacement: step 15, image 2 of 2
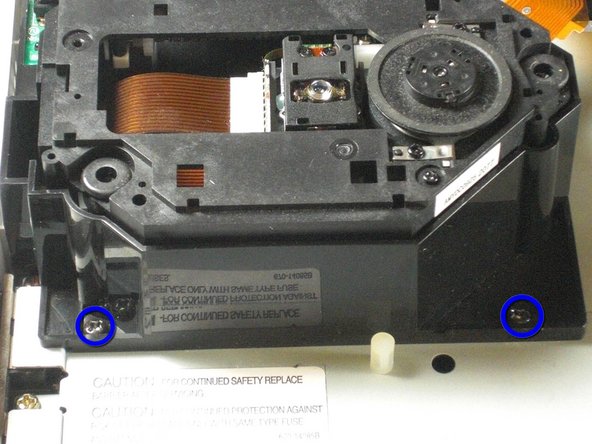
    • Remove the two black 12mm Philips #02 screws located on the left side of the GD-ROM bracket.

    • The console is rotated 90 degrees counter-clockwise in the first photo. The second photo depicts the normal position.

    Ask FixBot
  16. Sega Dreamcast Logic Board Replacement: step 16, image 1 of 2 Sega Dreamcast Logic Board Replacement: step 16, image 2 of 2
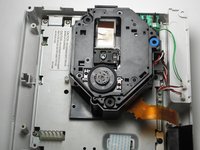
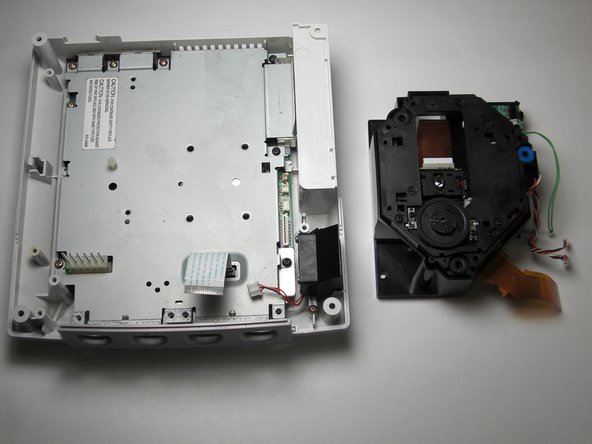
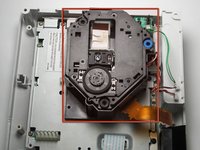
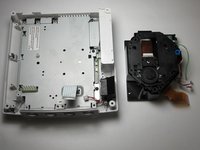
    • When lifting the GD-ROM, be careful that the top half of the casing does not detached from its base.

    • Remove the GD-ROM by gently lifting it from its base.

    Ask FixBot
  17. Sega Dreamcast Logic Board Replacement, Fan: step 17, image 1 of 1
    • Remove the white fan header by gently pulling it away from from the controller port.

    • The white fan header may already be detached if you have completed the Controller Port Disassembly Guide.

    Ask FixBot
  18. Sega Dreamcast Logic Board Replacement: step 18, image 1 of 1
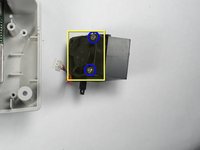
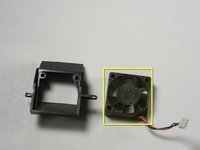
    • Remove the two 8.5mm Philips #00 screws from the fan bracket.

    Ask FixBot
  19. Sega Dreamcast Logic Board Replacement: step 19, image 1 of 2 Sega Dreamcast Logic Board Replacement: step 19, image 2 of 2
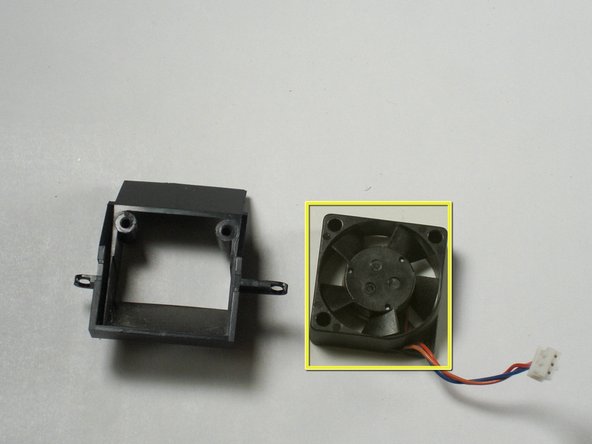
    • Remove the two 17.5mm Philips #00 screws from the fan bracket.

    • Remove the fan from the bracket.

    Ask FixBot
  20. Sega Dreamcast Logic Board Replacement, Logic Board: step 20, image 1 of 3 Sega Dreamcast Logic Board Replacement, Logic Board: step 20, image 2 of 3 Sega Dreamcast Logic Board Replacement, Logic Board: step 20, image 3 of 3
    • Remove the five 10mm Philips #02 screws from left side of the logic board cover.

    • Remove the three black 12mm Philips #02 screws from the right side of the logic board cover.

    Ask FixBot
  21. Sega Dreamcast Logic Board Replacement: step 21, image 1 of 3 Sega Dreamcast Logic Board Replacement: step 21, image 2 of 3 Sega Dreamcast Logic Board Replacement: step 21, image 3 of 3
    • Lift the metal cover from the console.

    Ask FixBot
  22. Sega Dreamcast Logic Board Replacement: step 22, image 1 of 2 Sega Dreamcast Logic Board Replacement: step 22, image 2 of 2
    • Before handing the logic board, you may want to use a grounding strap to protect the device from static charge. If you do not have a grounding strip, you may ground yourself by touching a large metallic object.

    • Remove the logic board and set the logic board on an anti-static surface.

    Ask FixBot
Conclusion

To reassemble your device, follow these instructions in reverse order.

23 other people completed this guide.

wkwong

Member since: 11/14/09

557 Reputation

5 Guides authored

Team

Cal Poly, Team 5-1, Regan Fall 2009 Member of Cal Poly, Team 5-1, Regan Fall 2009

CPSU-REGAN-F09S5G1

5 Members

23 Guides authored

1 Guide Comment

helpful but my dreamcast had a different logic board and as well as fan and gd-rom so keep that in mind if u see something different in your unit

Nickolas Wilcox - Reply Share
Add Comment

View Statistics:

Past 24 Hours: 10

Past 7 Days: 62

Past 30 Days: 293

All Time: 28,173