Free Shipping on Domestic Orders $75+

Sanyo VPC-X1200 Main Board Replacement

What you need

    1. Sanyo VPC-X1200 Main Board Replacement, Back Case: step 1, image 1 of 3 Sanyo VPC-X1200 Main Board Replacement, Back Case: step 1, image 2 of 3 Sanyo VPC-X1200 Main Board Replacement, Back Case: step 1, image 3 of 3
      • Remove the five case screws with a Phillips #00 Screwdriver.

      • Five 3.5mm Phillips Screws

      Ask FixBot

      Add Comment

    2. Sanyo VPC-X1200 Main Board Replacement: step 2, image 1 of 1
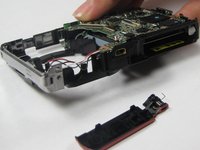
      • Gently lift up the back cover and set aside.

      Ask FixBot

      Add Comment

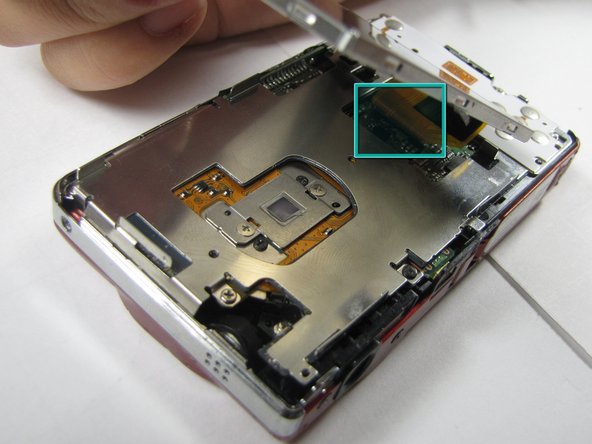
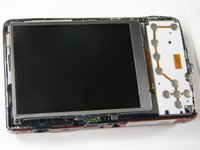
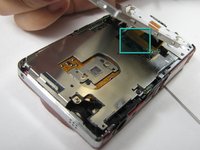
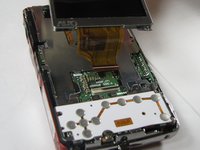
    1. Sanyo VPC-X1200 Main Board Replacement, LCD Screen: step 3, image 1 of 2 Sanyo VPC-X1200 Main Board Replacement, LCD Screen: step 3, image 2 of 2
      • Gently lift up on the left side of the LCD and slowly pull it to the left side of the camera but do not remove entirely, there is a ribbon connector.

      • Be careful not to rip out the ribbon connector.

      Ask FixBot

      Add Comment

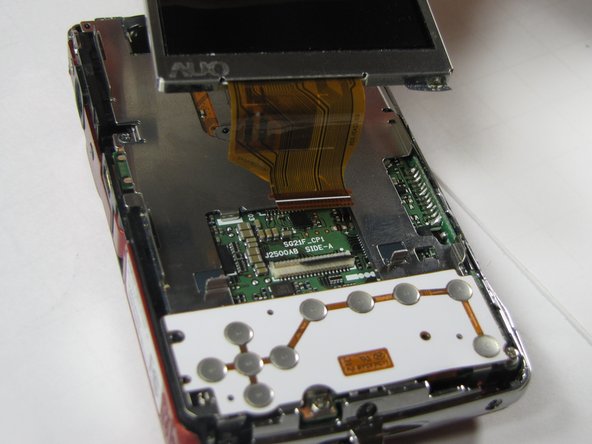
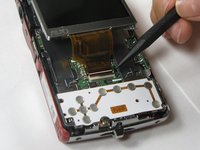
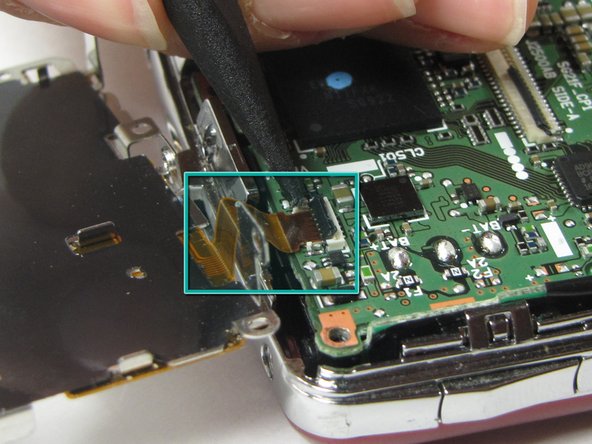
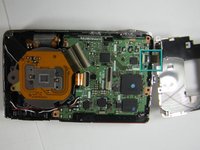
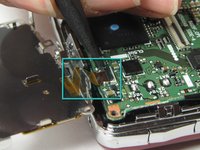
    2. Sanyo VPC-X1200 Main Board Replacement: step 4, image 1 of 2 Sanyo VPC-X1200 Main Board Replacement: step 4, image 2 of 2
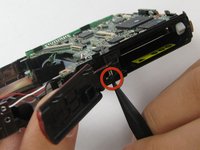
      • To clear the ribbon connection underneath the screen, lift up the black ribbon gate with the spudger.

      • Gently lift ribbon out of the gate and set screen aside.

      Ask FixBot

      Add Comment

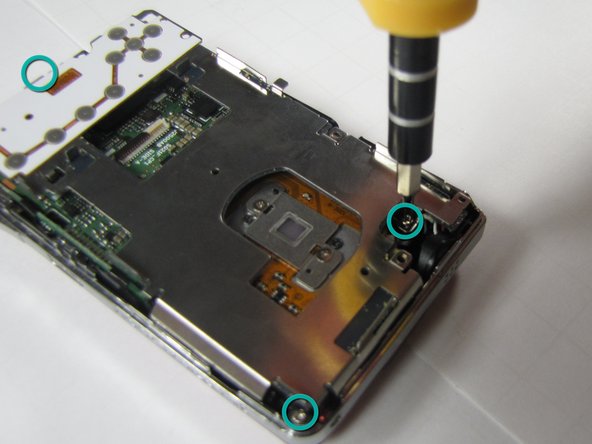
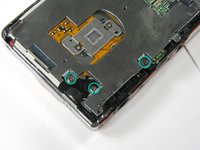
    1. Sanyo VPC-X1200 Main Board Replacement, Button Plate: step 5, image 1 of 2 Sanyo VPC-X1200 Main Board Replacement, Button Plate: step 5, image 2 of 2
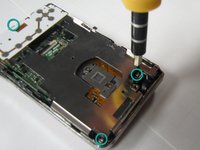
      • There are five screws of three different sizes which need removal.

      • One 4.5mm screw

      • Four 3.5mm screws, one on the button side

      • One 5.5mm screws

      Ask FixBot

      Add Comment

    2. Sanyo VPC-X1200 Main Board Replacement: step 6, image 1 of 2 Sanyo VPC-X1200 Main Board Replacement: step 6, image 2 of 2
      • Slowly lift metal tray to the right.

      • Be careful not to bend the screw tabs or rip out the ribbon cable.

      • Remove ribbon cable by using the spudger to lift up the black ribbon gate to release the ribbon

      Ask FixBot

      Add Comment

    1. Sanyo VPC-X1200 Main Board Replacement, Lens Unit: step 7, image 1 of 1
      • Disconnect the two ribbon cables from the lens unit by using the spudger to lift the ribbon gates.

      • One gate is black and another is white.

      Ask FixBot

      Add Comment

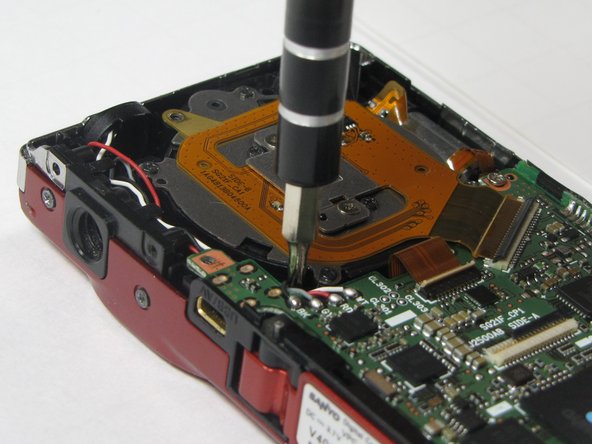
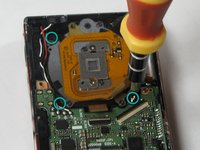
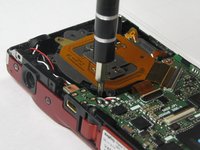
    2. Sanyo VPC-X1200 Main Board Replacement: step 8, image 1 of 2 Sanyo VPC-X1200 Main Board Replacement: step 8, image 2 of 2
      • Remove the three silver screws.

      • Three 5.5mm screws

      Ask FixBot

      Add Comment

    3. Sanyo VPC-X1200 Main Board Replacement: step 9, image 1 of 1
      • Lift the lens unit free of the camera. A spudger can be used to separate the lens unit if necessary.

      Ask FixBot

      Add Comment

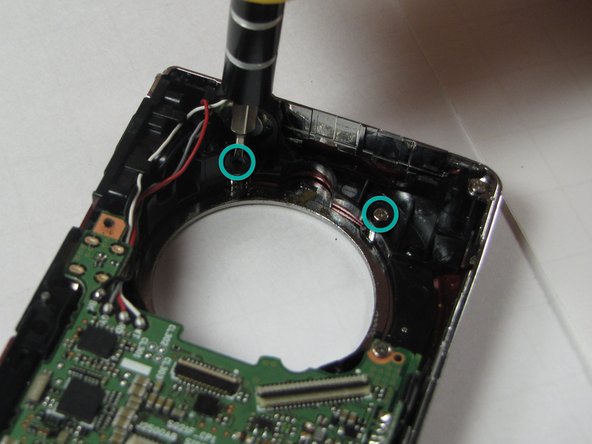
    1. Sanyo VPC-X1200 Main Board Replacement, Flash Lens: step 10, image 1 of 3 Sanyo VPC-X1200 Main Board Replacement, Flash Lens: step 10, image 2 of 3 Sanyo VPC-X1200 Main Board Replacement, Flash Lens: step 10, image 3 of 3
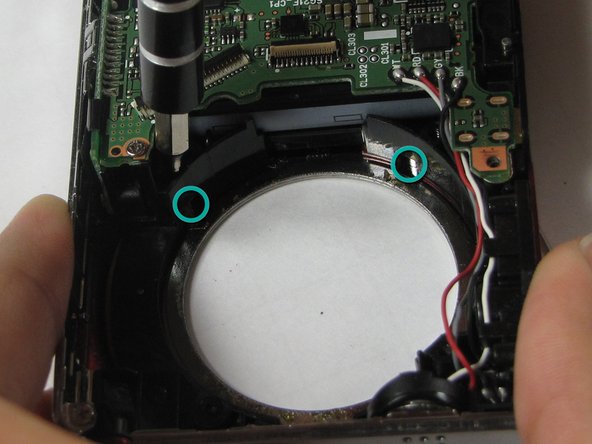
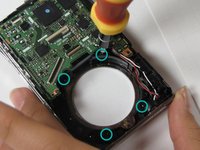
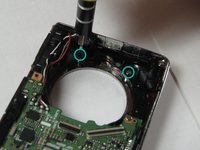
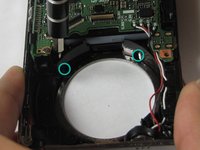
      • Remove 4 screws attached to the exterior silver bezel.

      • Four 3.5mm screws

      Ask FixBot

      Add Comment

    2. Sanyo VPC-X1200 Main Board Replacement: step 11, image 1 of 1
      • Remove round silver bezel from the front of the camera.

      Ask FixBot

      Add Comment

    3. Sanyo VPC-X1200 Main Board Replacement: step 12, image 1 of 1
      • Remove the two screws on the bottom of the front cover.

      Ask FixBot

      Add Comment

    4. Sanyo VPC-X1200 Main Board Replacement: step 13, image 1 of 1
      • Remove tripod mount.

      Ask FixBot

      Add Comment

    5. Sanyo VPC-X1200 Main Board Replacement: step 14, image 1 of 1
      • Carefully lift off the front cover plate of the camera.

      Ask FixBot

      Add Comment

    6. Sanyo VPC-X1200 Main Board Replacement: step 15, image 1 of 1
      • Remove the flash lens using the spudger or a finger.

      • It will be attached by a piece of tape, peel the lens off of that piece of tape without removing the tape.

      Ask FixBot

      Add Comment

    1. Sanyo VPC-X1200 Main Board Replacement, Main Board: step 16, image 1 of 3 Sanyo VPC-X1200 Main Board Replacement, Main Board: step 16, image 2 of 3 Sanyo VPC-X1200 Main Board Replacement, Main Board: step 16, image 3 of 3
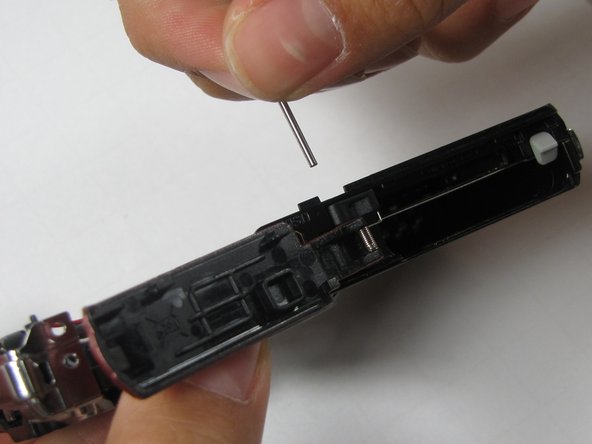
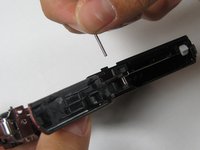
      • Push out pin that holds the door hinge together

      • Pull out the pin. Be careful to keep track of the spring and black spacer.

      • Set the battery door aside

      Ask FixBot

      Add Comment

Conclusion

To reassemble your device, follow these instructions in reverse order.

Cancel: I did not complete this guide.

Anthony Giardina

Member since: 04/19/10

35 Reputation

7 Guides authored

Team

Cal Poly, Team 7-10, Maness Spring 2010 Member of Cal Poly, Team 7-10, Maness Spring 2010

CPSU-MANESS-S10S7G10

4 Members

15 Guides authored

0 Guide Comments

Add Comment

View Statistics:

Past 24 Hours: 0

Past 7 Days: 9

Past 30 Days: 39

All Time: 2,748