Free Shipping on Domestic Orders $75+

Sanyo VPC S1275 LCD Screen Replacement

What you need

  1. Sanyo VPC S1275 LCD Screen Replacement, Battery: step 1, image 1 of 1
    • Place your thumb on the right side of the camera over the battery door.

    • Slide the battery door to the right until the door lifts up.

    Ask FixBot

    Add Comment

  2. Sanyo VPC S1275 LCD Screen Replacement: step 2, image 1 of 1
    • Remove and recycle old batteries.

    Ask FixBot

    Add Comment

  3. Sanyo VPC S1275 LCD Screen Replacement, Case: step 3, image 1 of 3 Sanyo VPC S1275 LCD Screen Replacement, Case: step 3, image 2 of 3 Sanyo VPC S1275 LCD Screen Replacement, Case: step 3, image 3 of 3
    • Remove the following six screws using the Phillips #00 screwdriver:

    • Two screws on the left side of the camera.

    • Two screws on the right side of the camera.

    • Two screws on the bottom of the camera.

    Ask FixBot

    Add Comment

  4. Sanyo VPC S1275 LCD Screen Replacement: step 4, image 1 of 2 Sanyo VPC S1275 LCD Screen Replacement: step 4, image 2 of 2
    • Open the battery slot on the bottom of the camera by sliding the door to the right.

    • Remove the single 4 mm screw on the bottom right using the Phillips #00 screwdriver.

    Ask FixBot

    Add Comment

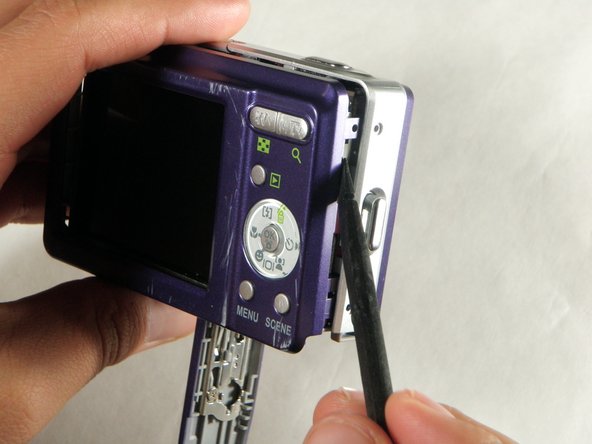
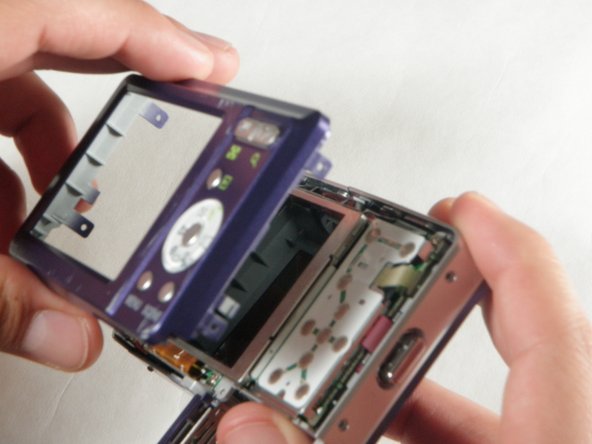
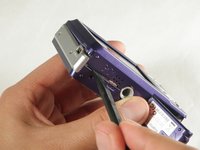
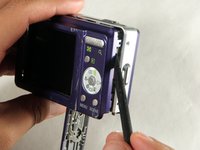
  5. Sanyo VPC S1275 LCD Screen Replacement: step 5, image 1 of 3 Sanyo VPC S1275 LCD Screen Replacement: step 5, image 2 of 3 Sanyo VPC S1275 LCD Screen Replacement: step 5, image 3 of 3
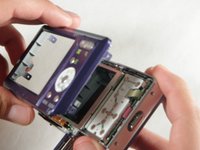
    • Insert a spudger in the seam at the bottom of the camera.

    • Gently separate the rear case from the front of the camera.

    Ask FixBot

    Add Comment

  6. Sanyo VPC S1275 LCD Screen Replacement: step 6, image 1 of 1
    • This step is only needed for the case and logic board replacement

    • Using the Phillips #00 screwdriver, remove the single screw attached to the front casing in the top left corner. The front case should easily separate.

    Ask FixBot

    Add Comment

  7. Sanyo VPC S1275 LCD Screen Replacement: step 7, image 1 of 1
    • This step is only needed for the case replacement.

    • Using the Phillips #00 screwdriver, remove the screw on the inside of the battery door.

    • Slide the battery door off of the hinge.

    Ask FixBot

    Add Comment

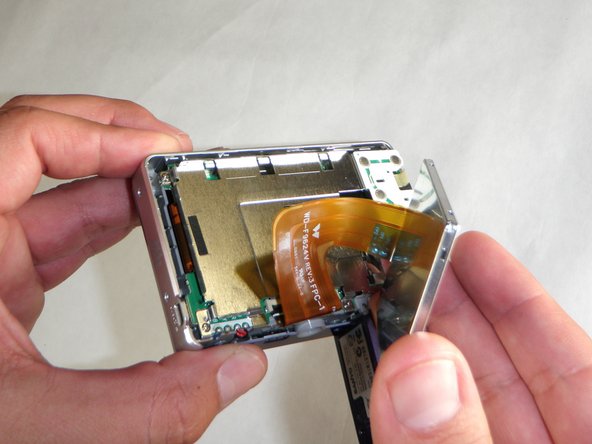
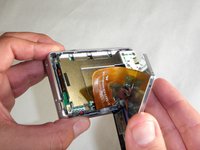
  8. Sanyo VPC S1275 LCD Screen Replacement, LCD Screen: step 8, image 1 of 2 Sanyo VPC S1275 LCD Screen Replacement, LCD Screen: step 8, image 2 of 2
    • Using the spudger, carefully lift up the LCD screen, making sure to keep the ribbon cable intact.

    • Place the LCD screen on a non-abrasive surface.

    Ask FixBot

    Add Comment

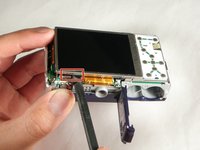
  9. Sanyo VPC S1275 LCD Screen Replacement: step 9, image 1 of 1
    • Using the spudger lift the black flap up to release the ribbon cable.

    • The LCD screen will now be completely detached from the camera.

    Ask FixBot

    Add Comment

Conclusion

To reassemble your device, follow these instructions in reverse order.

Cancel: I did not complete this guide.

Evan Perez

Member since: 04/15/10

19 Reputation

2 Guides authored

Team

Cal Poly, Team 24-24, Regan Spring 2010 Member of Cal Poly, Team 24-24, Regan Spring 2010

CPSU-REGAN-S10S24G24

4 Members

12 Guides authored

0 Guide Comments

Add Comment

View Statistics:

Past 24 Hours: 2

Past 7 Days: 8

Past 30 Days: 43

All Time: 3,648