Free Shipping on Domestic Orders $75+

Sanyo VPC S1275 Case Replacement

What you need

    1. Sanyo VPC S1275 Case Replacement, Battery: step 1, image 1 of 1
      • Place your thumb on the right side of the camera over the battery door.

      • Slide the battery door to the right until the door lifts up.

      Ask FixBot

      Add Comment

    2. Sanyo VPC S1275 Case Replacement: step 2, image 1 of 1
      • Remove and recycle old batteries.

      Ask FixBot

      Add Comment

    1. Sanyo VPC S1275 Case Replacement, Case: step 3, image 1 of 3 Sanyo VPC S1275 Case Replacement, Case: step 3, image 2 of 3 Sanyo VPC S1275 Case Replacement, Case: step 3, image 3 of 3
      • Remove the following six screws using the Phillips #00 screwdriver:

      • Two screws on the left side of the camera.

      • Two screws on the right side of the camera.

      • Two screws on the bottom of the camera.

      Ask FixBot

      Add Comment

    2. Sanyo VPC S1275 Case Replacement: step 4, image 1 of 2 Sanyo VPC S1275 Case Replacement: step 4, image 2 of 2
      • Open the battery slot on the bottom of the camera by sliding the door to the right.

      • Remove the single 4 mm screw on the bottom right using the Phillips #00 screwdriver.

      Ask FixBot

      Add Comment

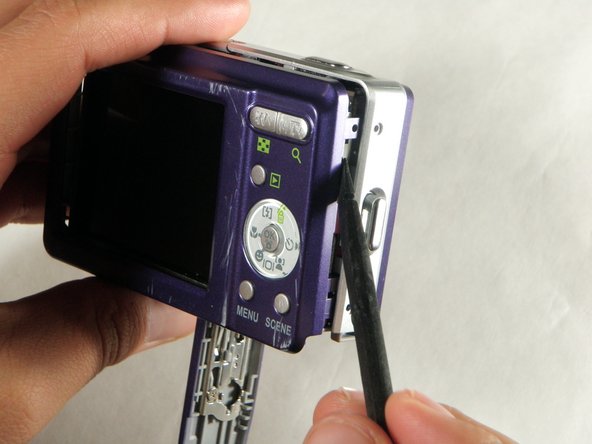
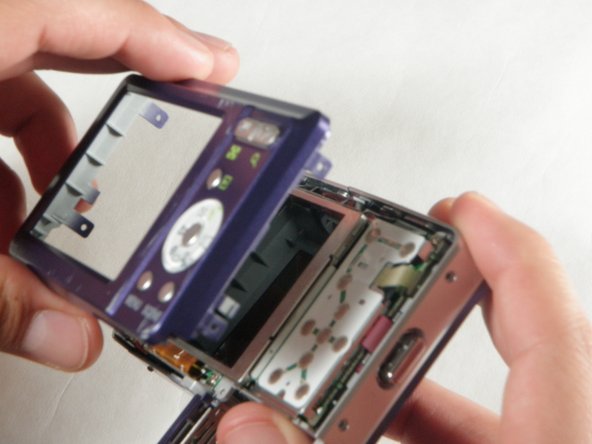
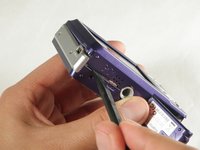
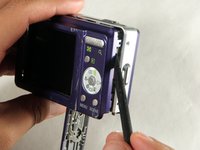
    3. Sanyo VPC S1275 Case Replacement: step 5, image 1 of 3 Sanyo VPC S1275 Case Replacement: step 5, image 2 of 3 Sanyo VPC S1275 Case Replacement: step 5, image 3 of 3
      • Insert a spudger in the seam at the bottom of the camera.

      • Gently separate the rear case from the front of the camera.

      Ask FixBot

      Add Comment

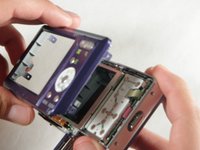
    4. Sanyo VPC S1275 Case Replacement: step 6, image 1 of 1
      • This step is only needed for the case and logic board replacement

      • Using the Phillips #00 screwdriver, remove the single screw attached to the front casing in the top left corner. The front case should easily separate.

      Ask FixBot

      Add Comment

    5. Sanyo VPC S1275 Case Replacement: step 7, image 1 of 1
      • This step is only needed for the case replacement.

      • Using the Phillips #00 screwdriver, remove the screw on the inside of the battery door.

      • Slide the battery door off of the hinge.

      Ask FixBot

      Add Comment

Conclusion

To reassemble your device, follow these instructions in reverse order.

Cancel: I did not complete this guide.

Ariana Martinez

Member since: 04/15/10

50 Reputation

4 Guides authored

Team

Cal Poly, Team 24-24, Regan Spring 2010 Member of Cal Poly, Team 24-24, Regan Spring 2010

CPSU-REGAN-S10S24G24

4 Members

72 Guides authored

0 Guide Comments

Add Comment

View Statistics:

Past 24 Hours: 3

Past 7 Days: 10

Past 30 Days: 39

All Time: 2,544