Free Shipping on Domestic Orders $75+

Sanyo Katana Screen Replacement

What you need

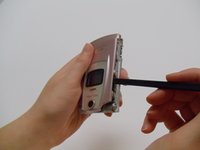
  1. Sanyo Katana Screen Replacement, Screen Protector: step 1, image 1 of 2 Sanyo Katana Screen Replacement, Screen Protector: step 1, image 2 of 2
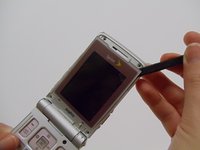
    • With the flat end of a spudger, remove the plastic covers located on the corners of the display near the hinge and above the screen, revealing four screws underneath.

    Ask FixBot

    Add Comment

  2. Sanyo Katana Screen Replacement: step 2, image 1 of 2 Sanyo Katana Screen Replacement: step 2, image 2 of 2
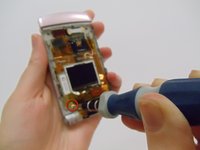
    • Remove the 4.4mm screw in each corner using the Tri-wing Y0 screwdriver.

    Ask FixBot

    Add Comment

  3. Sanyo Katana Screen Replacement: step 3, image 1 of 2 Sanyo Katana Screen Replacement: step 3, image 2 of 2
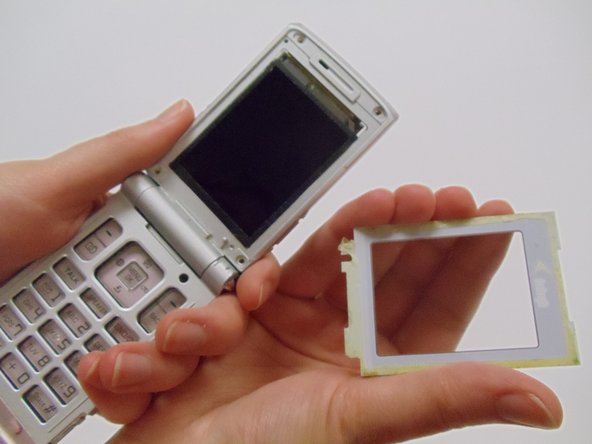
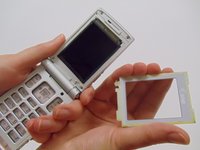
    • Carefully pry the screen protector off the phone using the flat end of the spudger.

    • This will require a bit of force as the back of the screen protector is lined with an adhesive material.

    • Once free from the adhesive, pull the screen protector away from the phone.

    Ask FixBot

    Add Comment

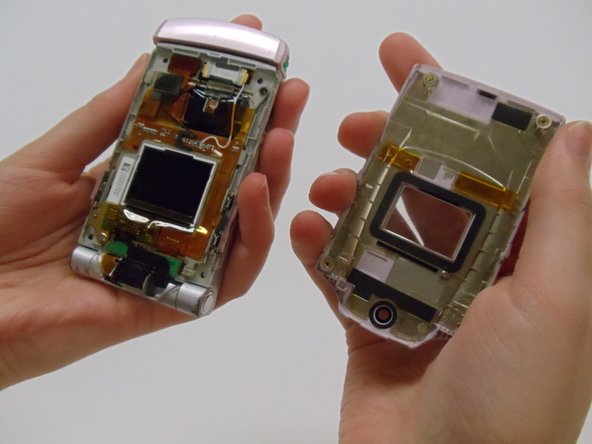
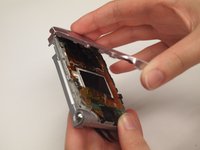
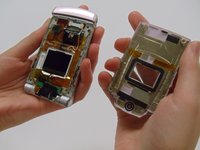
  4. Sanyo Katana Screen Replacement, Front Case: step 4, image 1 of 3 Sanyo Katana Screen Replacement, Front Case: step 4, image 2 of 3 Sanyo Katana Screen Replacement, Front Case: step 4, image 3 of 3
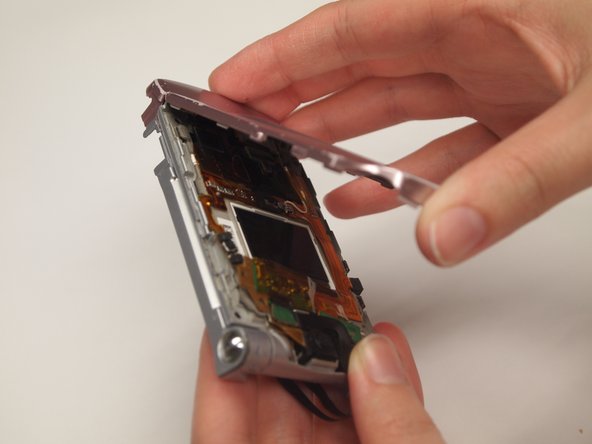
    • Use the spudger to pry off the front case from the left and right sides of the device.

    • Once it has popped off, pull the casing apart with fingers.

    Ask FixBot

    Add Comment

  5. Sanyo Katana Screen Replacement, Screen: step 5, image 1 of 2 Sanyo Katana Screen Replacement, Screen: step 5, image 2 of 2
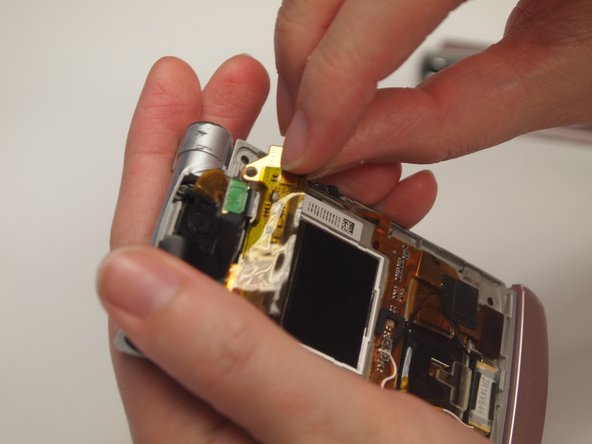
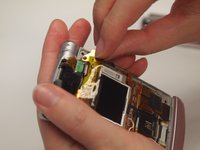
    • Using a Tri-wing Y0 screwdriver, remove the 4.4mm screw.

    • Use fingers to remove the strip from the device.

    Ask FixBot

    Add Comment

  6. Sanyo Katana Screen Replacement: step 6, image 1 of 3 Sanyo Katana Screen Replacement: step 6, image 2 of 3 Sanyo Katana Screen Replacement: step 6, image 3 of 3
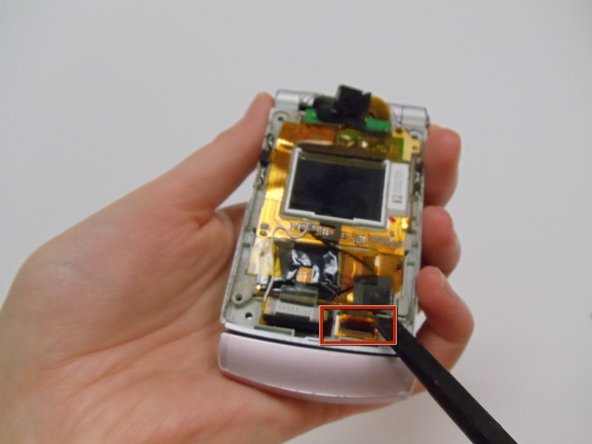
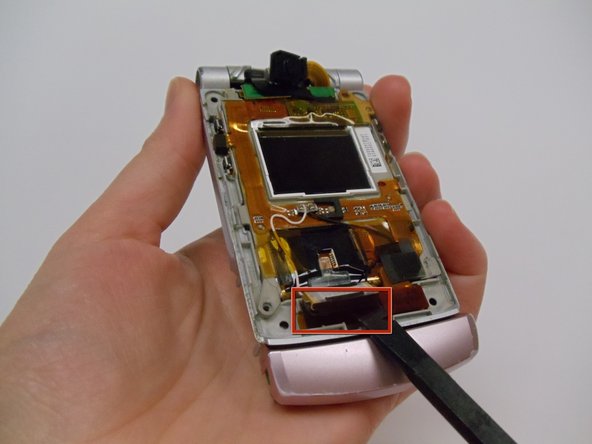
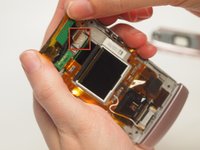
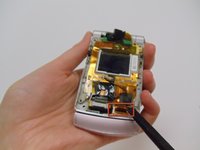
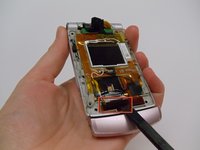
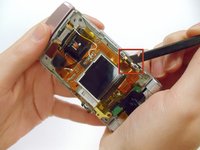
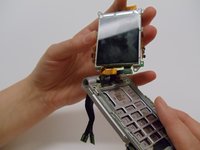
    • Use a spudger to detach all of the connections to the motherboard in the back of the phone by the screen.

    Ask FixBot

    Add Comment

  7. Sanyo Katana Screen Replacement: step 7, image 1 of 2 Sanyo Katana Screen Replacement: step 7, image 2 of 2
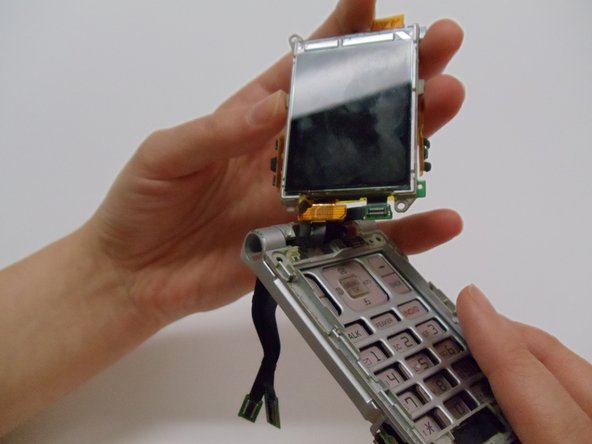
    • Use the flat edge of the spudger to detach the screen from the phone casing.

    • Pull the screen up and away from the case.

    Ask FixBot

    Add Comment

Conclusion

To reassemble your device, follow these instructions in reverse order.

Cancel: I did not complete this guide.

Aliceann

Member since: 03/11/13

49 Reputation

1 Guide authored

Team

Clemson, Team 12-1, Benson Spring 2013 Member of Clemson, Team 12-1, Benson Spring 2013

CLEM-BENSON-S13S12G1

4 Members

30 Guides authored

0 Guide Comments

Add Comment

View Statistics:

Past 24 Hours: 0

Past 7 Days: 4

Past 30 Days: 76

All Time: 1,043