Introduction
This guide will explain how to replace the battery of a Sandisk Sansa C250 digital player. The battery in the device will need to be replaced if it cannot charge or if battery life capacity is reduced after multiple recharges. Soldering is a special skill required. Pay attention to cautions or notes in the steps.
What you need
-
-
-
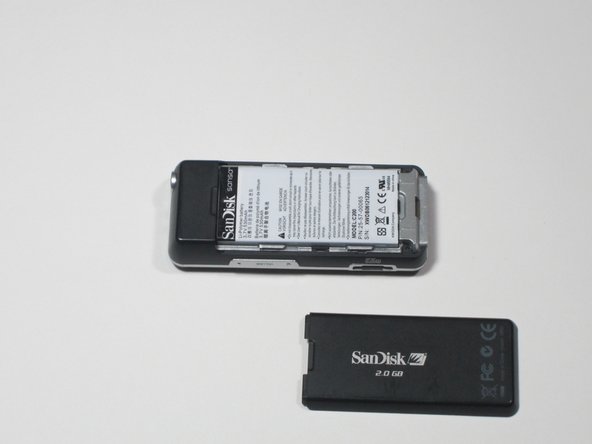
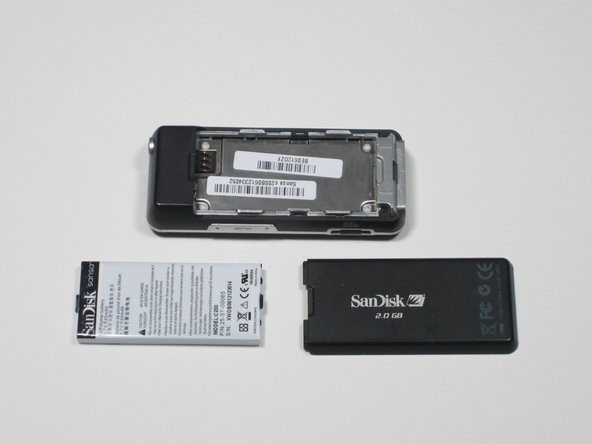
To remove the back cover, slide the back cover toward the top of the device with your thumb.
 Ask FixBot
-
-
-
-
-
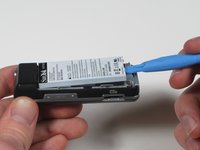
With the plastic pry tool, gently lift up. The battery should lift up and out.
-
-
-
-
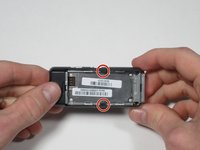
Using a Phillips head screwdriver, remove the two black .265" screws at the base of the device.
-
-
-
Near the middle of the device, locate the two plastic arms of the case cover.
-
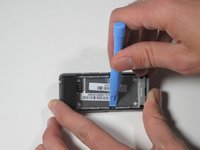
Using the plastic pry tool, pry up the two arms of the case to free them from the sides.
-
-
-
-
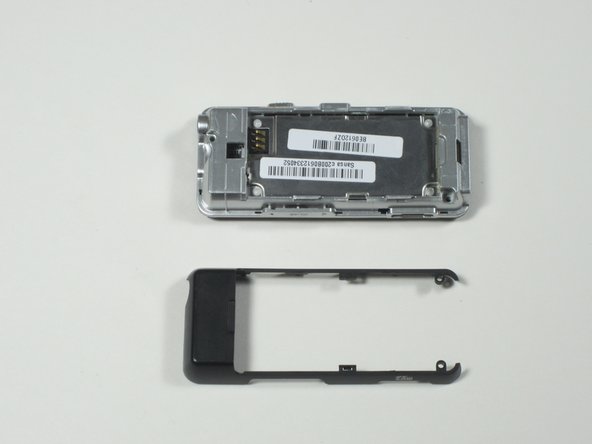
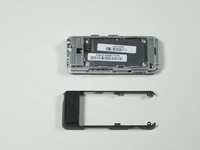
To remove the rear case cover, slide the rear case cover toward the top of the device with your thumb to release it.
-
-
-
-
-
Using a Phillips head screwdriver, remove the single 0.327" silver screw on the back of the device. The screw should be exposed from when you removed the rear case cover.
-
-
-
Flip the device over and gently work a plastic pry tool around the base of the front case cover until it loosens.
-
-
-
Starting on the side furthest away from the buttons, gently lift the front case cover open with your fingers.
-
-
-
To release the ribbon cable, use a plastic pry tool to gently pry up on where the ribbon cable attaches to the motherboard.
-
-
-
-
-
Using a plastic pry tool, lift the battery up and away from the board and note its orientation.
-
-
-
Using a soldering iron and solder, desolder the connectors on both sides of the battery to remove it.
-
Resolder on a new Panasonic 6Y3 micro cell battery, taking care to orient it correctly as noted in the previous step.
-
Bend the battery back so that it's flat against the board.
-
-








To reassemble your device, follow these instructions in reverse order.
Cancel: I did not complete this guide.
One other person completed this guide.

Team

Cal Poly, Team 3-30, Amido Winter 2012 Member of Cal Poly, Team 3-30, Amido Winter 2012
CPSU-AMIDO-W12S3G30
3 Members
72 Guides authored
