Introduction
If you need to replace the front case cover of your SanDisk Sansa C250 mobile media player, the following guide will instruct you on how to safely remove the front case cover before you can replace it with a new front case cover. You may need to replace the front case cover if there are cosmetic issues, such as scratches or cracks.
What you need
-
-
-
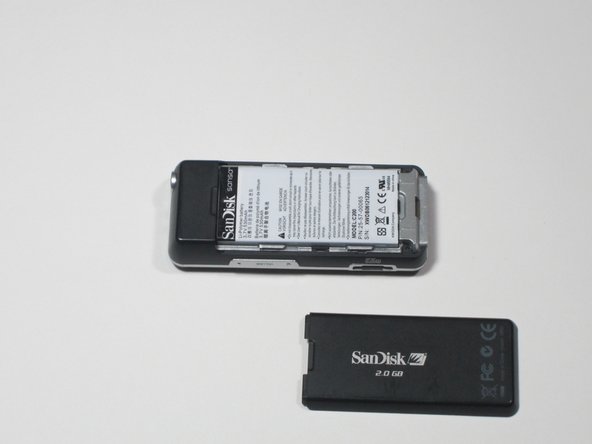
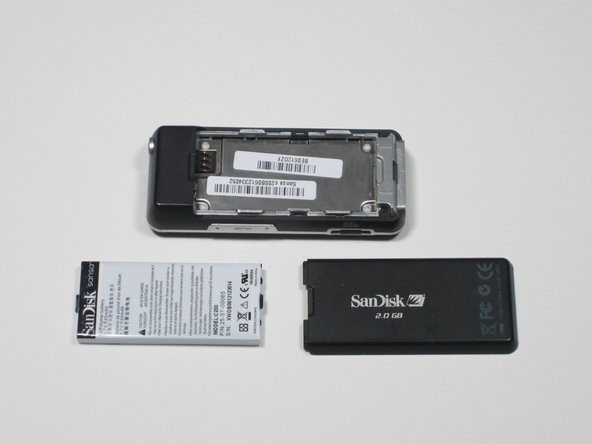
To remove the back cover, slide the back cover toward the top of the device with your thumb.
 Ask FixBot
-
-
-
-
-
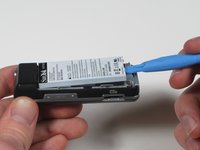
With the plastic pry tool, gently lift up. The battery should lift up and out.
-
-
-
-
Using a Phillips head screwdriver, remove the two black .265" screws at the base of the device.
-
-
-
-
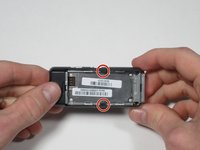
Near the middle of the device, locate the two plastic arms of the case cover.
-
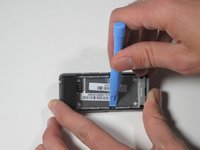
Using the plastic pry tool, pry up the two arms of the case to free them from the sides.
-
-
-
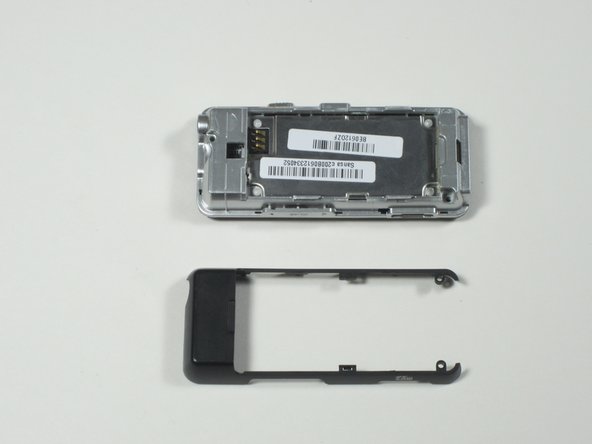
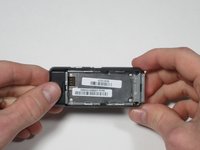
To remove the rear case cover, slide the rear case cover toward the top of the device with your thumb to release it.
-
-
-
-
-
Using a Phillips head screwdriver, remove the single 0.327" silver screw on the back of the device. The screw should be exposed from when you removed the rear case cover.
-
-
-
Flip the device over and gently work a plastic pry tool around the base of the front case cover until it loosens.
-
-
-
Starting on the side furthest away from the buttons, gently lift the front case cover open with your fingers.
-
-
-
To release the ribbon cable, use a plastic pry tool to gently pry up on where the ribbon cable attaches to the motherboard.
-
-






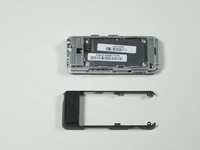


To reassemble your device, follow these instructions in reverse order.

Team

Cal Poly, Team 3-30, Amido Winter 2012 Member of Cal Poly, Team 3-30, Amido Winter 2012
CPSU-AMIDO-W12S3G30
3 Members
72 Guides authored
