
Samsung YP-P3 Buttons Replacement

Andrew Groeneveld and 2 other contributors
Last updated on Apr 2, 2014
Views: 1.3K
View statistics:
- Past 24 Hours:
- 4
- Past 7 Days:
- 19
- Past 30 Days:
- 120
- All Time:
- 1,260
Comments: 1
1 guide comment.
Go to guide commentsCompleted: 0 1
No one has marked this guide "completed." Will you be the first?
1 person has marked this guide "completed." It's you — great job!
Favorites: 0 1
No one has favorited (and subscribed to) this guide. Will you be the first?
1 person has favorited (and subscribed to) this guide — and that's you!
Confusing Text
Some of this guide's text is confusing, duplicated, or off-topic. Clarify it by editing!
Needs Better Images
Better photos will improve this guide. Help out by taking, editing, or uploading new ones!
Markup Mishap
This guide needs better markups. Help out by correcting or making some markup annotations.
What you need
Tools
-
Spudger4.9


-
-
-
Pry up the small black piece of plastic located between the volume [-] button and the HOLD/ON button.
 Ask FixBot
-
-
-
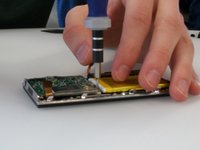
Underneath the piece of plastic you just removed, there is a small screw (Phillips #000, 2.0 mm long). Use a Phillips #000 screwdriver to remove it.
-
-
-
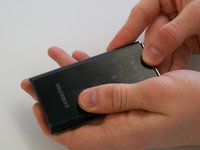
Push on the backplate with both thumbs, sliding it towards the top of the device.
-
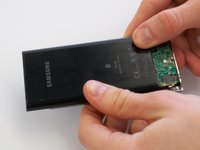
Once it begins to move, lift up slightly. You can then slide the backplate all the way off.
-
-
-
-
-
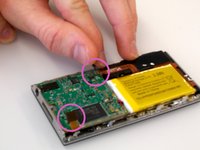
Before removing the circuit board, we must remove the ribbon-like wires attached to two sides of the circuit board.
-
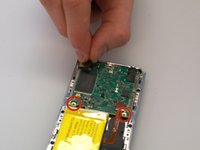
There are two screws (Phillips #000, 2.0 mm long) holding in the circuit board. Use a Phillips #000 screwdriver to take out those screws.
-
-
-
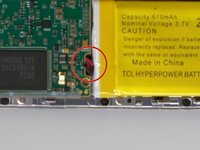
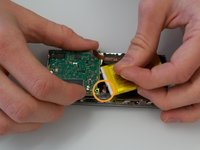
The battery is also attached to the circuit board by a cable. The cable is difficult to disconnect with both components in place. It's best to lift the circuit board out partially to give yourself more room to disconnect the connector.
-
The wire that is connected to the circuit board is connected by a plastic piece with two metal prongs.
-
Use the pointy end of the spudger to place in between the computer board and the plastic piece and gently pry the prongs away from the circuit board.
-
-
-
Finally, disconnect the ribbon cable on the bottom of the circuit board. You can then lift the circuit board all the way out.
-
-
-
-
-
Use the spudger to carefully pry up the battery. The battery is attached with a few spots of glue, so it may not move at first.
-
-
-
-
-
-
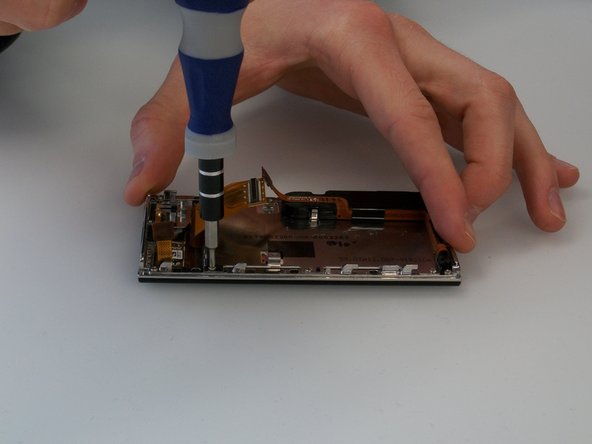
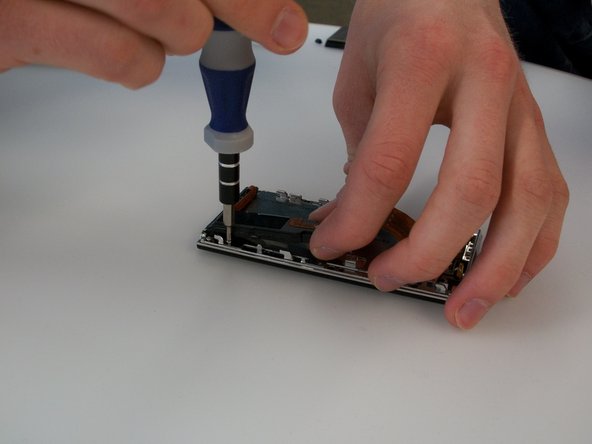
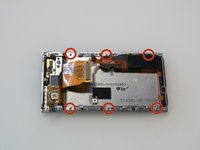
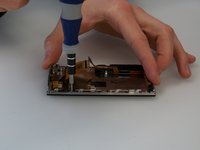
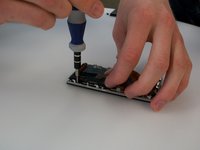
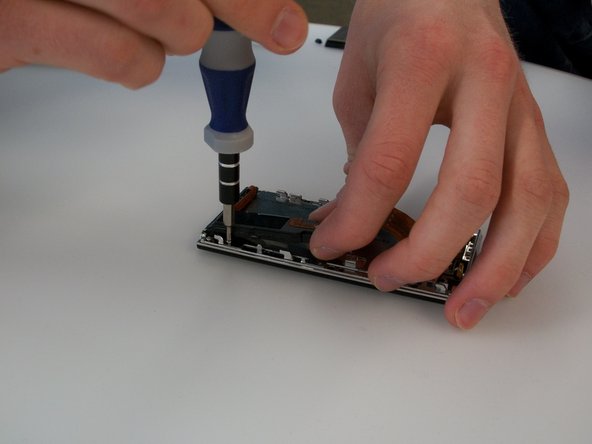
Remove the six screws (Phillips #000, 2.3 mm long) holding the screen frame to the front of the case. As the picture shows, one of them is hidden under the black speaker/rumble assembly.
-
-
-
To access the screw under the black speaker rumble/assembly, you will need to pry the assembly up slightly using the spudger.
-
-
-
-
-
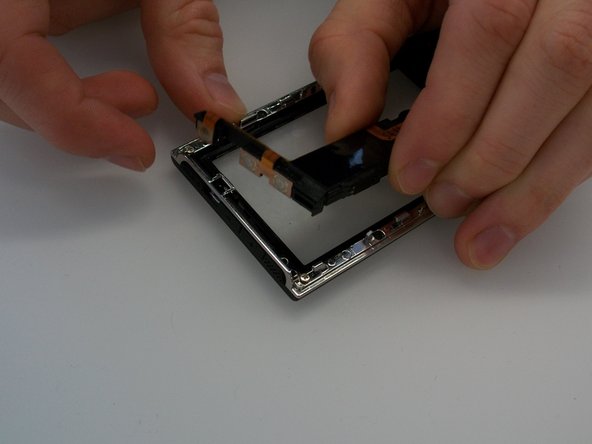
The buttons, built-in speaker, and rumble device are all contained in a black plastic assembly. This assembly simply snaps into place at the top of the case. Lift up gently to remove it from its place.
-
-











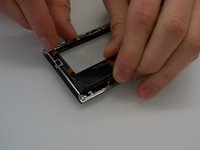
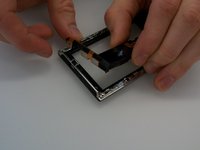
To reassemble your device, follow these instructions in reverse order.

Team

Michigan Tech, Team 5-3, Lauer Spring 2014 Member of Michigan Tech, Team 5-3, Lauer Spring 2014
MTU-LAUER-S14S5G3
4 Members
48 Guides authored
1 Guide Comment
This is terrific, but who makes a 3”, 272x480 pixel lcd screen and/or touchpanel for the samsung? Is this the same screen hardware as on the P2?
