Free Shipping on Domestic Orders $75+

Samsung UBD-KM85C Disc Drive Replacement

What you need

  1. Samsung UBD-KM85C Disc Drive Replacement, Outer Shell: step 1, image 1 of 1
    • On the back side of the unit, remove the three 8.1mm screws marked with a Phillips #1 screwdriver.

    Ask FixBot

    Add Comment

  2. Samsung UBD-KM85C Disc Drive Replacement: step 2, image 1 of 2 Samsung UBD-KM85C Disc Drive Replacement: step 2, image 2 of 2
    • From the back, lift the case upwards away from the unit then forwards, releasing the prongs on the front.

    Ask FixBot

    Add Comment

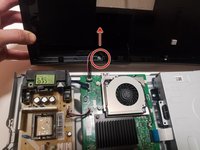
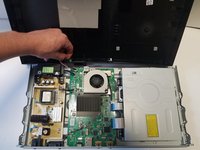
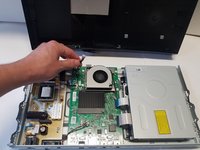
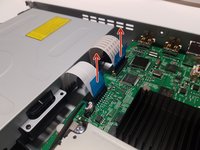
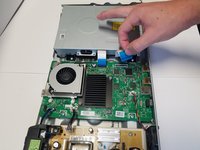
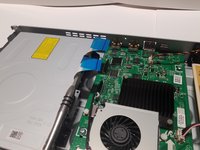
  3. Samsung UBD-KM85C Disc Drive Replacement: step 3, image 1 of 3 Samsung UBD-KM85C Disc Drive Replacement: step 3, image 2 of 3 Samsung UBD-KM85C Disc Drive Replacement: step 3, image 3 of 3
    • There is one group of wires located towards the front of the case and attached directly to the motherboard and the case. Using two fingers in a pinching motion, release the wire from the clip and disconnect it.

    Ask FixBot

    Add Comment

  4. Samsung UBD-KM85C Disc Drive Replacement: step 4, image 1 of 1
    • Remove the cover from the device.

    Ask FixBot

    Add Comment

  5. Samsung UBD-KM85C Disc Drive Replacement, Disc Drive: step 5, image 1 of 1
    • The disk drive is the large metallic rectangular unit that occupies a third of the space inside the unit.

    Ask FixBot

    Add Comment

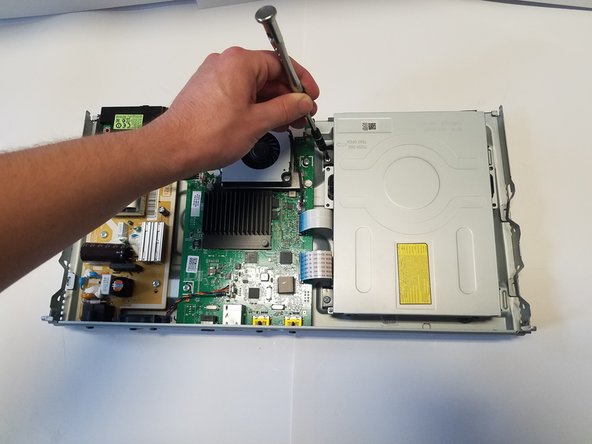
  6. Samsung UBD-KM85C Disc Drive Replacement: step 6, image 1 of 2 Samsung UBD-KM85C Disc Drive Replacement: step 6, image 2 of 2
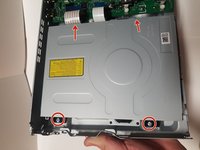
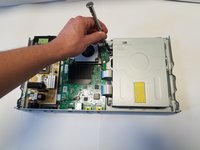
    • The disk drive has four 6.5mm screws located near each of its corners that hold it onto the frame. Use a #1 Phillips head screwdriver to remove these screws.

    Ask FixBot

    Add Comment

  7. Samsung UBD-KM85C Disc Drive Replacement: step 7, image 1 of 3 Samsung UBD-KM85C Disc Drive Replacement: step 7, image 2 of 3 Samsung UBD-KM85C Disc Drive Replacement: step 7, image 3 of 3
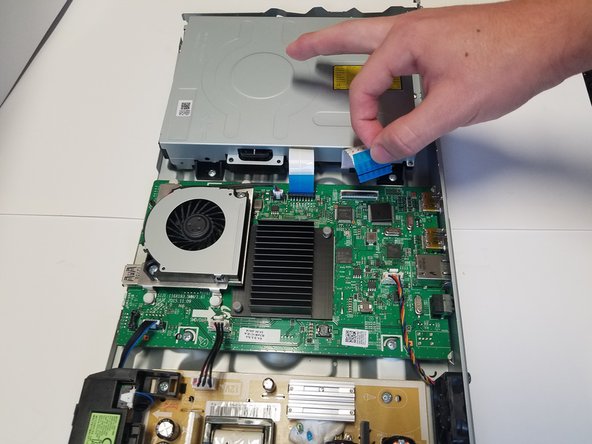
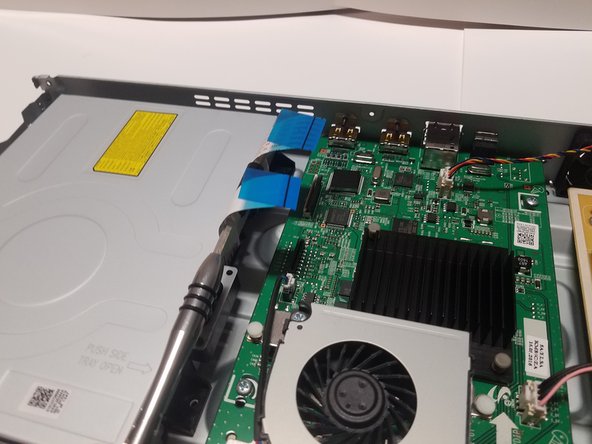
    • The disk drive has two connections to the motherboard that can be disconnected by pulling on the blue plastic tabs.

    Ask FixBot

    Add Comment

  8. Samsung UBD-KM85C Disc Drive Replacement: step 8, image 1 of 1
    • Once the connections are unplugged and the screws are removed, the disk drive can be lifted out. The previous steps can be done in the reverse order to replace the part.

    Ask FixBot

    Add Comment

Conclusion

To reassemble your device, follow these instructions in reverse order.

Cancel: I did not complete this guide.

One other person completed this guide.

James Edwards

Member since: 02/01/18

627 Reputation

5 Guides authored

Team

Baylor, Team S2-G1, Johnson Spring 2018 Member of Baylor, Team S2-G1, Johnson Spring 2018

BU-JOHNSON-S18S2G1

3 Members

6 Guides authored

1 Guide Comment

How do I eject a disk that's stuck in the drive?

Martin Y - Reply Share

Add Comment

View Statistics:

Past 24 Hours: 0

Past 7 Days: 5

Past 30 Days: 29

All Time: 701