Free Shipping on Domestic Orders $75+

Samsung TFT Color YP-T7J Motherboard Replacement

What you need

  1. Samsung TFT Color YP-T7J Motherboard Replacement, The Back Cover: step 1, image 1 of 2 Samsung TFT Color YP-T7J Motherboard Replacement, The Back Cover: step 1, image 2 of 2
    • Remove the 2 screws on the back cover using a Phillips head #0 screwdriver.

    Ask FixBot
  2. Samsung TFT Color YP-T7J Motherboard Replacement: step 2, image 1 of 2 Samsung TFT Color YP-T7J Motherboard Replacement: step 2, image 2 of 2
    • Remove the screw on each side of the device using a Phillips head screwdriver.

    Ask FixBot
  3. Samsung TFT Color YP-T7J Motherboard Replacement: step 3, image 1 of 3 Samsung TFT Color YP-T7J Motherboard Replacement: step 3, image 2 of 3 Samsung TFT Color YP-T7J Motherboard Replacement: step 3, image 3 of 3
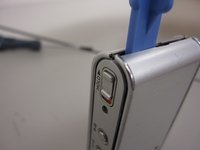
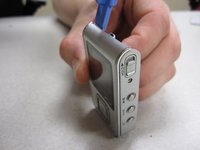
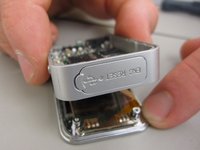
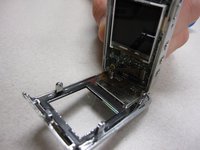
    • Using the plastic opening kit, place the prying end of the kit into the opening created by removing the screws.

    • Gently pry open the back cover. Insert the plastic opening tool in between the cover joints.

    Ask FixBot
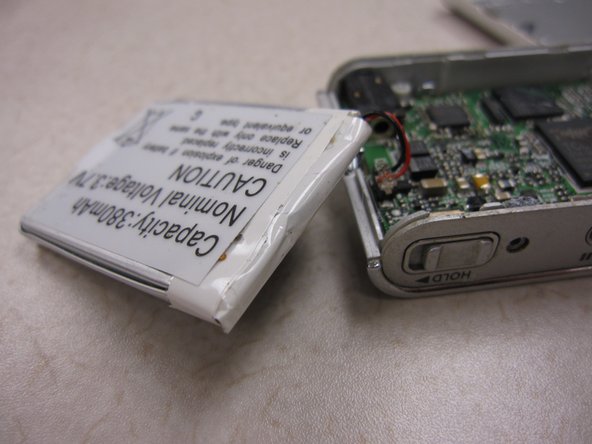
  4. Samsung TFT Color YP-T7J Motherboard Replacement, The Battery: step 4, image 1 of 2 Samsung TFT Color YP-T7J Motherboard Replacement, The Battery: step 4, image 2 of 2
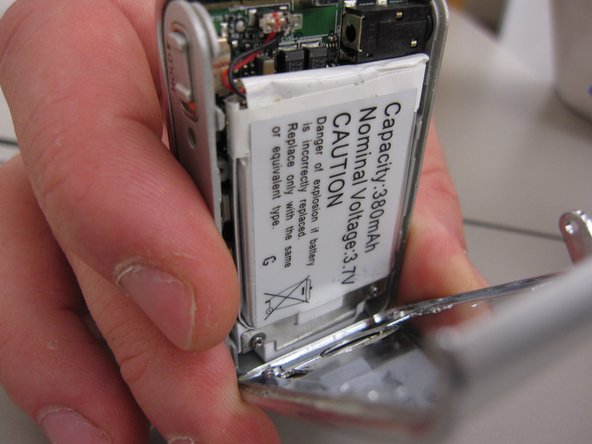
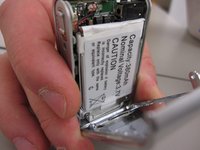
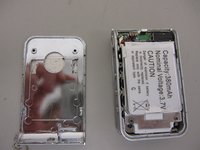
    • Once the back cover has been removed the battery will be visible.

    • Pry the battery from the device.

    • NOTE: The battery should still be connected to the device

    Ask FixBot
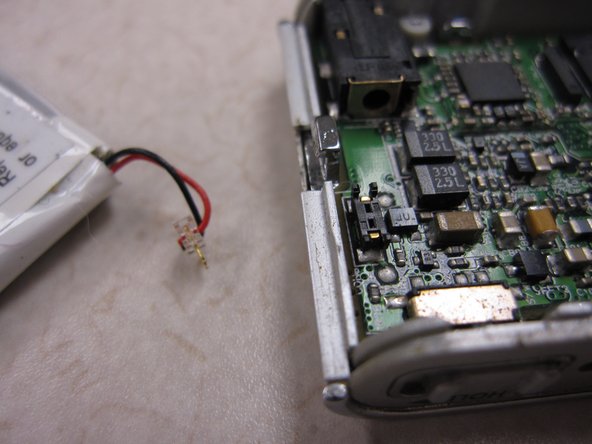
  5. Samsung TFT Color YP-T7J Motherboard Replacement: step 5, image 1 of 2 Samsung TFT Color YP-T7J Motherboard Replacement: step 5, image 2 of 2
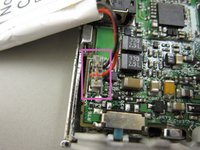
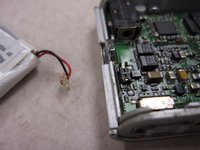
    • Unplug the battery connecting cables.

    • NOTE: The battery now should be free from all connections to the device.

    Ask FixBot
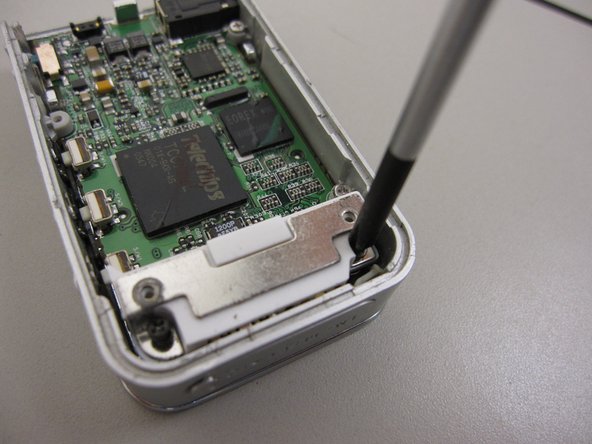
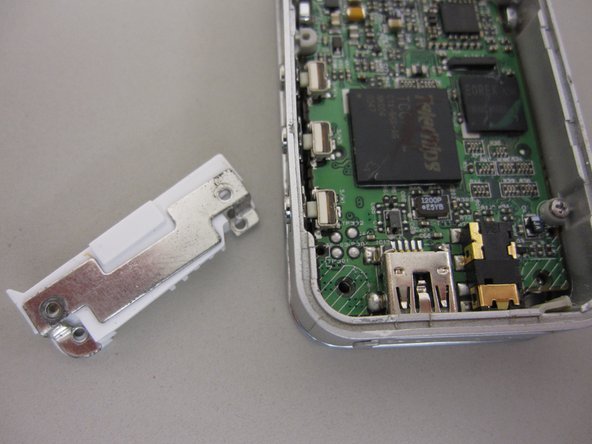
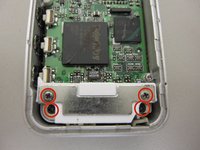
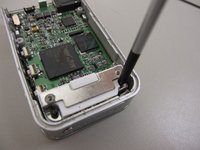
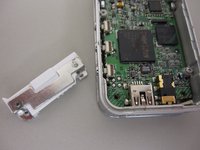
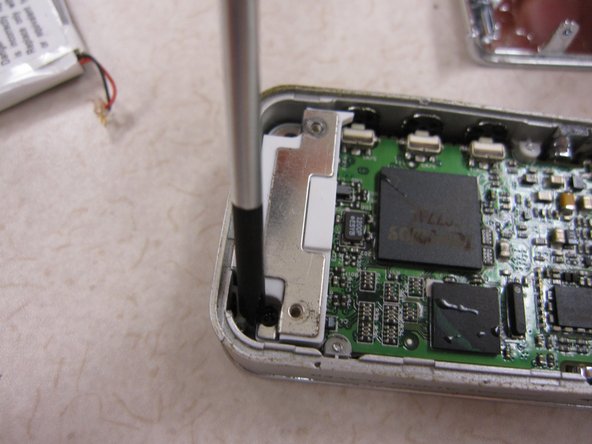
  6. Samsung TFT Color YP-T7J Motherboard Replacement, Disassembling Samsung TFT Color YP-T7J USB Connector Dock: step 6, image 1 of 3 Samsung TFT Color YP-T7J Motherboard Replacement, Disassembling Samsung TFT Color YP-T7J USB Connector Dock: step 6, image 2 of 3 Samsung TFT Color YP-T7J Motherboard Replacement, Disassembling Samsung TFT Color YP-T7J USB Connector Dock: step 6, image 3 of 3
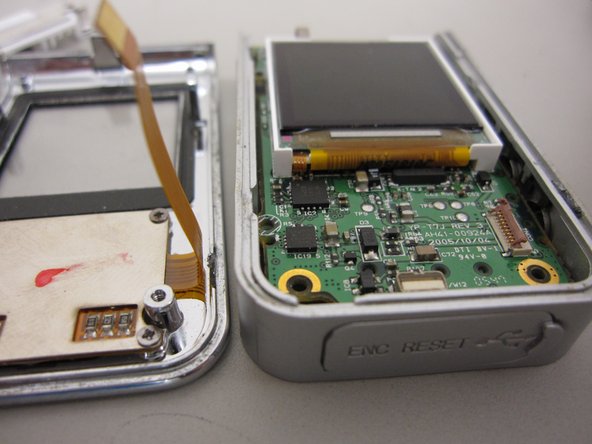
    • Once the battery has been removed you can see the motherboard.

    • Unscrew 4 screws on the metal docket using a Phillips head screw driver.

    • The USB connector can now be taken off of the device.

    Ask FixBot
  7. Samsung TFT Color YP-T7J Motherboard Replacement, The Front Cover: step 7, image 1 of 2 Samsung TFT Color YP-T7J Motherboard Replacement, The Front Cover: step 7, image 2 of 2
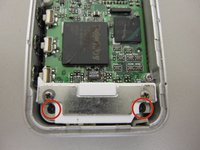
    • Using the philips screwdriver, remove the two screws on the mother board.

    Ask FixBot
  8. Samsung TFT Color YP-T7J Motherboard Replacement: step 8, image 1 of 3 Samsung TFT Color YP-T7J Motherboard Replacement: step 8, image 2 of 3 Samsung TFT Color YP-T7J Motherboard Replacement: step 8, image 3 of 3
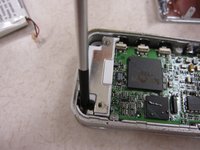
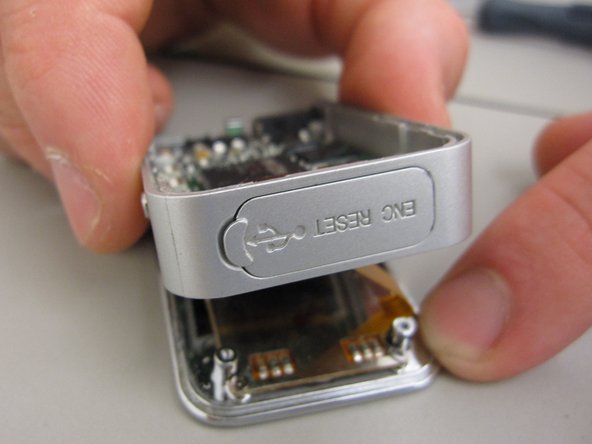
    • Place the pry tool in-between the front cover and mother board.

    • Gently separate the front cover.

    Ask FixBot
  9. Samsung TFT Color YP-T7J Motherboard Replacement: step 9, image 1 of 1
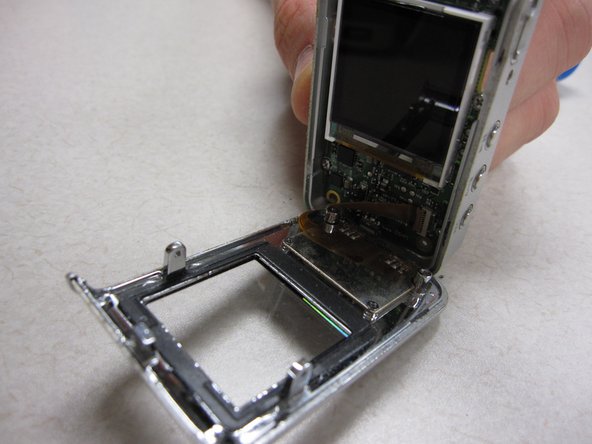
    • After opening the front cover you will see and electric ribbon connecting the buttons to the mother board.

    Ask FixBot
  10. Samsung TFT Color YP-T7J Motherboard Replacement: step 10, image 1 of 2 Samsung TFT Color YP-T7J Motherboard Replacement: step 10, image 2 of 2
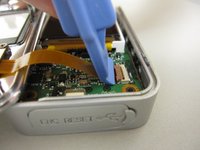
    • CAUTION: Do not rip the electric ribbon from the mother board.

    • Carefully flip up the plastic lip that holds the electric ribbon to the board.

    Ask FixBot
  11. Samsung TFT Color YP-T7J Motherboard Replacement, Motherboard: step 11, image 1 of 2 Samsung TFT Color YP-T7J Motherboard Replacement, Motherboard: step 11, image 2 of 2
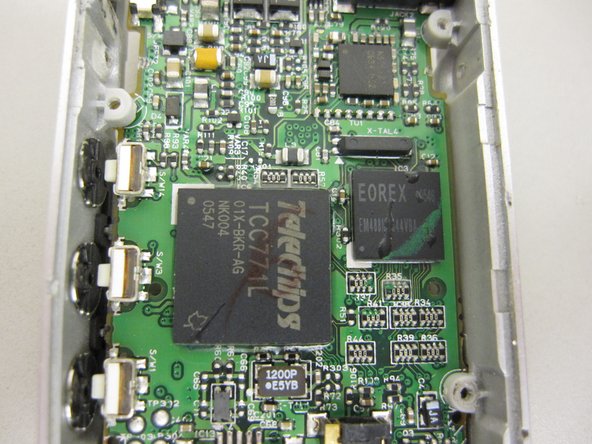
    • Remove the 3 screws located around the motherboard. 2 screws are located on the left side and1 screw is located on the right side.

    • NOTE:The orientation of the second picture is screen side down!

    Ask FixBot
  12. Samsung TFT Color YP-T7J Motherboard Replacement: step 12, image 1 of 2 Samsung TFT Color YP-T7J Motherboard Replacement: step 12, image 2 of 2
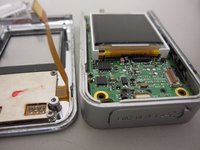
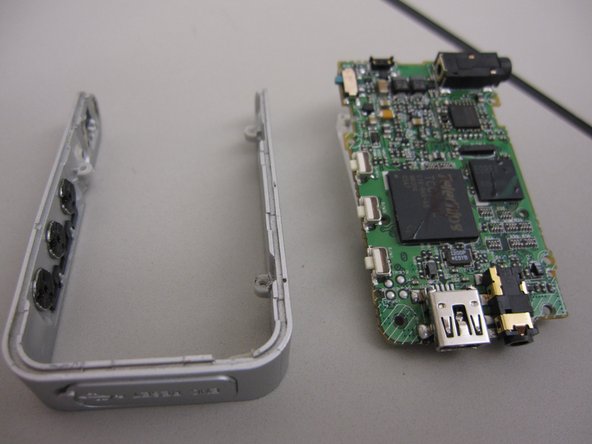
    • The motherboard should be loose from the middle casing.

    • Gently pull the motherboard away from the middle casing

    • The device should now be in multiple parts.

    Ask FixBot
Conclusion

To reassemble your device, follow these instructions in reverse order.

One other person completed this guide.

Dylan Peters

Member since: 10/18/13

409 Reputation

4 Guides authored

Team

Clemson, Team 14-8, Benson Fall 2013 Member of Clemson, Team 14-8, Benson Fall 2013

CLEM-BENSON-F13S14G8

3 Members

7 Guides authored

0 Guide Comments

Add Comment

View Statistics:

Past 24 Hours: 1

Past 7 Days: 7

Past 30 Days: 36

All Time: 700